Pyrography art, often called wood burning, transforms plain wood into striking art pieces. It involves using controlled heat to etch detailed images and patterns onto wooden surfaces. This creative practice blends precision, patience, and creativity. Pyrography is an accessible hobby for artists and DIY enthusiasts. You’re probably curious about what you need to get started. This guide will cover everything from the basics of pyrography techniques to essential safety measures and expert tips. By the end, you’ll be equipped with the knowledge and confidence to create your own stunning wood-burning masterpieces.
Contents [show]
Understanding Pyrography Art
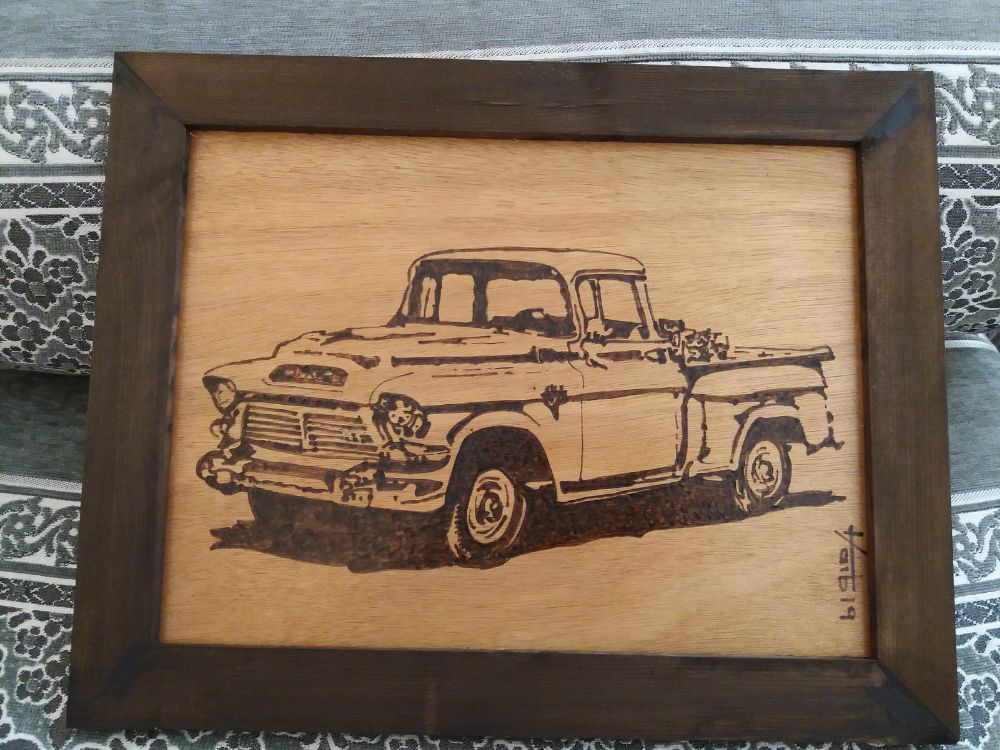
Pyrography, sometimes referred to as wood burning, is the technique of burning complex patterns and images under control onto wood or another natural surface. Its Greek roots are in “pyro,” meaning fire, and “graphy,” meaning writing. Traditionally used for ornamentation and personalizing, this age-old method spans millennia. Pyrography has become a popular art style nowadays since it lets artists create emotive and detailed works spanning delicate floral motifs to complex portraiture.
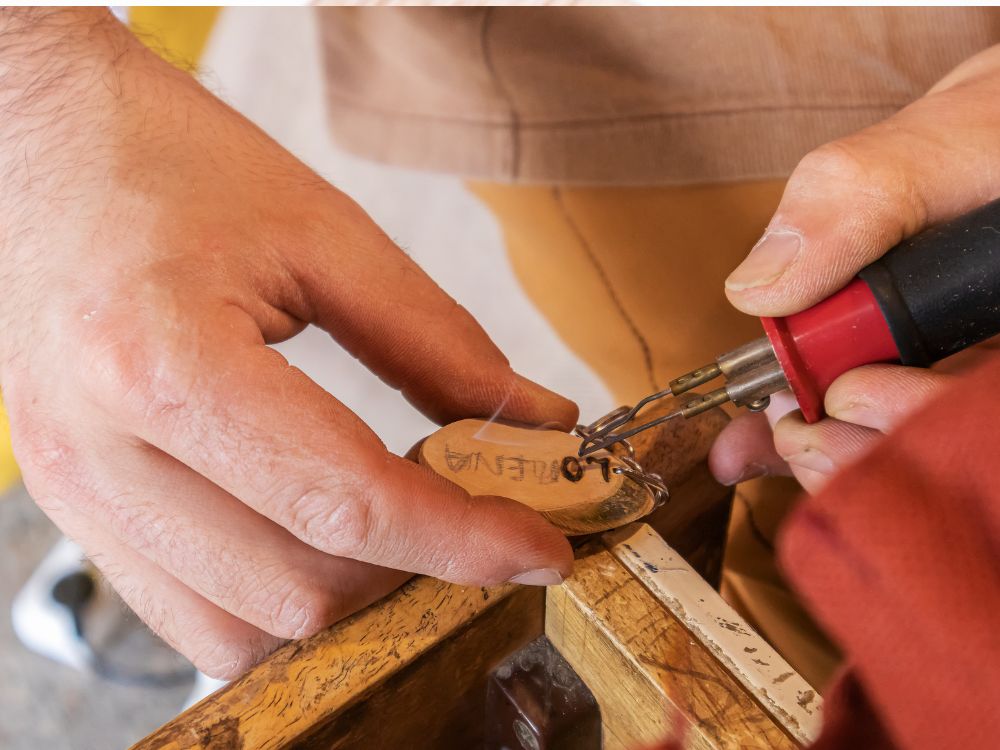
Pyrography art is produced by artists using specifically heated equipment known as wood-burning pens. These tools allow precise lines, shading, and even intricate textures by including several tips with distinct effects. Beyond creative expression, pyrography is often applied to personalize gifts, create distinctive home décor, and improve woodworking projects. Anyone can create a striking work of art out of a basic piece of wood with enough time and practice.
Essential Pyrography Tools and Materials
Successful pyrography art depends on careful use of equipment and materials. Every bit of equipment directly affects the accuracy and quality of your ideas. Starting with the correct configuration will help your wood-burning experience to be fun and efficient.
Wood Burning Pens
Your most critical instrument is the pyrography pen. Two basic forms of wood-burning pens are solid-tip and wire-tip. Beginning users would find solid-tip pens perfect because of their simplicity and robustness. Perfect temperature control and more adaptability make wire-tip pens appropriate for detailed work. Choose a pen with changeable temperature settings and a comfortable fit in your hand.
Choosing the Right Wood
Clear, steady burns depend on the proper sort of wood chosen. Beginning users will find softwoods like basswood, pine, or poplar great since they burn consistently and evenly. Though they burn more difficult, hardwoods like oak or walnut have striking, unique grain patterns. For optimum results always choose dry, sanded wood with a clean, flat surface.
Additional Materials
You will need various other items outside the pen and wood. Transferring drawings onto wood is easiest with graphite paper, sometimes known as carbon transfer paper. Sandpaper guarantees a smooth and receptive state of your wood surface. Pliers or tweezers let one safely change hot pen points. Finally, a premium finish like beeswalk, varnish, or clear lacquer improves the look and shields your completed work.
Step-by-Step Guide: How to Do Pyrography Art
Pyrography art involves patience and practice but can quickly become a rewarding hobby. Following a structured approach will help you achieve beautiful, consistent results.
Preparing Your Wood Surface
Start by selecting the right piece of wood for your project. Softwoods such as basswood or pine are ideal for beginners since they’re easier to burn. Ensure the wood is completely dry and smooth. Sand your wood thoroughly using medium-grit sandpaper first, then finish with fine-grit paper for an even, smooth surface. Remove any dust particles by wiping the surface with a clean, slightly damp cloth. Let it dry completely before you begin burning.
Planning and Transferring Your Design
Before you heat your pyrography pen, sketch or choose a design, beginners should start with simple patterns or basic shapes. Once you have your design, transfer it onto the wood using graphite or carbon transfer paper. Place the transfer paper face down on the wood, lay your design over it, and secure both with tape. Carefully trace over the design lines using a pencil or stylus, pressing firmly to ensure clear markings on the wood.
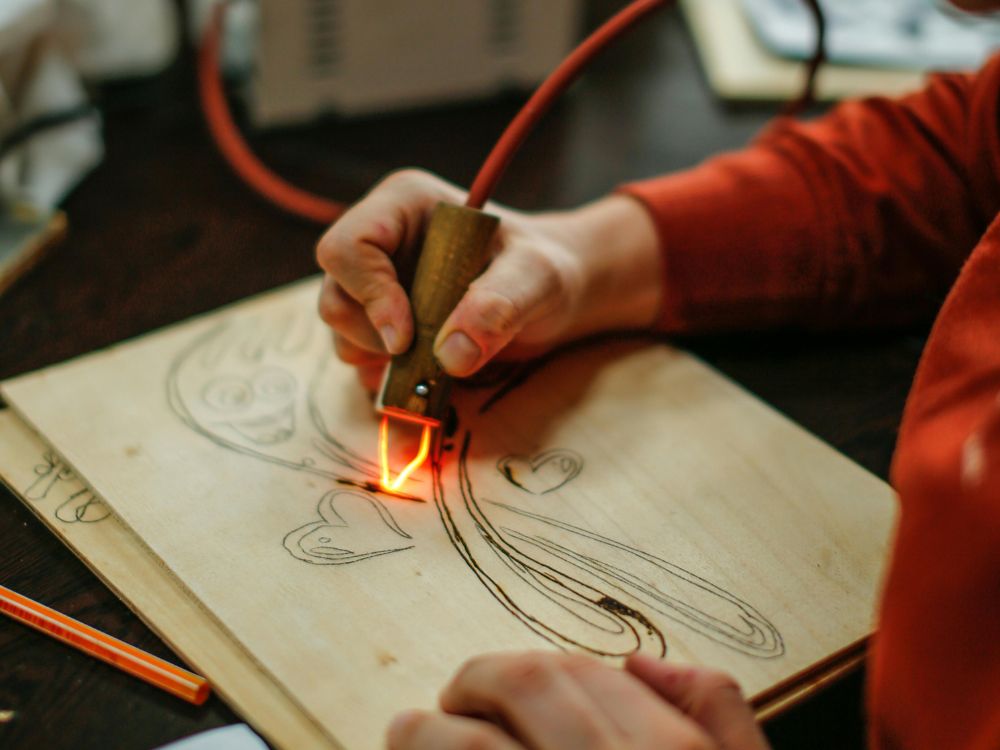
Basic Wood Burning Techniques
Plug in your wood-burning pen and allow it to reach the correct temperature. For softer woods, start at a lower setting and adjust as needed. Test your pen tip on a scrap piece of the same wood first. Hold the pen gently, like a pencil, and start by outlining your design. Move slowly and steadily to avoid uneven lines or accidental burns. Control your pressure and speed—slower movements create deeper, darker burns, while lighter pressure and faster movements result in lighter lines.
Creating Depth and Texture
To add shading and depth, vary the heat and pressure you apply to your pen. A hotter pen tip creates darker, more pronounced lines. For shading, use gentle strokes, keeping the pen tip slightly angled to the wood surface. Experiment with techniques such as cross-hatching, stippling, or circular movements to add dimension and texture. Gradually build up layers of shading to achieve realistic depth in your artwork.
Finishing and Protecting Your Pyrography Artwork
When your artwork is complete, turn off the pen and let the wood cool. Once cooled, gently sand away any rough edges or uneven burned areas using fine-grit sandpaper. Finish your project by applying a protective coating, like beeswax, clear lacquer, or varnish. This protective layer enhances the wood’s natural beauty, prevents fading, and ensures your pyrography piece remains vibrant for years.
Safety First: Pyrography Safety Guidelines
Safety should always be a top priority when practicing pyrography art. While wood burning is a rewarding and enjoyable hobby, it also involves working with high temperatures and heated tools. Adhering to safety measures ensures your creative experience remains safe and stress-free. Following proper safety guidelines will prevent injuries and enable you to create beautiful pyrography art comfortably and confidently.
Setting Up a Safe Workspace
A suitable workspace significantly reduces hazards in pyrography art. Choose a well-lit and spacious area to move freely without knocking over tools or materials. Clear the workspace of flammable materials like paper, cloth, paints, or solvents.
Cover your table or work surface with a non-flammable material, such as metal or ceramic tiles, to protect against accidental burns or heat damage. Ensure your workspace has a stable, heat-resistant stand or holder for resting your hot pen safely when not in use. A clutter-free area also helps you stay organized, making the pyrography art process smoother and safer.
Proper Handling of Wood-Burning Tools
Wood-burning pens used in pyrography art can reach extremely high temperatures, often exceeding 900°F (480°C). Therefore, always treat your pen as if it’s hot, even when it’s turned off. Hold your pyrography tool firmly but gently to avoid losing control and causing accidental burns.
Always use heat-resistant gloves or finger protectors if necessary. Never touch the heated tip directly with your bare hands, even if you believe it’s cooled down. Always wait a minimum of 10-15 minutes after turning off your pyrography pen to handle or change tips, as heated elements can remain dangerously hot longer than expected. To prevent accidents, always unplug your pyrography pen immediately after use and never leave it unattended while it’s plugged in or cooling down.
Ventilation and Health Precautions
Pyrography art generates smoke and fumes during the burning process, especially when using certain types of wood. Adequate ventilation is crucial to protect your respiratory health. Work in a room with open windows, use a fan to circulate fresh air, or set up an exhaust system designed specifically for craft projects involving heat. To further protect yourself from harmful particles or smoke inhalation, consider using a respirator or high-quality mask designed to filter smoke particles.
Be especially cautious with wood varieties known to produce irritant smoke, such as cedar or chemically treated wood, which should always be avoided in pyrography art. Opting for untreated, non-toxic woods like basswood or birch is safer and healthier.
Fire Prevention and First Aid Tips
Due to the heat involved, pyrography art carries a risk of accidental fires. Have a fire extinguisher readily available near your workspace and ensure you know how to operate it. A fire blanket is also recommended as an additional safety measure. Keep your workspace clear of unnecessary clutter, particularly flammable materials that could ignite if touched by a hot pen tip.
Regularly inspect your wood-burning pen and its cords for signs of damage, fraying, or overheating, replacing them immediately if needed. Should a minor burn occur, immediately immerse the affected area in cool water for several minutes to ease pain and minimize skin damage. After cooling, apply an antibiotic ointment and a sterile bandage to prevent infection. Seek immediate medical attention for severe burns or if the burn area is extensive.
Practicing safety precautions ensures your experience with pyrography art remains enjoyable and hazard-free. Being mindful of your workspace, carefully handling your tools, prioritizing ventilation, and having appropriate emergency resources on hand will allow you to focus confidently on creating stunning pyrography art pieces. By taking these simple yet essential safety measures seriously, you’ll be able to explore the full potential of your wood-burning hobby without worry.
Pro Tips for Stunning Pyrography Results
Creating exceptional pyrography art requires practice, patience, and mastering a few essential techniques. Learning some expert tips can significantly improve your artwork, making it stand out with greater depth and precision. With these professional recommendations, you’ll soon elevate your wood-burning skills and create striking, detailed pieces.
Master Temperature Control
Temperature is crucial in achieving clean, sharp lines and effective shading in pyrography art. Lower heat settings are excellent for fine details and delicate lines, while higher settings help achieve bold, deep burns. Test temperatures on a scrap piece of wood to determine the ideal setting for your design. As you practice, you’ll understand how heat affects different woods and design elements.
Achieve Consistent Linework
Consistency is vital for polished pyrography art. Maintain a steady speed and consistent pressure when burning lines into the wood. Keep your hand comfortable and move smoothly, without hesitation. Sudden stops or inconsistent pressure will produce blotchy, uneven lines. If you’re new, practice drawing steady lines and curves on scrap wood before working on your main piece. This preparation will improve muscle memory and hand control.
Experiment with Shading Techniques
Shading brings depth, texture, and realism to your pyrography artwork. Try techniques like cross-hatching (intersecting lines), stippling (dots), or gradient shading (gradual intensity). Practice varying pen angle, pressure, and heat to achieve different shading effects. Shading lightly at first allows you to build up intensity gradually, giving you more control over the final look. Experimenting with various shading methods can dramatically enhance the quality and depth of your artwork.
Enhance Your Artwork with Color
Pyrography art doesn’t have to be limited to shades of brown. Adding color can enrich your design, making it more vibrant and eye-catching. Use watercolor pencils, acrylic paints, or wood stains to complement your burned design. Always apply colors lightly, gradually building them up to avoid overpowering the burned lines. Apply a protective finish after coloring to preserve your artwork and enhance the vibrancy.
By following these pro tips, you’ll achieve more refined and visually captivating pyrography art pieces, boosting both your skills and confidence as an artist.
Conclusion
Pyrography art offers endless creative possibilities for anyone willing to practice and experiment. With patience and proper techniques, you’ll quickly master creating beautiful wood-burning artworks. Now, pick up your wood-burning pen and let your creativity flourish.
We have more artwork involving wood. Check out our article on DIY print on wood!