Last Updated on November 25, 2024 by teamobn

Crafting a wooden tripod combines functionality with the timeless appeal of natural materials. Whether you’re a photographer seeking a stable platform or an astronomer needing a sturdy mount, building your own wooden tripod offers a personalized solution tailored to your specific needs. This guide for wood tripod plans provides a comprehensive overview of the process, from selecting materials to final assembly, ensuring you create a durable and aesthetically pleasing tripod.
Contents [show]
Introduction to Wooden Tripod Plans
Traditional wooden tripods are prized for their beauty and stability. Photographers, videographers, and telescope lovers like wooden tripods because they attenuate vibration better than metal ones. They are lightweight and sturdy, making them easy to move. If you like working with your hands, building a tripod lets you customize your gear.
Well-planned wood tripod plans help you build one. To achieve a useful and attractive product, each step must be carefully considered, from wood type to adjustable or fixed-leg designs. Make your own wooden tripod to save money and create a timeless instrument you can be proud of, whether you’re a hobbyist or professional.
Step By Step Wood Tripod Plans Build
Building your own wood tripod is a rewarding project that combines functionality with craftsmanship. These plans guide you through the process, ensuring that your final product is sturdy, versatile, and visually appealing. Whether you’re crafting a tripod for photography, videography, or telescope mounting, these instructions will help you create a reliable and professional-grade tripod.
Materials Needed:
- Hardwood planks (e.g., oak, maple, or cherry) for legs
- Plywood or hardwood for the tripod head
- Wood screws
- Hinges or adjustable leg brackets
- Non-slip rubber caps for feet
- Wood glue
- Sandpaper (various grits)
- Wood stain or finish
- Protective varnish or polyurethane
- Metal or plastic washers (optional for smoother movement)
Tools Required:
- Measuring tape
- Saw (hand saw or circular saw)
- Drill and appropriate bits
- Screwdriver
- Clamps
- Wood planer or sander
- Paintbrushes or rags for applying finish
- Carpenter’s square
Step 1: Prepare Your Design
Start by reviewing your wood tripod plans. Determine the height and weight capacity your tripod will need to support. Sketch a basic blueprint that includes the desired length and shape of the legs, as well as the dimensions of the tripod head. This ensures you have a clear plan before cutting into the materials.
Step 2: Cut and Shape the Legs
Cut the wooden planks into three equal lengths for the tripod legs. Typically, a tripod leg measures between 48–60 inches, depending on the intended height. Use a planer or sandpaper to smooth the edges and create a tapered design if desired. Tapering the legs reduces weight and enhances portability without compromising strength.
Step 3: Assemble the Tripod Head
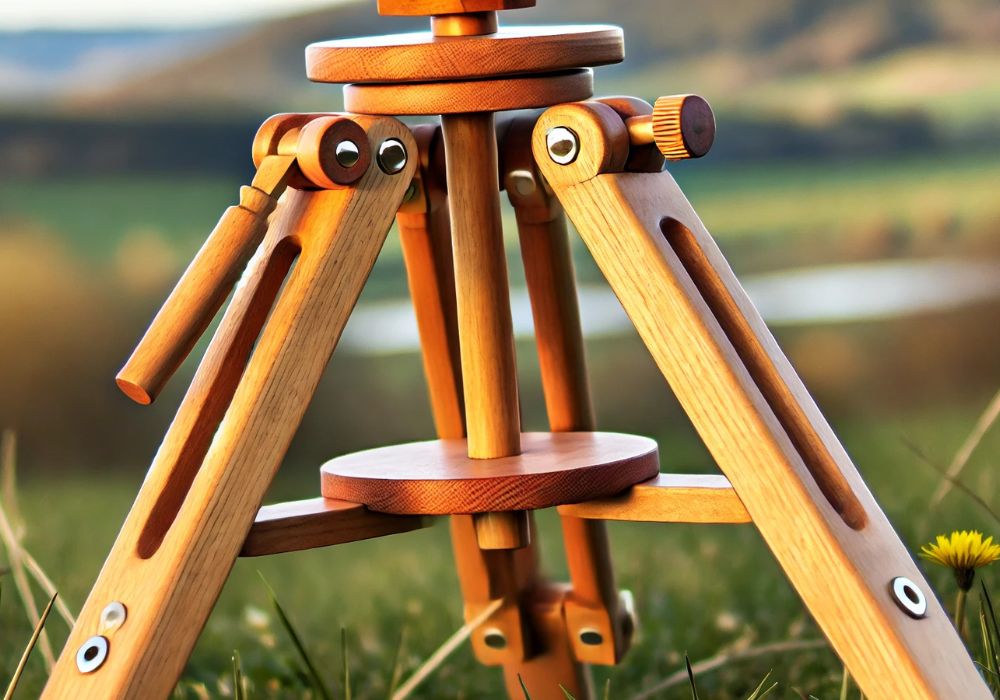
Cut a circular or triangular piece of wood for the tripod head. Drill a center hole that matches the size of the mounting bolt or fixture you’ll use to attach your camera or equipment. Attach hinges or brackets to the tripod head to connect the legs securely while allowing for some adjustability.
Step 4: Attach the Legs
Position the tripod legs around the tripod head using the hinges or brackets. Secure them with screws, ensuring they are evenly spaced for balance. If you’re creating adjustable legs, add sliding dovetail grooves or telescoping extensions to each leg. Test the movement to ensure smooth operation and proper alignment.
Step 5: Add Non-Slip Feet
Cut small pieces of rubber or use pre-made caps to create non-slip feet for your tripod legs. Attach these to the bottom of each leg with wood glue or screws. This step enhances stability and prevents the tripod from sliding on smooth surfaces.

Step 6: Sand and Smooth All Surfaces
Use sandpaper to smooth all surfaces, starting with a coarse grit and progressing to finer grits for a polished finish. Pay special attention to the edges and corners to remove splinters and rough spots. A smooth finish improves both the appearance and functionality of the tripod.
Step 7: Apply Wood Finish
Protect your tripod from wear and weather with a wood stain or finish. Follow the wood grain using a brush or rag to apply stain evenly. After drying, apply varnish or polyurethane. This enhances wood’s natural beauty and durability.
Step 8: Test and Adjust
Check the steadiness of your tripod. Check joint strength, leg evenness, and changeable component movement. Adjust screws and hinges as needed to guarantee smooth operation.
Step 9: Maintain and Store
Tripods last longer with regular maintenance. A dry cloth removes dust and dirt. To avoid warping, keep it dry and reapply the finish as needed.
Follow these methods to make a stylish and functional wooden tripod for your requirements. It shows your craftsmanship and attention to detail, not simply a tool.
Benefits of Wooden Tripods Over Metal or Plastic Options
Photographers, videographers, and hobbyists need tripods for flawless pictures and equipment support. Wooden tripods are unique in their practicality, durability, and aesthetic appeal. Metal and plastic tripods are also available. Wood tripod plans are ideal for custom builds, which is why wooden tripods are popular.
Superior Vibration Dampening
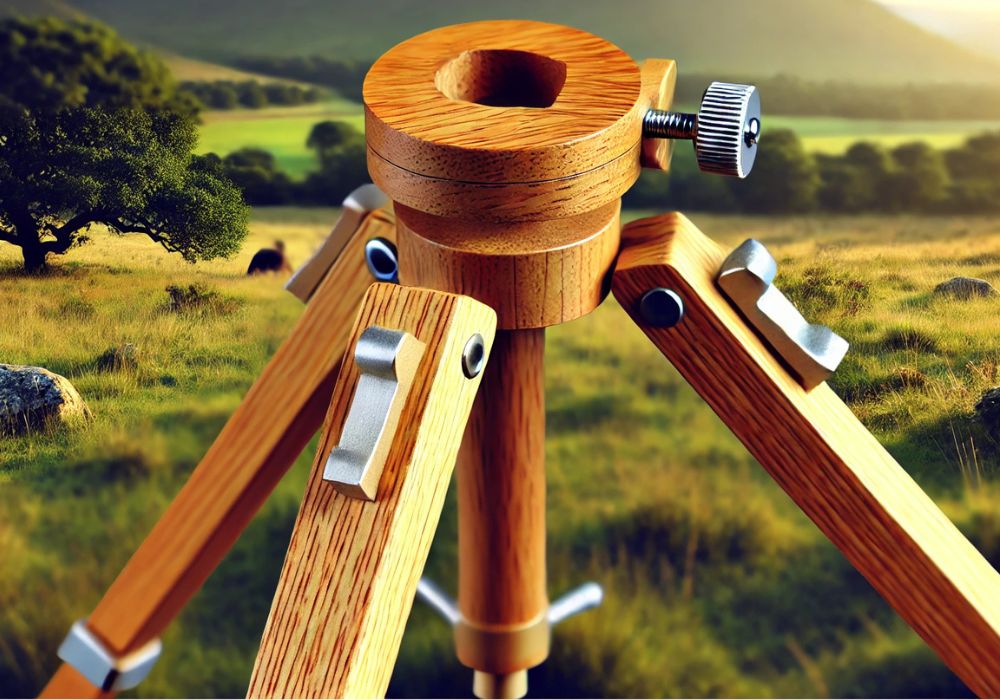
Wooden tripods attenuate vibrations, a major benefit. Wood tripods are more stable than metal ones because they reduce movement and wind vibrations. Long-exposure photography, astrophotography, and videography require this feature because even minor vibrations can ruin results. Choose hardwood and follow precise wood tripod plans to reduce vibration when making a tripod.
Durability and Longevity
Durable wooden tripods are famous. Oak and maple hardwoods last for years without warping or cracking. While plastic tripods can break or decay, hardwood tripods are strong and stable. Wood also resists rust better than metal, especially outdoors. Wood tripods can last a lifetime if properly finished.
Timeless Aesthetic Appeal
The natural beauty of wood is unmatched by metal or plastic materials. Wooden tripods have a classic, timeless look that appeals to photographers and artists alike. They blend seamlessly into natural settings, making them a popular choice for outdoor photography. Crafting a tripod with unique wood grains and a polished finish not only creates a functional tool but also a work of art. By using wood tripod plans, you can incorporate your personal style into the design, creating a truly one-of-a-kind piece.
Environmentally Friendly Option
Wooden tripods are often a more sustainable choice compared to their metal and plastic counterparts. Wood is a renewable resource, especially when sourced responsibly. On the other hand, producing metal and plastic tripods often involves energy-intensive processes that can harm the environment. If sustainability is a priority for you, building a tripod using wood tripod plans allows you to choose eco-friendly materials and avoid contributing to waste.
Repairability and Customization
Another major advantage of wooden tripods is their repairability. While damage to a plastic or metal tripod often requires replacement parts or entire sections, wood can be easily repaired with basic tools and techniques. A cracked or chipped leg can be sanded and refinished, restoring the tripod’s functionality. Additionally, wooden tripods are highly customizable. Whether you want to add adjustable legs, decorative carvings, or specialized mounts, wood tripod plans give you the flexibility to design a tripod that suits your specific needs.
Lightweight Yet Sturdy
Despite their durability, wooden tripods are surprisingly lightweight. Hardwoods like ash or cherry offer an excellent balance between strength and weight, making wooden tripods easy to carry during outdoor shoots. Compared to heavy metal tripods, which can be cumbersome to transport, or flimsy plastic tripods that struggle with stability, wooden tripods provide the best of both worlds. If portability is important for your project, selecting the right wood and following detailed wood tripod plans ensures a lightweight yet sturdy build.
Resistance to Temperature Changes
In extreme heat or cold, metal tripods can become uncomfortable. In high temperatures, plastic tripods might break. Wood is comfortable to handle in all weather, making it ideal for outdoor photography and fieldwork. A tripod that operates well in many environments can be made using wood tripod plans.
Cost-Effective for DIY Enthusiasts
For DIYers, wooden tripods are a cheaper alternative to commercial tripods. Build your tripod to save money and appreciate the quality. Following wood tripod plans, you can build a professional-grade tripod for less using cheap materials and tools.
Metal and plastic tripods lack the utility, durability, and beauty of wooden ones. Their vibration-dampening, durability, and timeless design make them ideal for photographers, videographers, and enthusiasts. Sustainable and versatile, wooden tripods are eco-friendly, repairable, and customizable. Building a wooden tripod with wood tripod designs is a pleasant project that adds flair and usefulness, whether you’re an outdoor enthusiast or just enjoy great craftsmanship.
How to Choose the Best Wood for Your Tripod Project
The choice of wood plays a crucial role in the functionality, durability, and aesthetic appeal of your camera wooden tripod. Selecting the right material ensures that your tripod can handle the intended weight, resist environmental stresses, and provide a stable platform for your needs. Whether you’re building from scratch or following detailed wood tripod plans, understanding the properties of various wood types is essential for success.
Characteristics to Consider
When choosing wood for your tripod project, consider its strength, density, and workability. Hardwoods are often preferred for their durability and ability to handle weight without bending. Additionally, the wood’s grain pattern, moisture resistance, and ability to hold screws or bolts securely should influence your decision. Balancing strength with weight is key, as a tripod that’s too heavy becomes difficult to transport.
Best Hardwoods for Tripods
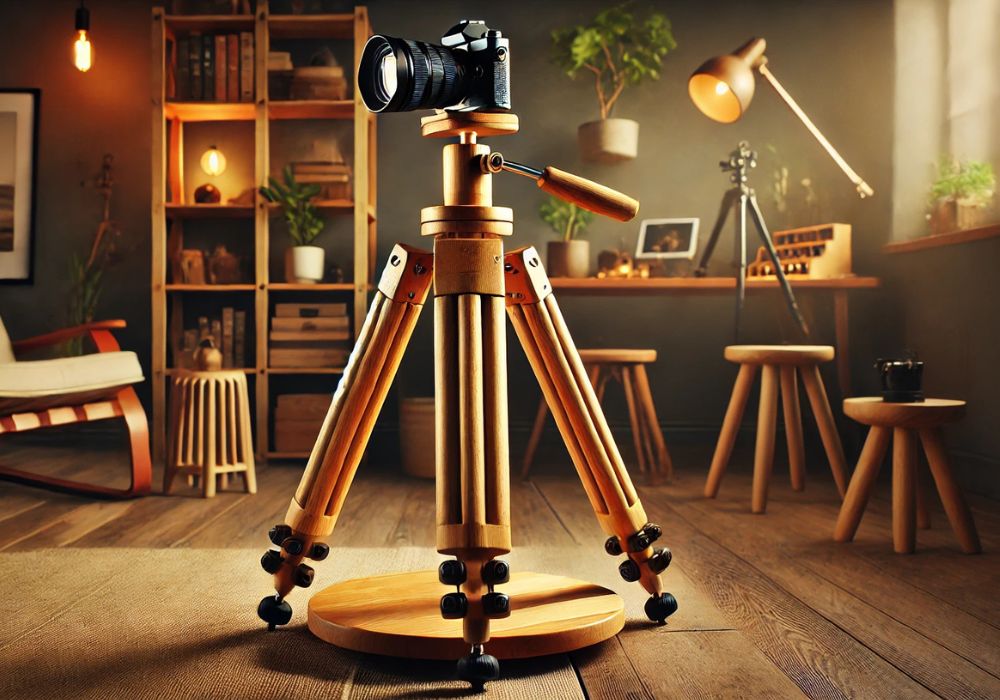
Oak: Oak is a popular choice due to its strength, durability, and attractive grain pattern. It’s heavy enough to provide stability yet manageable for transportation. Its hardness ensures that the tripod legs can support significant weight, making it ideal for professional photography or telescope mounting.
Maple: Maple is another excellent option known for its durability and smooth grain. It’s slightly lighter than oak, which makes it a good choice for portable tripods. Maple is also resistant to warping, ensuring long-term reliability in various conditions.
Cherry: Cherry wood offers a balance of strength and beauty. Its fine grain and warm color make it a visually appealing choice for tripods. While not as dense as oak, cherry is still strong enough for most applications and works well for those seeking a lightweight yet sturdy option.
Ash: Ash wood is valued for its elasticity and shock resistance. It’s a great choice for tripods that will be frequently transported or exposed to vibrations. Ash is also lighter than oak and maple, making it suitable for outdoor or field use.
Softwoods: Are They Suitable?
While hardwoods are generally preferred, some softwoods can be used for lightweight tripod projects. Woods like pine or fir are affordable and easy to work with but lack the strength and durability needed for heavy-duty applications. If you opt for softwood, ensure it is properly treated and reinforced to prevent warping or cracking over time.
Sustainability and Eco-Friendliness
Choosing sustainable wood is an important consideration for environmentally conscious builders. Look for wood certified by organizations like the Forest Stewardship Council (FSC) to ensure it comes from responsibly managed forests. Reclaimed wood is another great option, combining eco-friendliness with a unique aesthetic. Incorporating reclaimed materials into your wood tripod plans adds a layer of sustainability and originality.
Grain Orientation and Aesthetic Appeal
The orientation of the wood grain affects both the strength and appearance of your tripod. Straight-grain wood is less likely to warp and provides a clean, professional look. Unique grain patterns, like those found in cherry or walnut, can add a decorative touch to your tripod, enhancing its visual appeal. When selecting wood, balance aesthetic preferences with structural requirements.
Moisture Resistance and Environmental Durability
The wood used for tripods must withstand environmental changes. Hardwoods like teak or mahogany are naturally resistant to moisture, making them ideal for outdoor use. If you choose less resistant wood, applying a protective finish is essential to prevent swelling, cracking, or rot. Review your wood tripod plans for suggestions on finishes that improve durability.
Cost vs. Performance
The cost of wood can vary significantly depending on the species and quality. While exotic hardwoods like mahogany or walnut offer premium performance and aesthetics, they may not fit every budget. More affordable options like ash or reclaimed wood can provide excellent results at a lower cost. Weigh your needs and budget to find the best balance for your project.
Testing and Preparation
Before committing to a particular wood type, test a small piece for workability and finishing. Sand the surface to see how smooth it becomes, and apply a small amount of stain or varnish to evaluate its final appearance. Properly prepared wood, paired with detailed wood tripod plans, ensures a successful and durable build.
Choosing the right wood for your tripod project is a balance of strength, weight, durability, and aesthetics. Hardwoods like oak, maple, and cherry are excellent choices for most projects, while softwoods can work for lighter applications. By considering sustainability, grain orientation, and moisture resistance, you can select the best material for your needs. With the right wood and well-planned wood tripod plans, your project will result in a functional and beautiful tool you’ll use for years to come.
Conclusion
Completing wood tripod plans is a rewarding experience that combines craftsmanship with functionality. The finished product offers stability, durability, and a unique aesthetic that enhances any photography or cinema project. With careful material selection and attention to detail, your handmade tripod will be a reliable camera tool for years to come.
We have more projects for photographers or editors. Check out our backyard studio project next!

