Last Updated on May 10, 2024 by teamobn
If a continuous source of fresh eggs is on your mind, consider the idea of keeping hens in your backyard. Hens, known for their low-maintenance nature, will reliably lay eggs as long as you ensure they have access to quality food, clean water, and a cozy nesting spot. Beyond the practical benefits, raising backyard hens can also foster neighborly connections, as everyone tends to appreciate the joy of farm-fresh eggs!
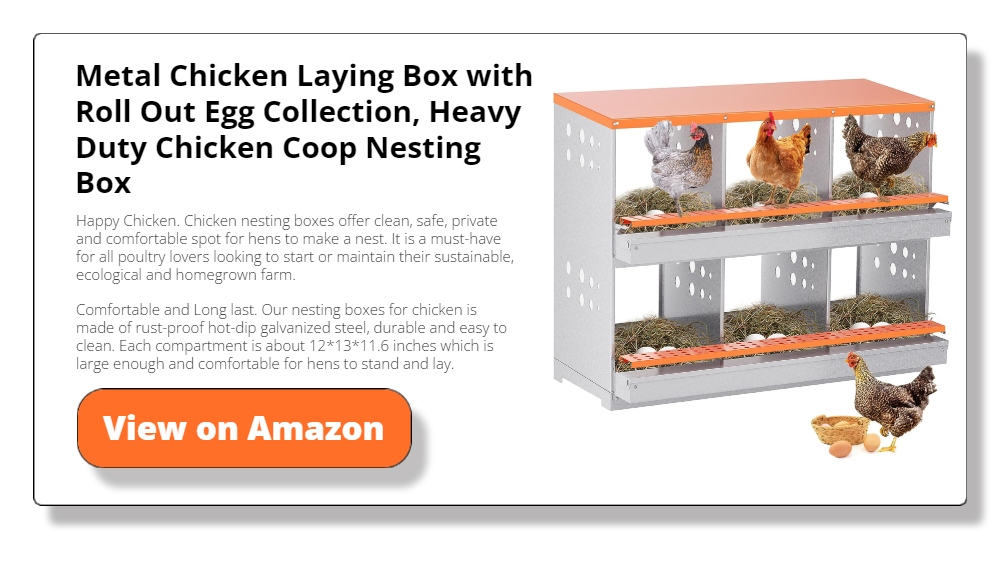
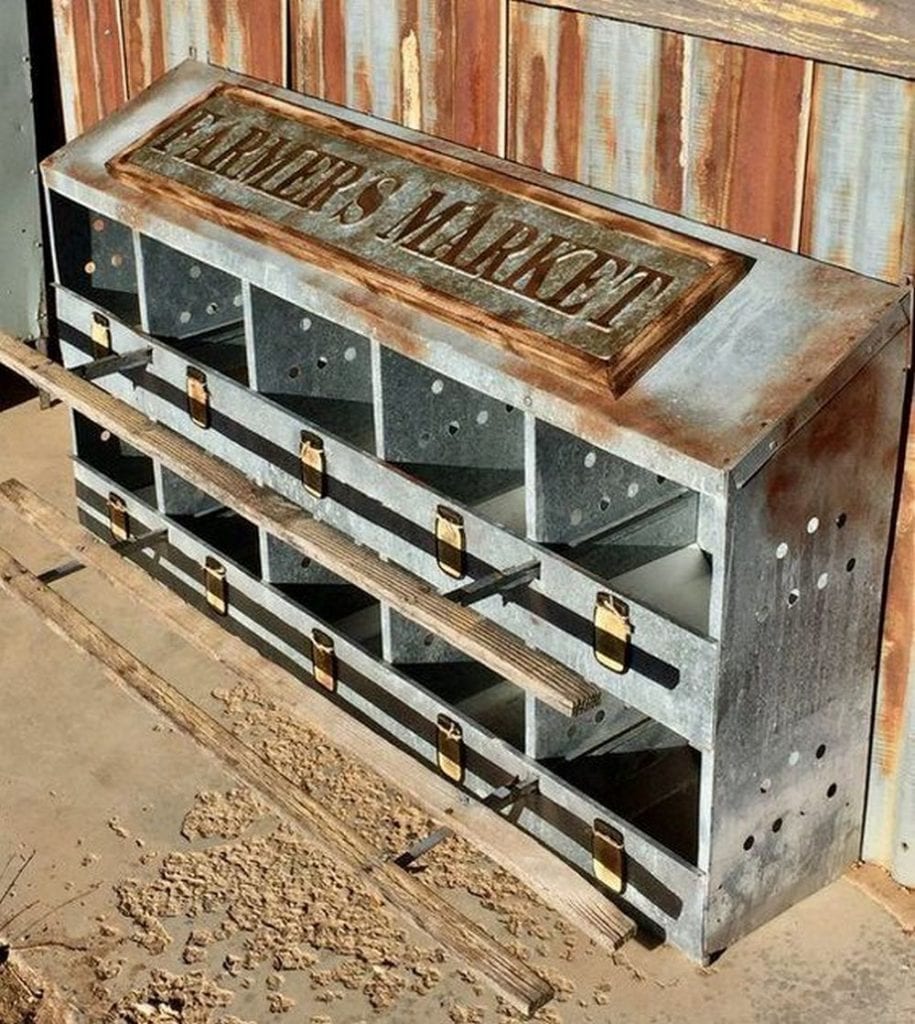
If you’re new to raising chickens, there are some essential items you’ll want to have on hand. Nesting boxes are a top priority. These little havens provide your lovely ladies with the perfect place to lay their eggs in style and comfort. Don’t forget, chirpy chickens lay the tastiest eggs. So, keep your feathered friends feeling fabulous with a cozy nest box for every four to five hens.
The options are endless, but let’s be real, Wood is the way to go. Don’t skimp on quality – make sure those boxes can withstand the clucking and flapping of your ladies. And let’s not forget about ventilation – your hens need to breathe easily while they’re laying those eggs.
Now, where to place them? Find a cozy, quiet nook in the coop and let them do their thing. Sure, your hens could lay anywhere they please, but why not give them a little luxury with their very own nesting boxes?
As a flock keeper, these nesting boxes will make your life a whole lot easier. This means you won’t have to scour through your yard searching for eggs. Collecting eggs will be stress-free because the hens all get to lay in one place.
By having some slick nesting boxes for your feathered friends, you’ll see their eggs all in one basket (literally). No more egg hunting! Building your own cozy chicken nests is the ultimate way to give your hens the royal treatment and keep things neat and tidy.
When it comes to ensuring your chickens have a secure and cozy spot for laying eggs, there are several important considerations. Firstly, the chicken nesting box should be placed in a tranquil and secluded area, well-removed from the primary zones of activity within your chicken coop. This will help to encourage your chickens to use the nest box and will deter them from laying their eggs in other, less ideal spots.
Secondly, the nest box should be in a dark location. This will help to keep the eggs warm and will also discourage your chickens from investigating and potentially damaging them. Then, set up their posh penthouse in a hazard-free and secure spot.
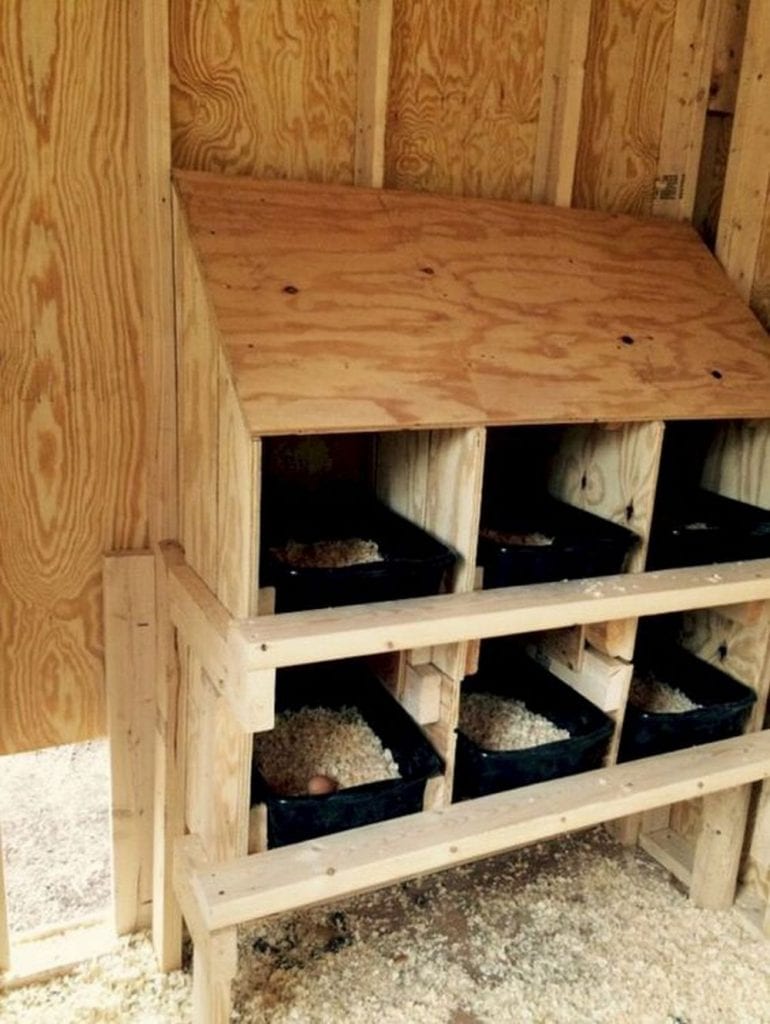
Add nesting materials such as leaves, pine shavings, or straw. This will give the chickens a comfortable place to build their nests. Make sure to check the nesting boxes regularly and replace the nesting materials as needed.
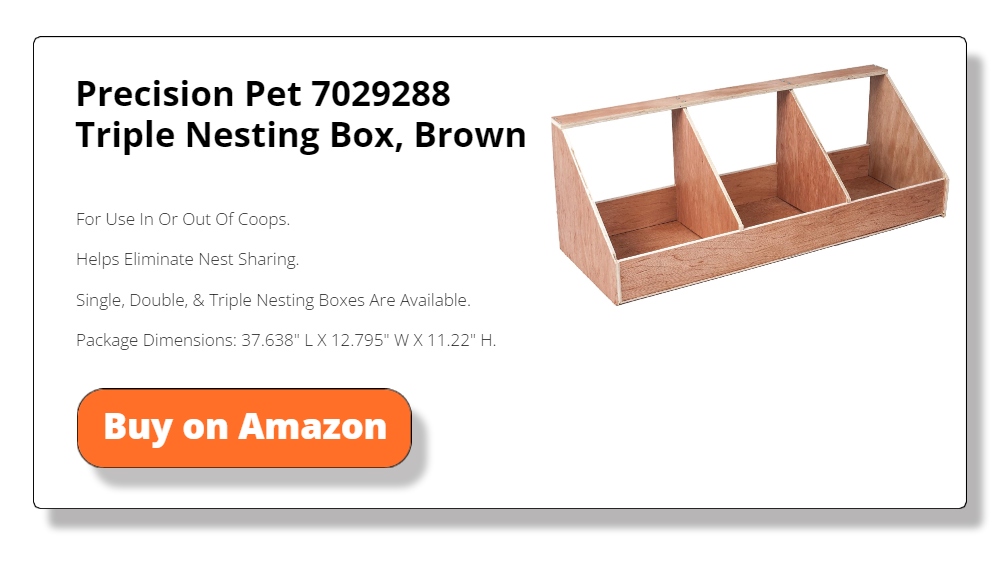
With a wide selection of options, you’re bound to find the perfect fit for your bird buddies. Go basic or go all-out with fabulously fancy choices – the decision is yours.
Would you like to build your own nesting box for your chook for a more organized system of collecting eggs?
Contents
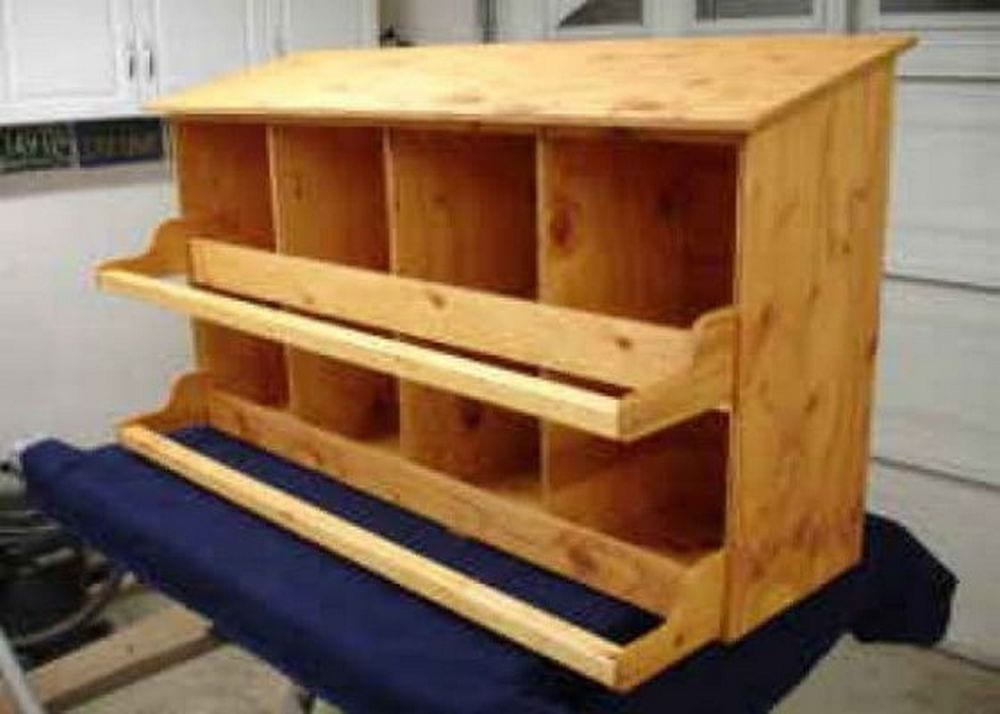
How to Make a DIY Chicken Nesting Box
In this part, you’ll crack open the secrets to crafting a cozy and exceptional nesting space that your hens will proudly call home. It’s not just about assembling pieces; it’s about creating a haven of comfort and security where your feathered companions can safely lay their precious eggs.
You are about to embark on a journey that will provide your flock with a pampered and serene nesting experience unlike any other. Gather the necessary materials and tools to get started!
Materials
- Lumber
- Plastic trays
- Wood
- Wood glue
- Brad nails
- Paint
- Screws or Brackets
- Straw, Hay, or Shavings
Tools
- Table saw
- Measuring tape
- Hammer
- Brad nailer
- Paintbrush
Click on any image to start the lightbox display. Use your Esc key to close the lightbox.
Steps
Here are the steps to making a chicken nesting box:
Step 1: Design and Measurements
- Begin by designing your nesting box. A typical size is about 12 inches by 12 inches for each nesting box. Measure and mark the dimensions on the lumber using a measuring tape.
Step 2: Cutting the Lumber
- Grab that trusty table saw and slice that lumber like a pro. Remember to measure twice and cut once, with precision and care. You’ll need six pieces for each box to make it top-notch: two sides, a bottom, and front and back pieces.
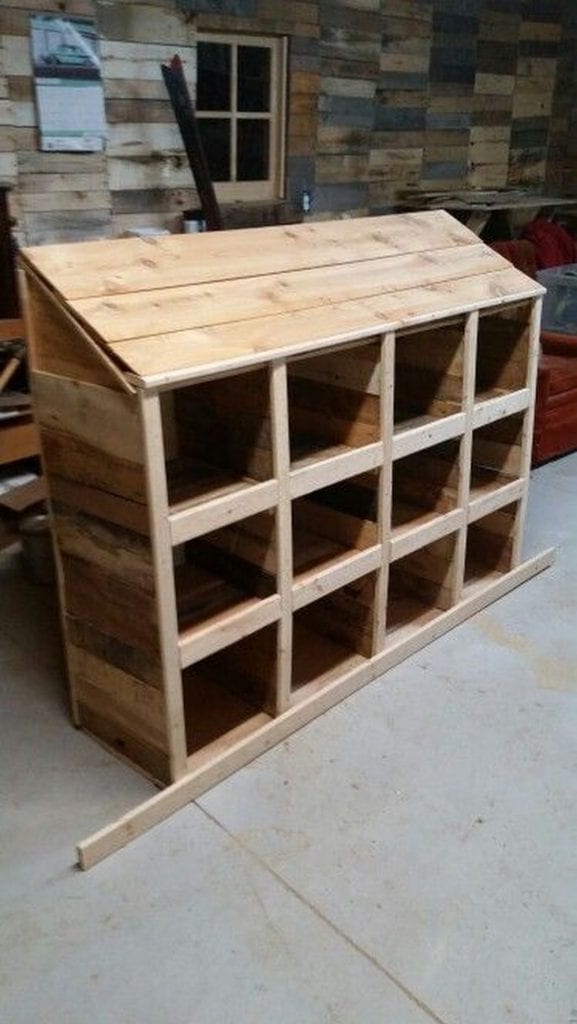
Step 3: Assembling the Box
- Apply wood glue along the edges of the pieces and use a brad nailer to secure them together. Make sure the box is sturdy and square. Repeat this step for each nesting box you plan to create.
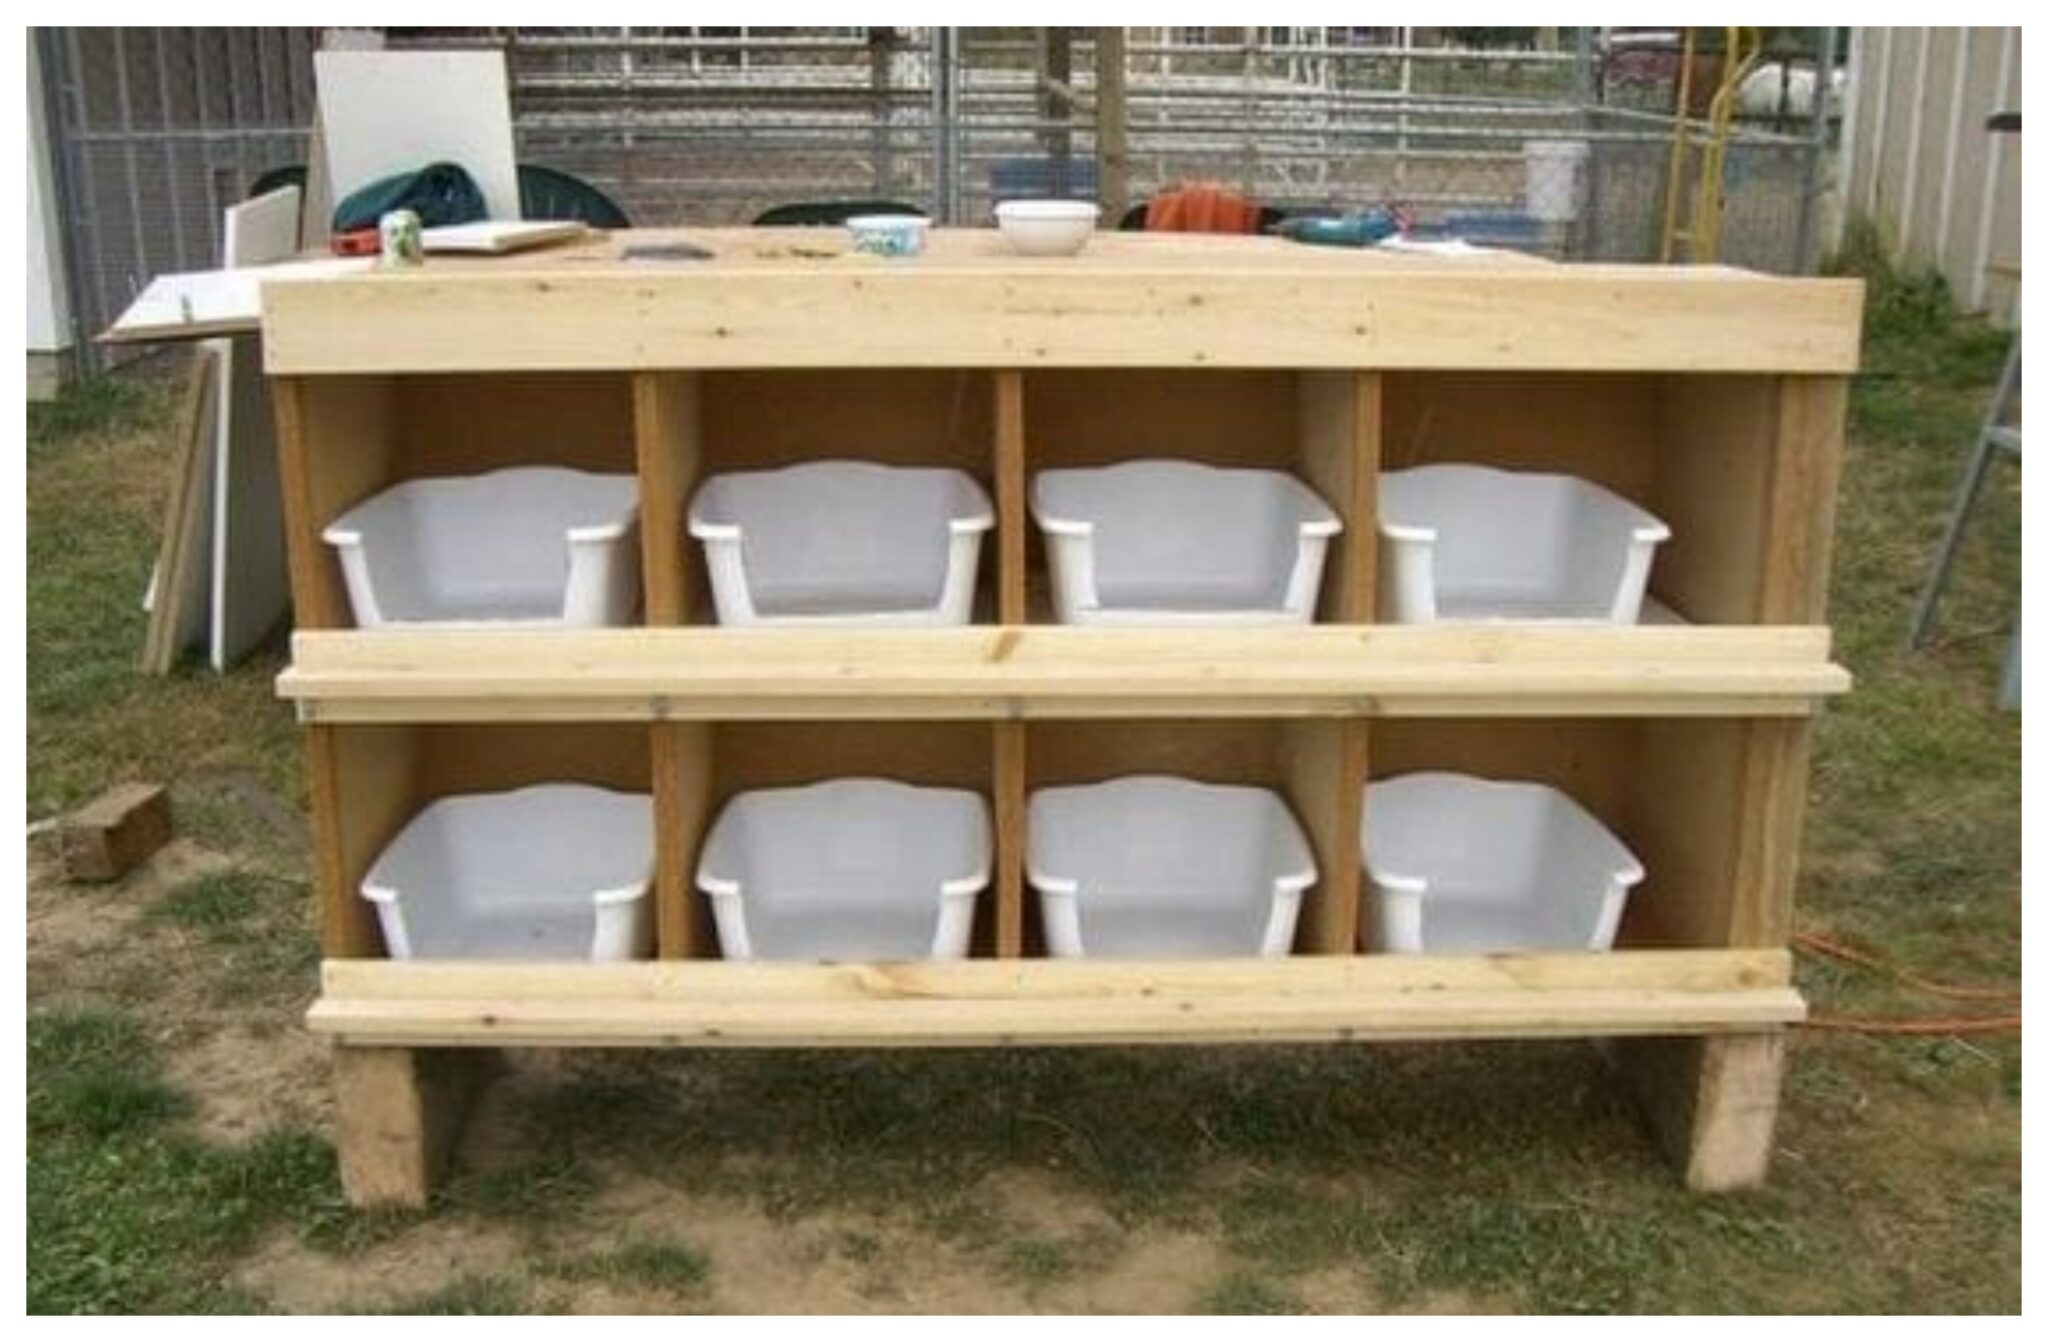
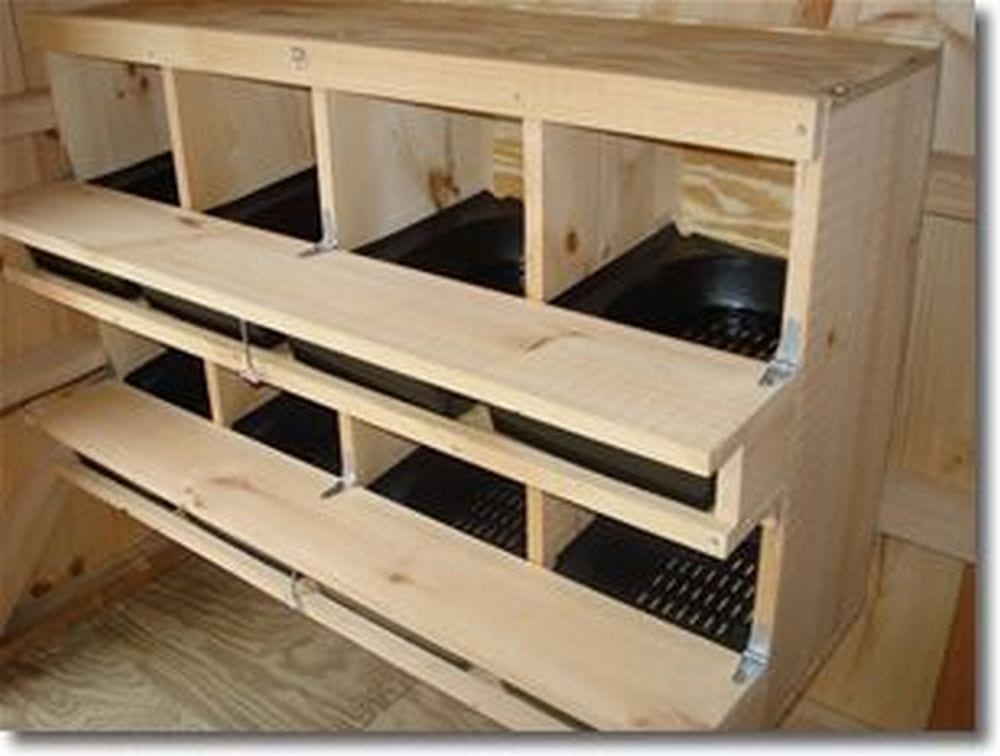
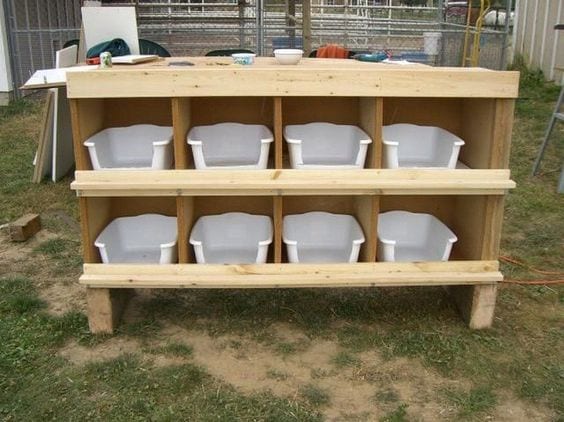
Step 4: Adding the Plastic Trays
- Place a plastic tray inside each nesting box. This tray will catch the eggs and can be easily removed for cleaning. Ensure it fits snugly but can also be taken out when needed.
Step 5: Finishing Touches
- Sand the edges and surfaces of your nesting boxes to remove any rough spots or splinters. This will make it safer for your hens and easier to clean.
- If desired, paint the exterior of the nesting boxes with non-toxic paint. Use a paintbrush to apply a coat of paint in a color that complements your coop or personal preference. Give enough time for the paint to dry completely before use.
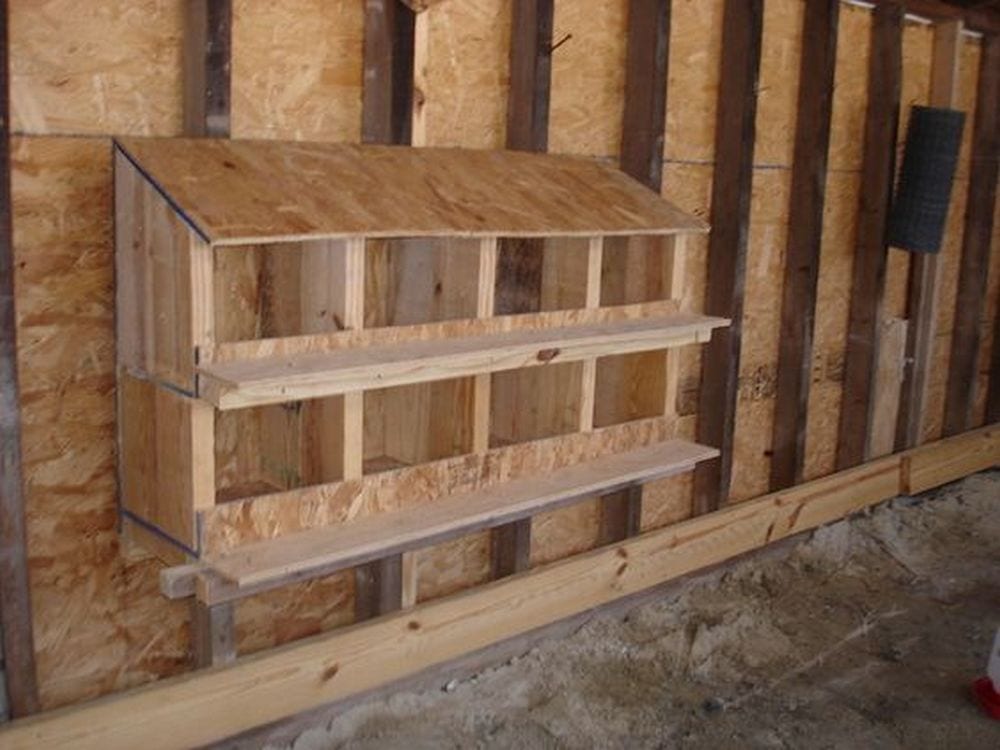
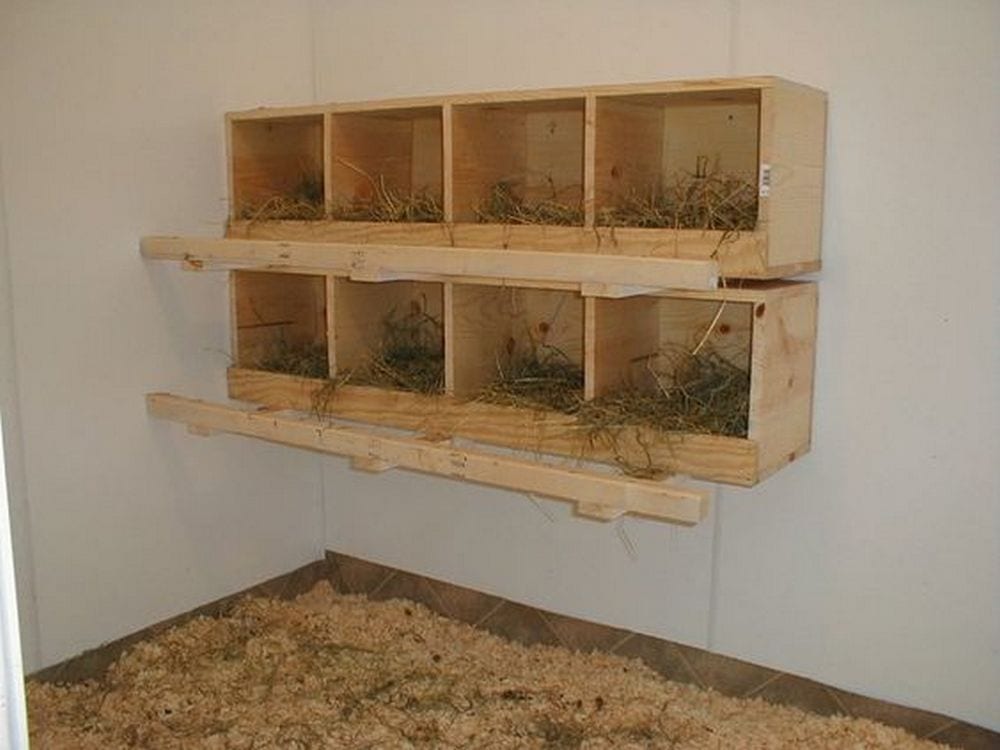
Step 6: Installing the Nesting Boxes
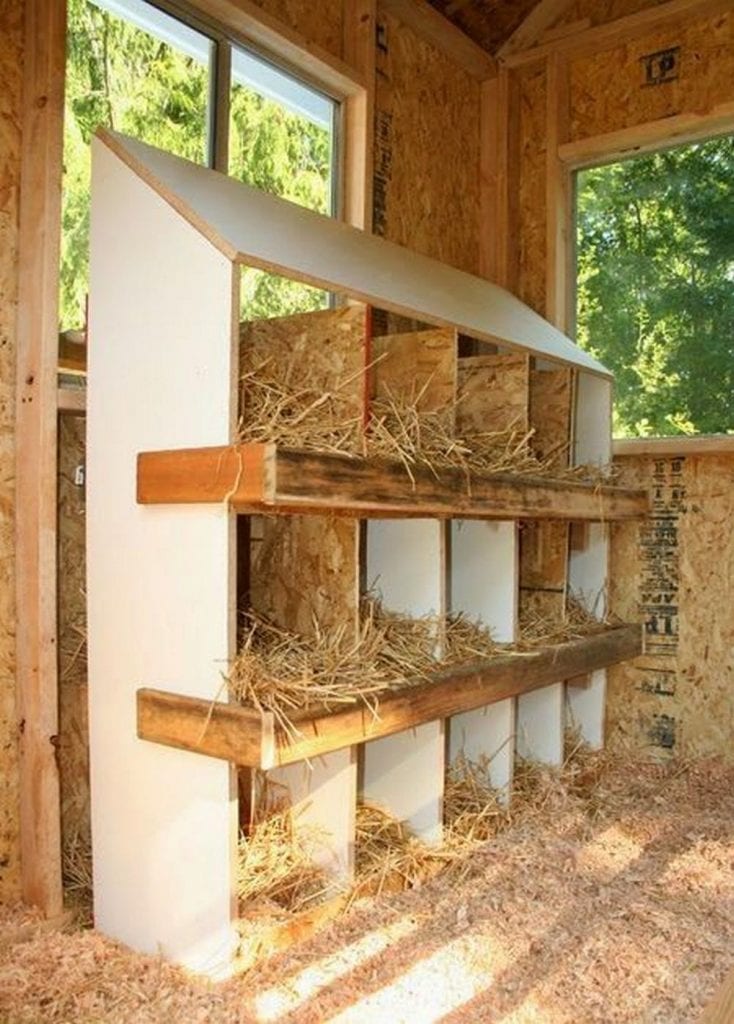
- Find a suitable location inside your chicken coop or chicken run to install the nesting boxes. They should be at a comfortable height for your hens and provide some privacy.
- Secure the nesting boxes to the wall or structure using screws or brackets, ensuring they are stable and won’t move when your hens enter or exit.
Step 7: Bedding Material
- Add comfortable bedding material such as straw, hay, or shavings inside each nesting box. This will provide a soft and cozy spot for your hens to lay their eggs.
So you’ve created a cozy and functional DIY chicken nesting box that will keep your hens happy and your eggs clean and accessible. Your feathered friends will appreciate their new laying area, and you’ll enjoy the convenience of collecting fresh eggs with ease. Periodically check and clean the plastic trays to maintain a clean and hygienic nesting environment for your hens.
There’s also an instructional video available that will walk you through the entire process of constructing your very own chicken nesting box. This video provides a detailed and hands-on demonstration, making it even easier for you to master the art of crafting a comfortable nesting space for your feathered companions.
Maintenance and Hygiene
Keeping your nesting box and coop clean is essential for your chickens’ health and the quality of their eggs. Here’s a straightforward guide on how to maintain everything properly.
Stick to a Cleaning Routine
Weekly cleaning of the nesting boxes should become second nature. First, gather up and discard all of the old bedding, such as straw or wood shavings. The boxes should next be cleaned of dirt and any droppings using warm water and mild soap. As soap could annoy your chickens, make sure you thoroughly rinse everything off.
Disinfect the Area
After cleaning, you’ll want to disinfect the boxes to eliminate any germs that might be hanging around. A simple solution is to mix one part bleach with ten parts water. When you use this mixture, keep the coop airy to avoid strong smells. Let the nesting box dry completely in open air before you put in new bedding, because a damp box can become a breeding ground for bacteria.
Keep Pests Out
Check regularly for pests like mites, lice, and even rodents. These critters are bad news for your chickens’ health and can damage the nesting boxes too. A good tip is to sprinkle diatomaceous earth around the nesting areas. It’s natural and safe for chickens but will help keep the pests away.
Change the Bedding Regularly
Always refill the nesting box with fresh, dry bedding after cleaning it. Good options for bedding are straw and wood shavings because they absorb moisture and help keep the smell down. If you notice the bedding getting damp or dirty, swap it out right away to stop mold and bacteria from growing.
With these simple steps, your nesting box will stay clean and inviting for your hens, and you’ll keep your flock healthy and producing top-notch eggs. Plus, taking care of the coop doesn’t have to be a big chore—it’s all about staying on top of things and using the right materials.
Home Sweet Coop!
With lumber, plastic trays, wood glue, and a dash of creativity, you’ll be creating a haven that your feathered friends will adore. From precise measurements to the finishing touches, this project combines functionality and finesse to ensure your hens have a snug and stylish space to lay their prized eggs.
Your feathered companions are in for a treat as they gain access to a meticulously designed, snug, and stylish space that’s tailor-made for the art of egg-laying. Each step of this journey is crafted with utmost care to guarantee that your hens not only find comfort but also elegance in their new nesting abode.
It’s not just a shelter; it’s a sanctuary where every egg is destined to be laid with pride and where your flock will revel in the ultimate in poultry luxury.