Last Updated on April 9, 2024 by teamobn
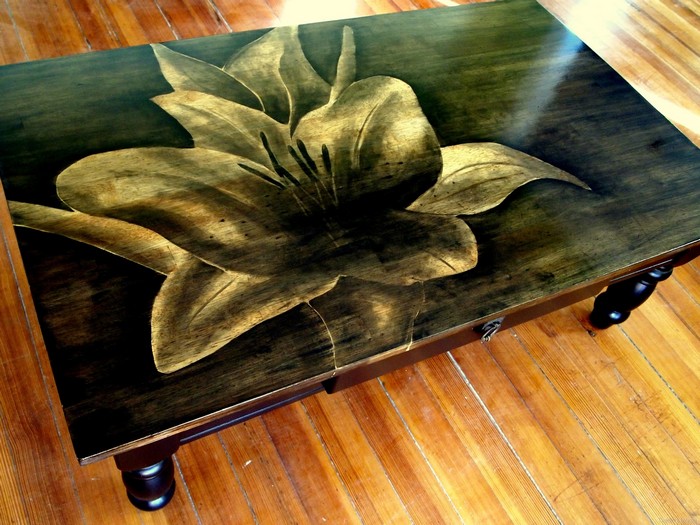
Bored of your plain wooden dining table? Then, give it a makeover. If you want it to look really impressive, try this wood stain art! Adding a beautiful wood stain to your artwork can really make it pop and stand out from the crowd. Not only does it give your art an extra level of dimension and depth, but it can also really help to accentuate the natural beauty of the wood grain.
You don’t need to be a skilled artist to achieve a beautiful, professional-looking finish on your woodworking projects. With a little bit of cotton rug, wood stain and your chosen design, you can create stunning results that will impress your friends and family.
So don’t be discouraged if you don’t think you have the talent for woodworking – with a little bit of effort, anyone can create beautiful pieces that will be cherished for years to come.
If you’re not confident in your drawing skills, don’t worry – you can still create beautiful floral designs without having to sketch them out first. Simply find an image you like online, and either print it out or use tracing paper to transfer it onto your project surface. Then, fill in the design with whatever colors and materials you like. It’s that easy!
There are a few things to keep in mind when you’re planning on staining your furniture. First, you’ll need to sand the piece down to prepare it for staining. Next, you’ll need to choose the right type of stain for your project. There are a variety of stains available, so it’s important to do your research to find the right one. Finally, you’ll need to apply the stain evenly and carefully to avoid any streaks.
You can watch the step-by-step tutorial from Reality Daydream here.
In addition to chairs and tables, other pieces of furniture can be refurbished with wood stain art. Dressers, nightstands, armoires, and headboards can all be given new life with a custom wood stain finish. With so many options available, the possibilities are endless. Whether you want a rustic, shabby chic look or something more modern and sleek, there is a wood stain finish to suit your style.
Contents [show]
6 Incredible Wood Stain Art Ideas
Click on any image to start the lightbox display. Use your Esc key to close the lightbox.![]()
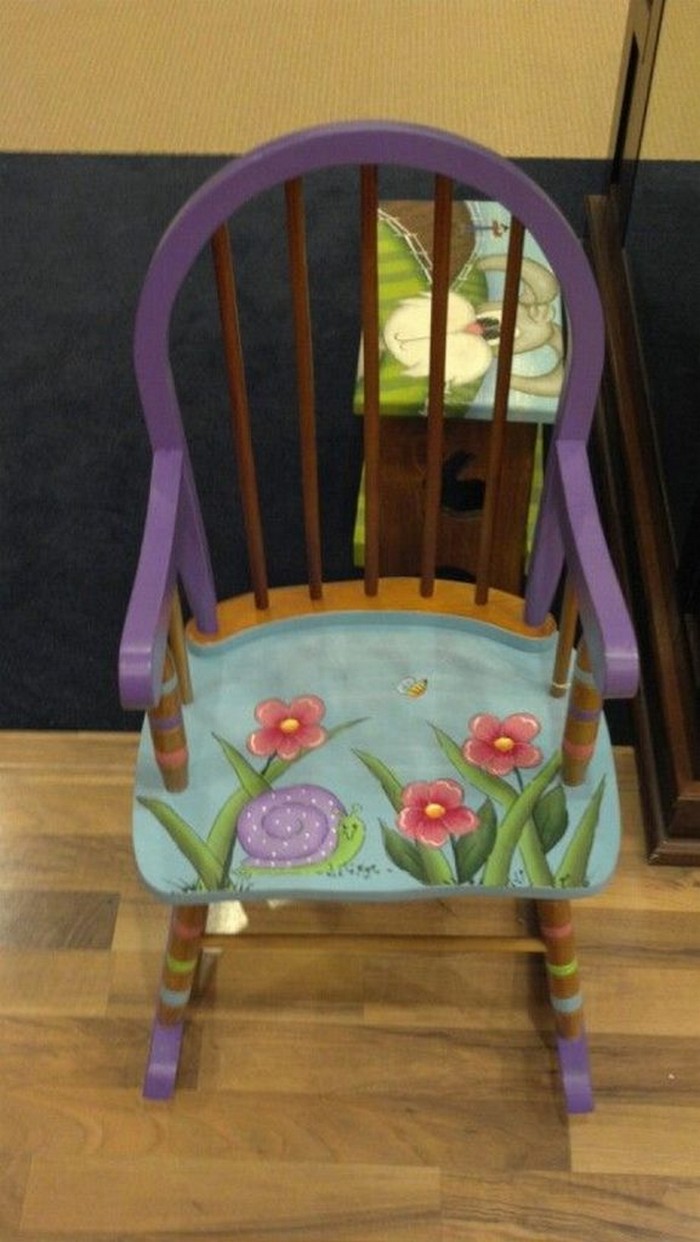
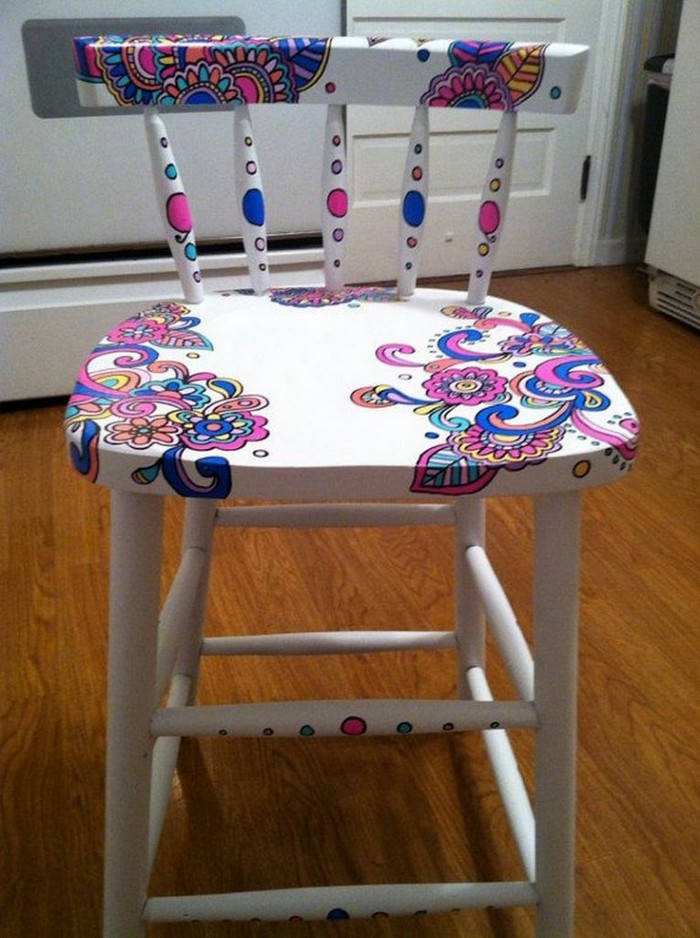
Chair
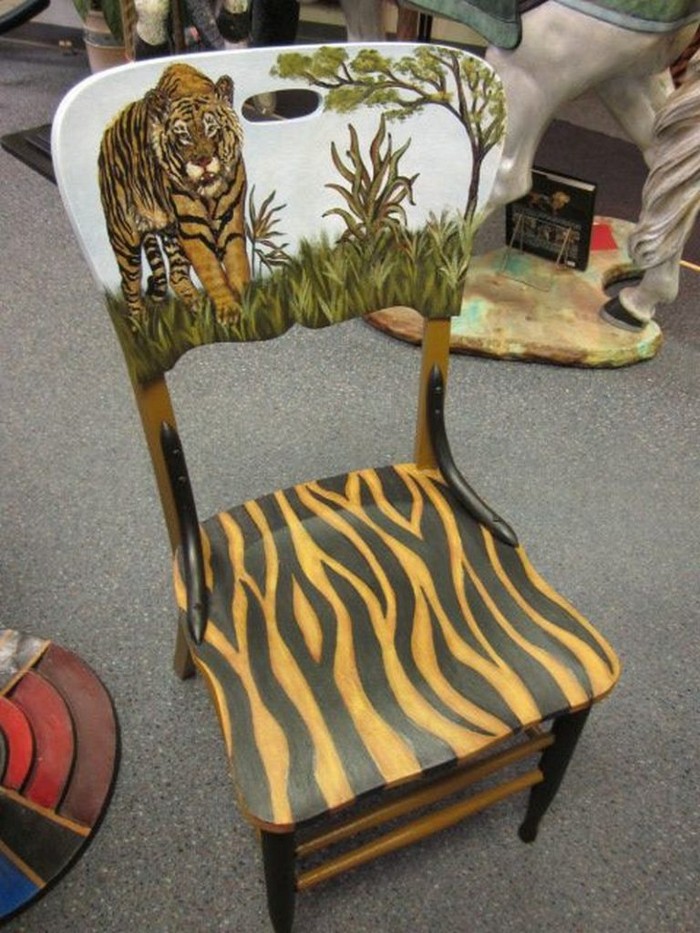
Other than wood stains, you can also give your old chair a great new look by painting them with colourful designs. When choosing paint for your project, be sure to select a high-quality product that will provide good coverage and adhere well to the surface of your chair.
With a little time and effort, you can easily transform an ordinary piece of furniture into a work of art!
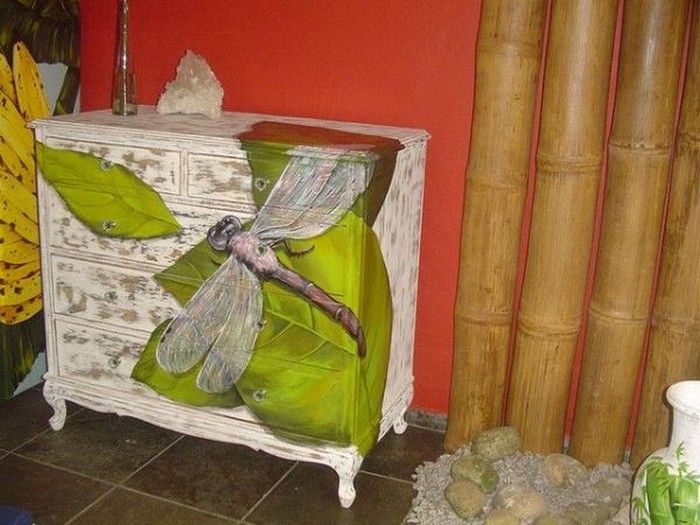
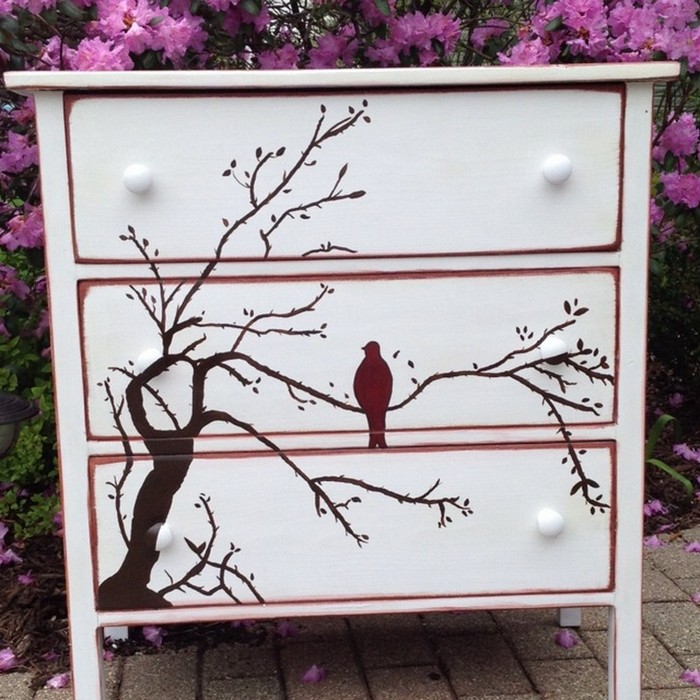
Dresser
If you’re looking for a creative and budget-friendly way to spruce up an old dresser, painting it is a great option. You can give an old dresser new life with a fresh coat of paint and some new hardware. Plus, painting a dresser is a relatively easy project that most people can do themselves.

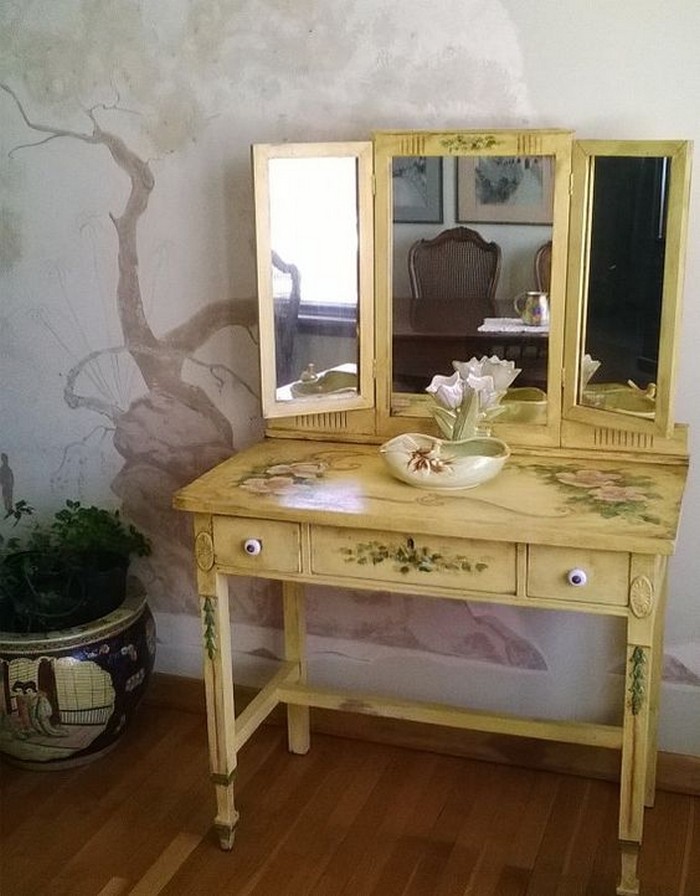
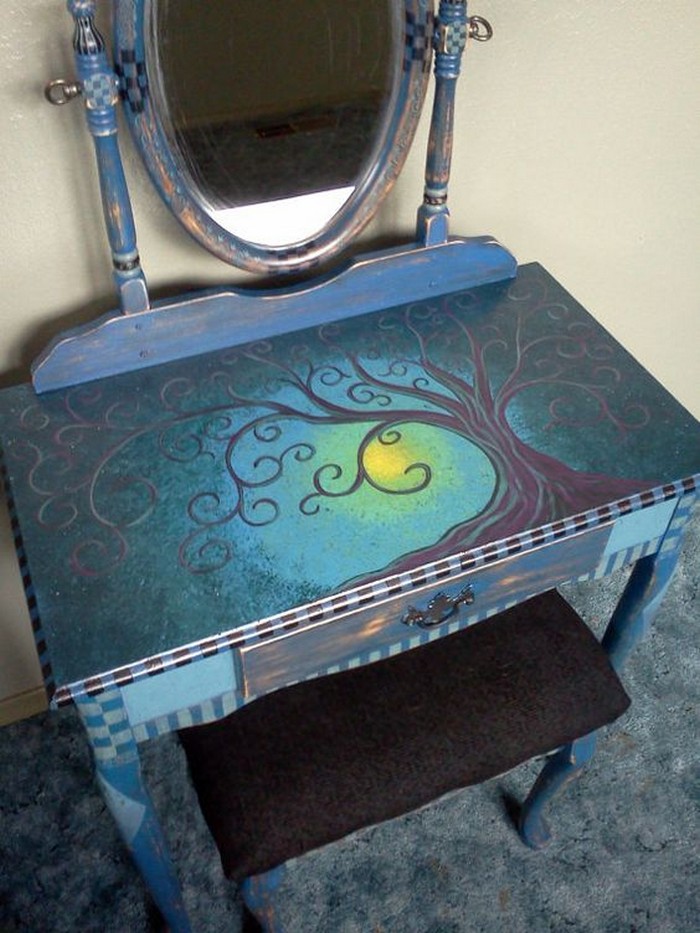
Vanity Table
Wood stain art can be best for vanity tables too. You can use it to make your table look more beautiful and elegant. You can also use it to make your table look more stylish and unique.

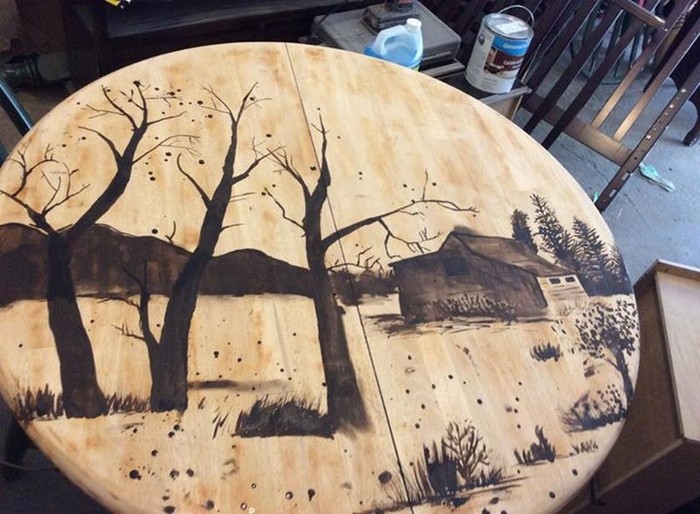
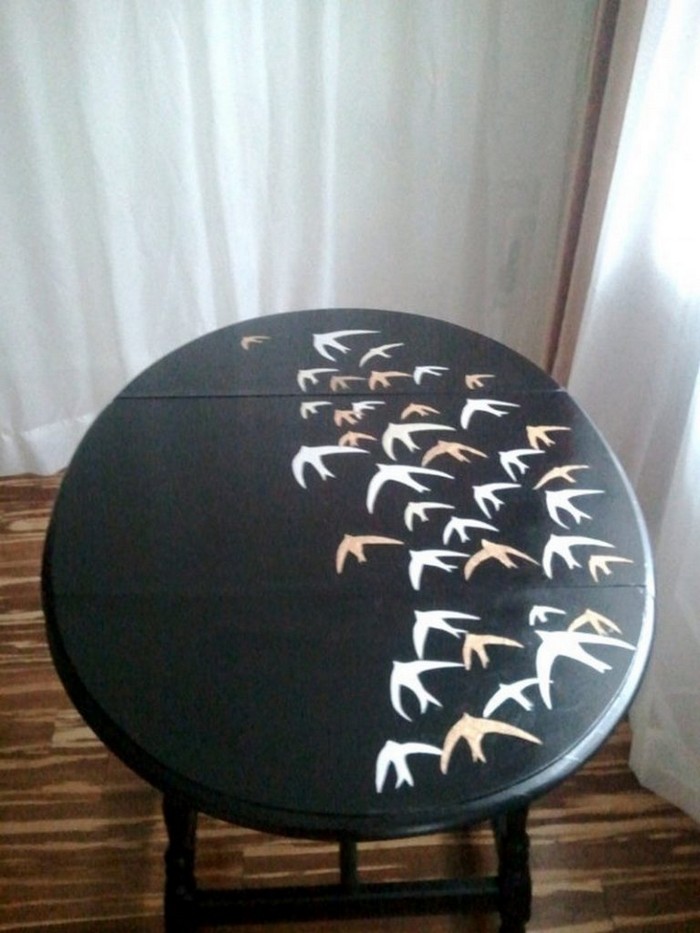
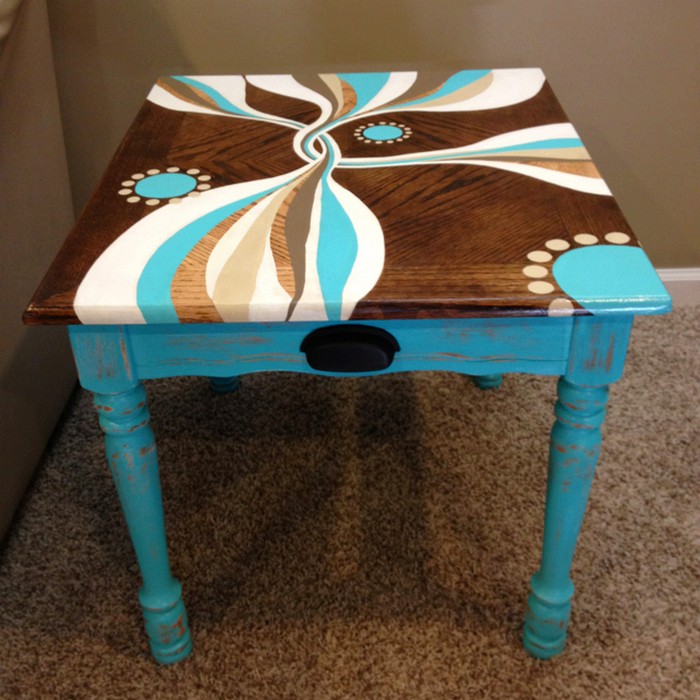
Small Tables
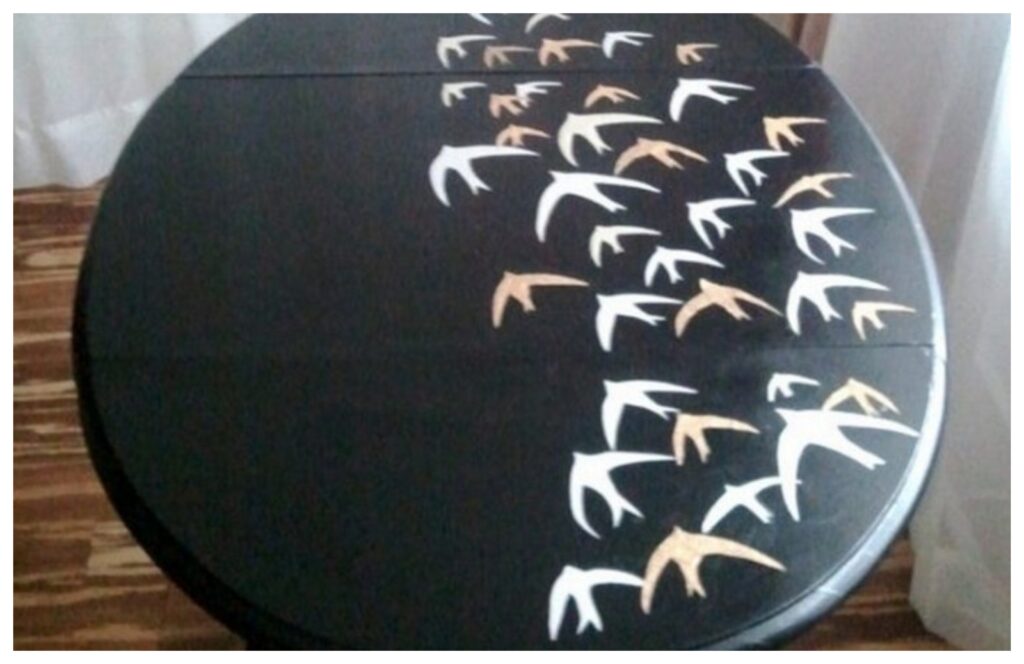
This wood stain art is perfect for any small table in your home. With its simple design, it will add a touch of class to any room. The wood stain art is made with high-quality materials and is very easy to care for.
Preparation Techniques for Wood Stain Art
Creating beautiful wood stain art starts long before the first brush of stain touches the wood. The preparation stage is crucial for achieving a flawless finish that highlights the natural beauty of the wood and brings your artistic vision to life. Proper preparation ensures that the wood stain art not only looks stunning but also stands the test of time.
Let’s dive into the essential techniques to prepare your wood for stain art.
Selecting the Right Wood
The choice of wood is the first step in your wood stain art project. Softwoods like pine, cedar, and spruce are more absorbent, which can be beneficial for a more pronounced stain effect but may result in uneven absorption.
Hardwoods such as oak, walnut, and maple, with their tight grain, offer a smoother surface for detailed work. Consider the grain patterns and natural color of the wood, as these will influence the final appearance of your wood stain art.
Sanding the Wood
Sanding is perhaps the most critical preparation step for wood stain art. Start with a coarse-grit sandpaper to remove any imperfections or previous finishes. Progressively move to finer grits to smooth the surface.
The goal is to create a surface that’s uniform and free of scratches, as any imperfections will be magnified once the stain is applied. Sanding not only enhances the wood’s natural grain but also improves stain absorption for a more vivid and consistent finish.
Cleaning the Surface
After sanding, thoroughly clean the wood to remove all dust and debris. A tack cloth works well for picking up fine particles that could interfere with the application of the wood stain. Ensuring the wood is clean and free of contaminants is vital for achieving a professional and even finish in your wood stain art project.
Testing the Stain
Before committing to staining your main project, test the wood stain on a scrap piece of the same wood. This step allows you to see how the wood reacts to the stain and gives you an opportunity to adjust the color or application technique if needed. It’s an essential step to ensure your wood stain art turns out exactly as you envision.
Applying a Pre-Stain Wood Conditioner
For softwoods or woods with uneven grain patterns, applying a pre-stain wood conditioner can promote uniform stain absorption. This step is especially crucial if you’re aiming for a smooth, even color in your wood stain art. The conditioner helps to minimize blotchiness and enhances the clarity of the wood’s natural grain.
By following these preparation techniques, you’re setting the stage for successful wood stain art. Each step, from selecting the right wood to ensuring a clean, smooth surface, contributes to the beauty and longevity of your artwork. Proper preparation not only makes the staining process smoother but also elevates the final result, turning a simple piece of wood into a stunning piece of art.
Types of Wood Stains and Their Effects
When talking about wood stain art, the type of stain you choose can significantly impact the aesthetic and feel of your project. Wood stains not only enhance the natural beauty of the wood but also protect its surface. Each type of stain has unique characteristics and offers different effects, making it crucial to select the right one for your specific wood stain art project.
Let’s explore the various types of wood stains and the effects they can achieve.
Oil-Based Stains
Oil-based stains are renowned for their durability and deep penetration into the wood. They are ideal for wood stain art projects that require a rich, vibrant color. The slow drying time of oil-based stains allows for a more controlled application, reducing the risk of streaks.
However, they require proper ventilation due to their strong odor and longer drying times. The result is a durable and water-resistant finish that accentuates the wood grain beautifully.
Water-Based Stains
Water-based stains have gained popularity for their eco-friendliness and ease of use. They dry faster than oil-based stains and have a minimal odor, making them suitable for indoor projects.
Water-based stains are less likely to yellow over time and offer a wide range of colors. They are excellent for achieving a lighter, more natural look in your wood stain art, though they may raise the grain of the wood, requiring additional sanding.
Gel Stains
Gel stains have a thick consistency, which makes them great for wood stain art projects on vertical surfaces or for woods with a porous grain. They don’t drip or run, allowing for a more even application on difficult surfaces.
Gel stains sit on top of the wood rather than penetrating it, offering uniform color and masking inconsistencies in the wood grain. This property makes them perfect for achieving a consistent color on mixed wood projects.
Wiping Stains
Wiping stains are designed to be wiped off after application, giving the artist control over the intensity of the color. These can be used on different types of wood due to their versatility. Wiping stains penetrate the wood well, providing a durable finish that enhances the wood’s natural patterns. They are excellent for wood stain art that requires shading or gradient effects.
Lacquer Stains
Lacquer stains dry extremely quickly and are usually applied using a sprayer, making them a good choice for professional wood stain artists who need efficiency. They provide a hard, durable finish that is ideal for wood stain art pieces that will be handled frequently. However, they require a well-ventilated area and proper safety equipment due to their potent fumes.
Dye Stains
Dye stains are known for their vibrant colors and deep penetration into the wood. They are perfect for wood stain art projects that require intense color or for woods with a tight grain. Dye stains can be diluted to achieve the desired intensity and are available in both water-based and alcohol-based formulas. They offer a transparent finish that can highlight the wood grain while adding a pop of color.
Choosing the right type of wood stain can transform a simple piece of wood into a masterpiece. Each type of stain offers distinct advantages and effects, from the rich, deep colors of oil-based stains to the vibrant hues of dye stains. Understanding these differences allows artists to select the best stain for their wood stain art projects, ensuring a beautiful and lasting finish.
Conclusion
Adding wood stain art to furniture not only revitalizes its appearance but also showcases the innate beauty of the wood. This artistic touch transforms ordinary pieces into unique, eye-catching works of art that reflect personal style and creativity. With the right preparation and choice of wood stain, any piece of furniture can become a stunning focal point in a room.
We have more amazing decoration ideas for your home. Check out our shower curtain wall art guide!


