Last Updated on October 5, 2022 by teamobn
There are few toys as iconic and well-loved as Legos. For generations, children have enjoyed building endless creations with these colourful little blocks. But what is it that makes Legos so special? Why do they continue to remain popular year after year? There are several reasons for Legos’ enduring popularity. First, they offer endless opportunities for creativity and imagination.
Children (and adults!) can use Legos to build just about anything they can dream up. There are also dozens of different Lego sets available, so there’s always something new to build. Another reason Legos are so popular is that they’re great for learning. With Legos, children can develop important skills like fine motor control, and problem-solving.
Well, how about a Lego dresser? If you have an old dresser that needs a makeover, consider giving it a Lego-themed makeover! You can even turn it into a Lego table! This is a great way to repurpose an old piece of furniture, and it’s sure to be a hit with any Lego lover.

You’ll need these materials:
- Old Dresser
- 1-1/2″ Dowel Rods
- Paint (Lego Colours: Red, Yellow, Blue, Green)
- Wood Glue
- Wood Screws
And these tools:
- Measuring Tape
- Drill
- Nail Gun
- Sander
- Paintbrush
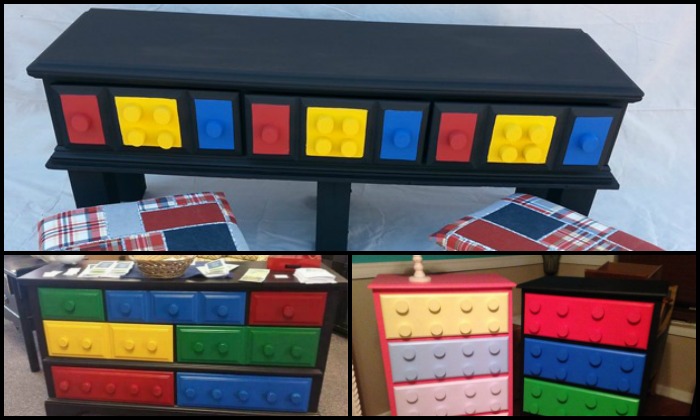
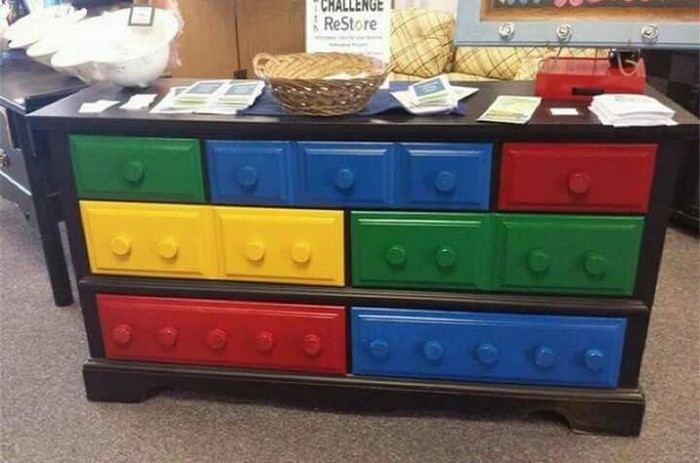
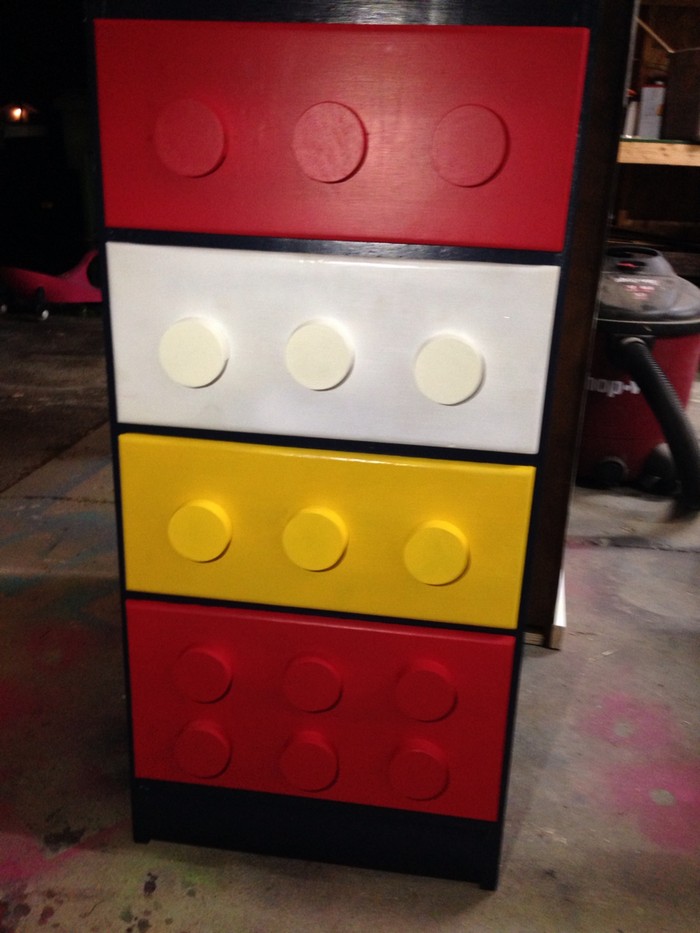
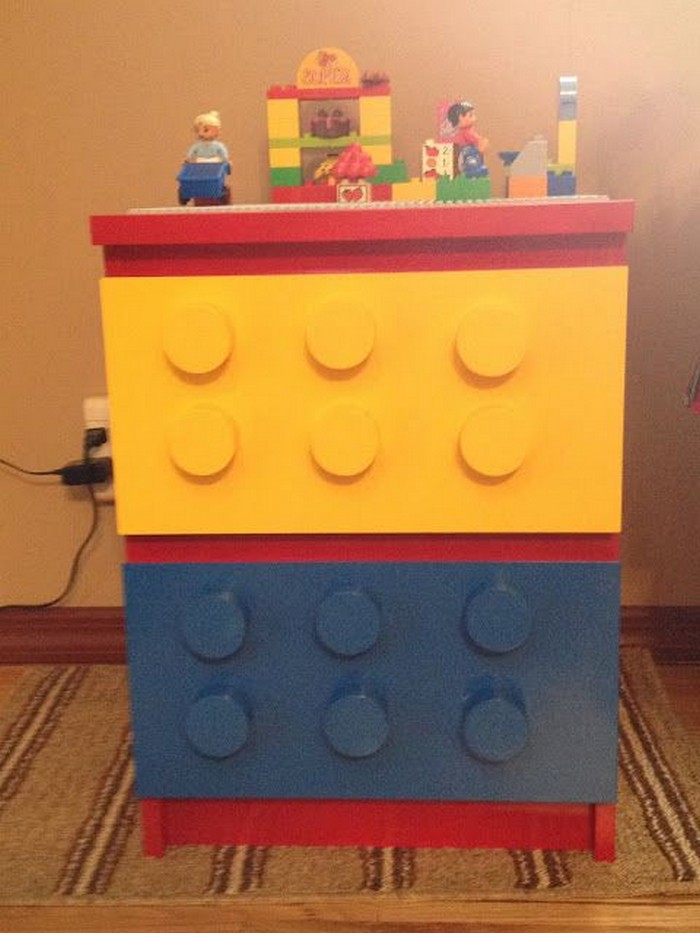
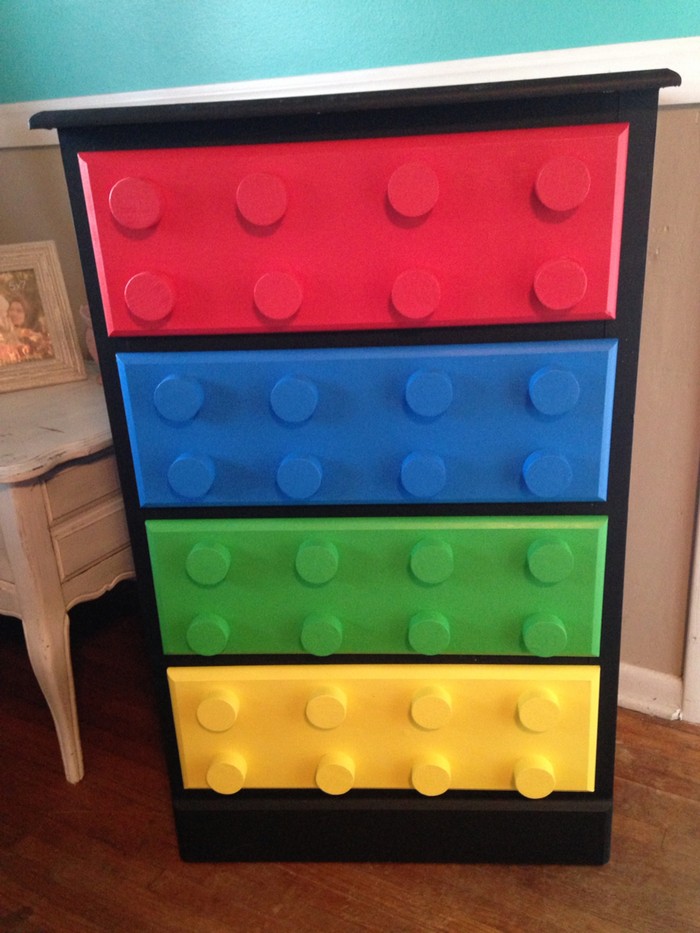
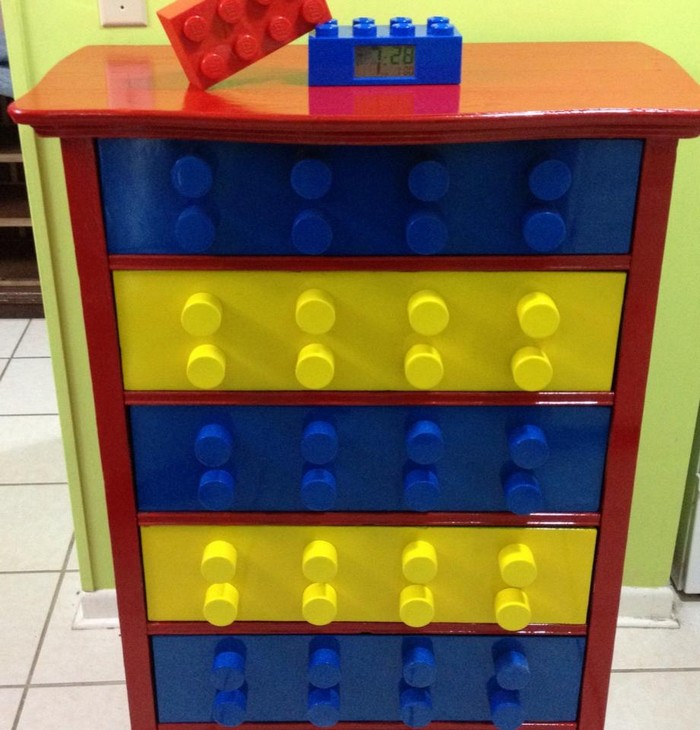
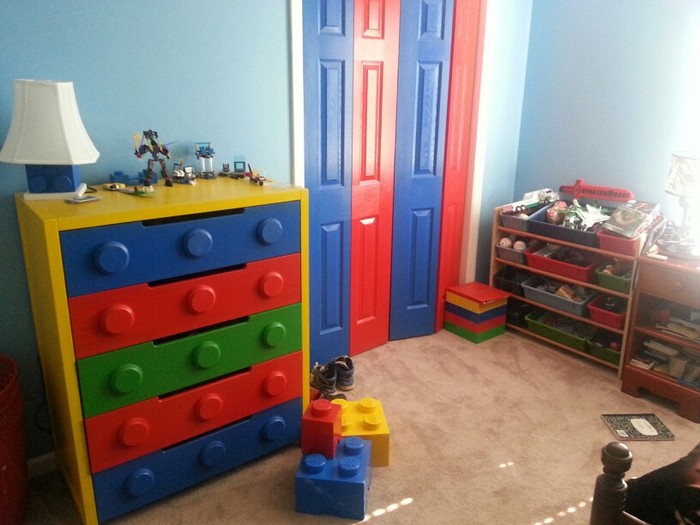
An old dresser transformed into a Lego dresser
If you’re looking for a fun and easy project to add some personality to an old dresser, try giving it the Lego look! First, gather all the materials and tools needed for your dresser makeover. You can start with the list of materials we’ve listed.
Next, is to remove all the drawer handles of your old dresser drawers. When you’re ready to repaint an old dresser, the first step is to sand down the existing paint. This will help the new paint to adhere better and create a more even finish. Use medium-grit sandpaper and sand the dresser in the direction of the grain. Once you’ve sanded the entire surface, wipe away any dust with a damp cloth.
Once you’ve sanded the old dresser, fill in any holes left from the drawer handle screws with wood filler. Apply the wood filler with a putty knife, and then smooth it out so that it’s level with the surface of the dresser. Once the filler is dry, you’re ready to start painting your lego dresser in your desired Lego colours.
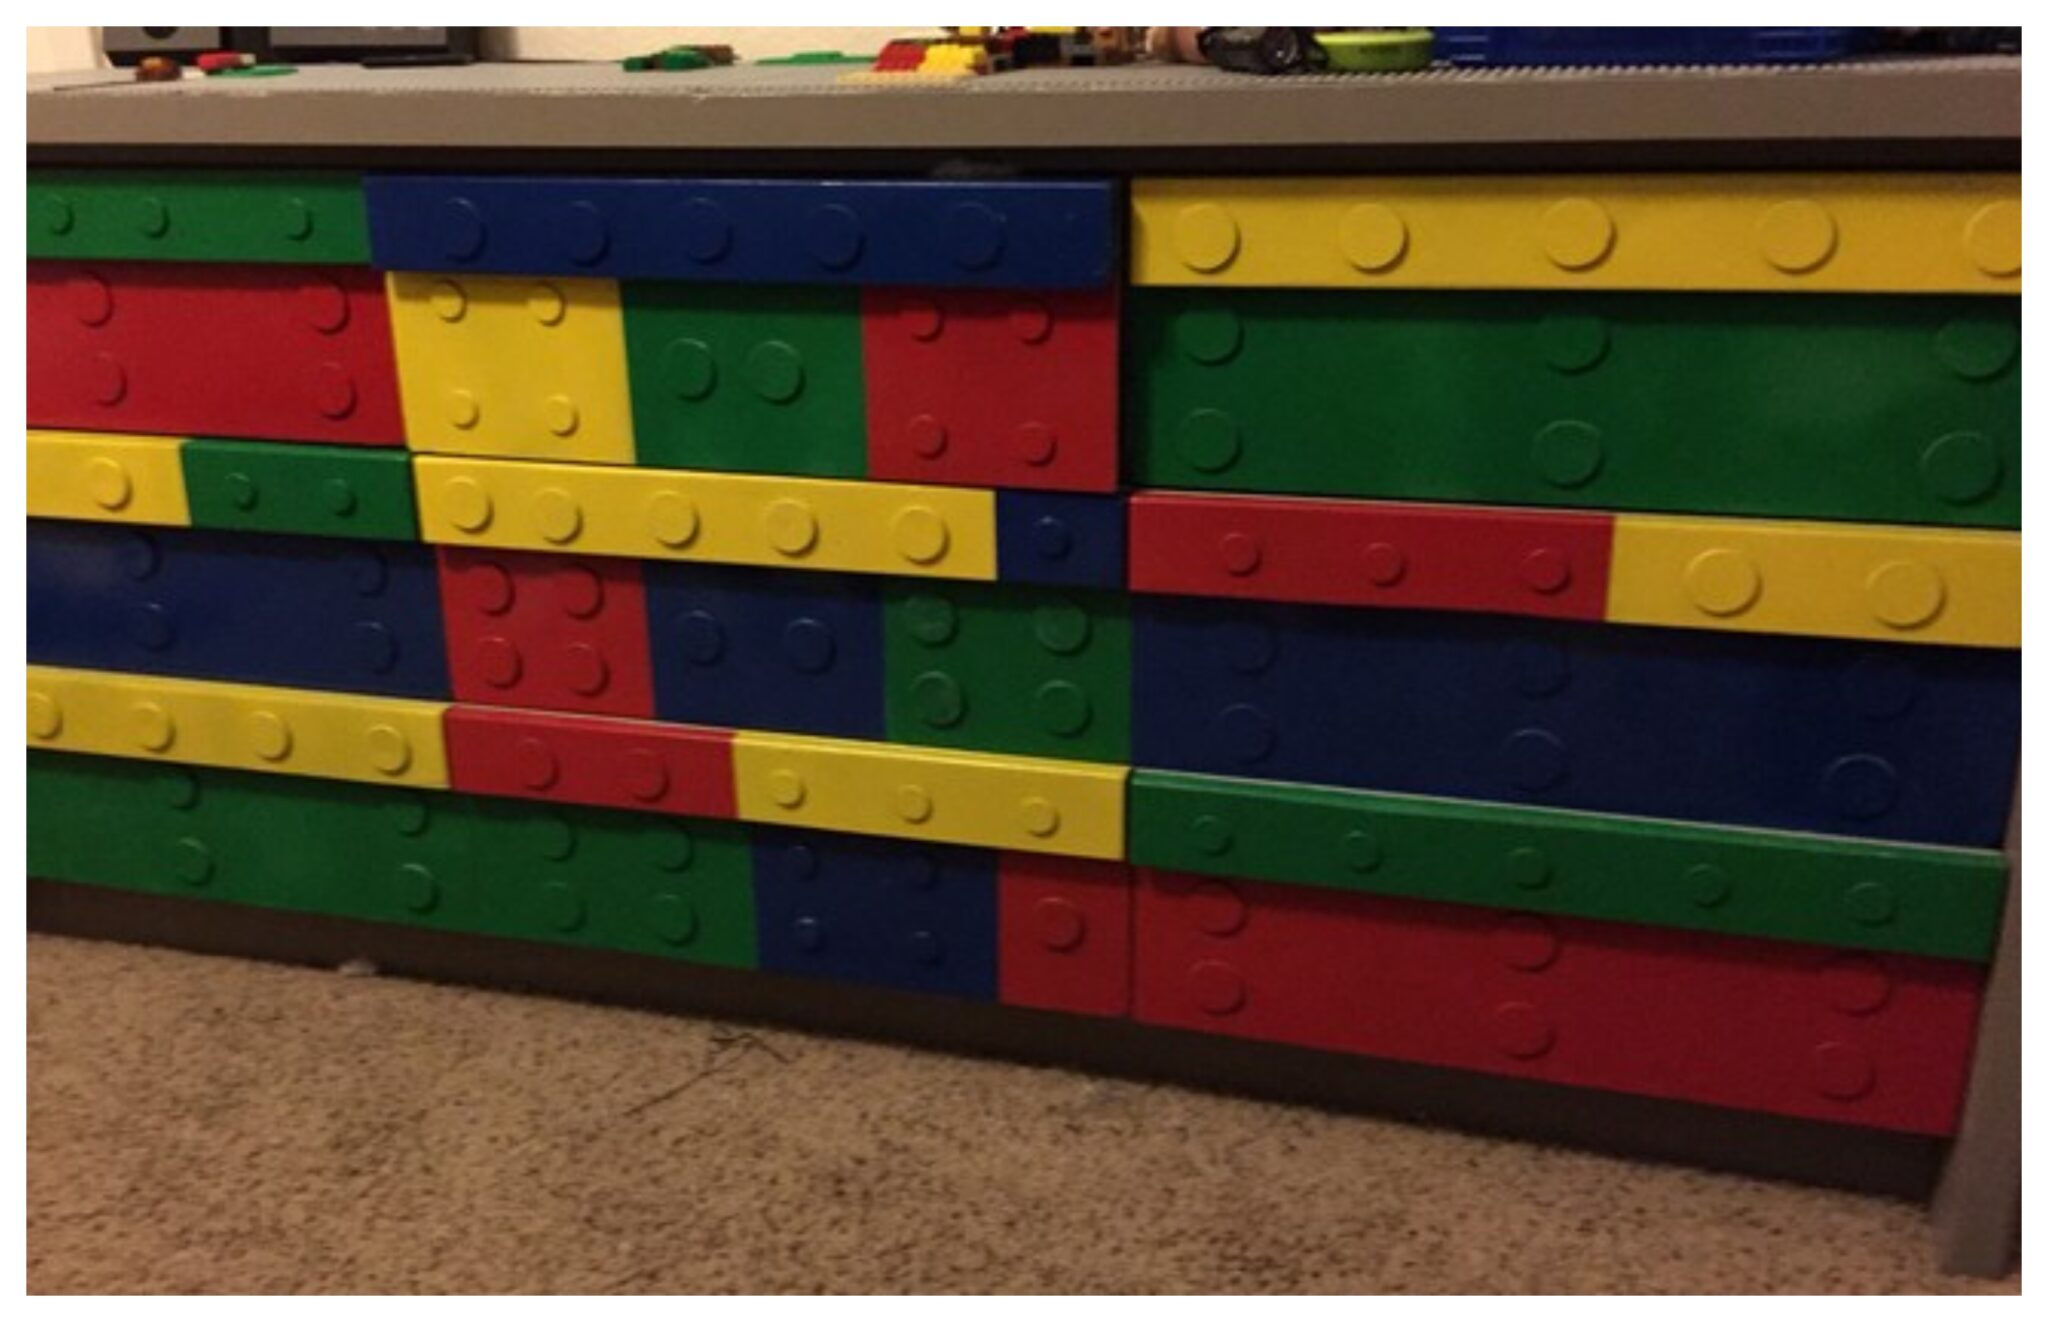
Add some fun Lego decals for an extra touch, and enjoy your new Lego dresser! To make it look like a Lego, you will need to cut 1-1/2″ diameter dowel rods into about one-inch thick pieces. These circles will serve as your new ‘drawer pulls’ so make sure they are thick enough for you to grasp.
You can try making these from old timber spindles or table legs if you have some, instead of buying new dowel rods. The number of rods and circles you have to get from them will depend on the size of your drawers and your design.
Attach the circles on the face of the drawers with wood glue. Then secure them with screws or nails. Once the circles are attached, you can then paint them with Lego colours!
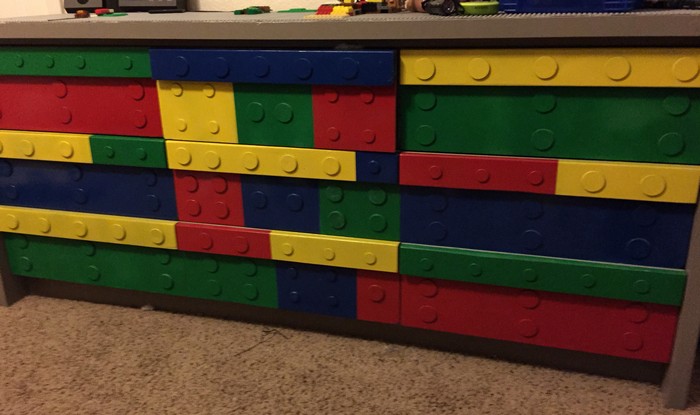
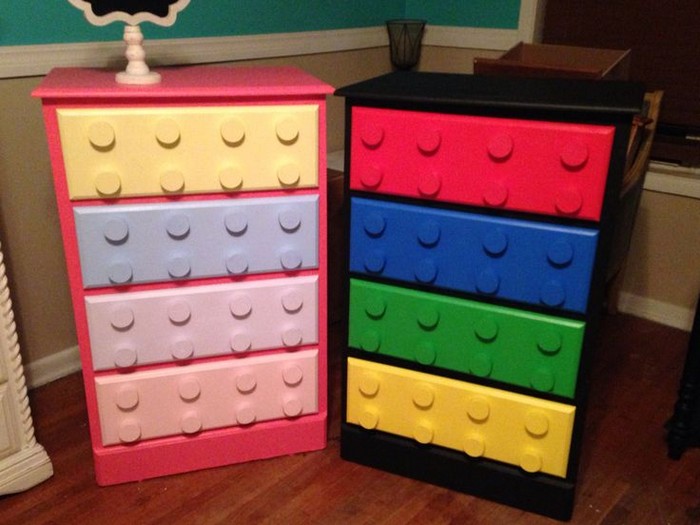
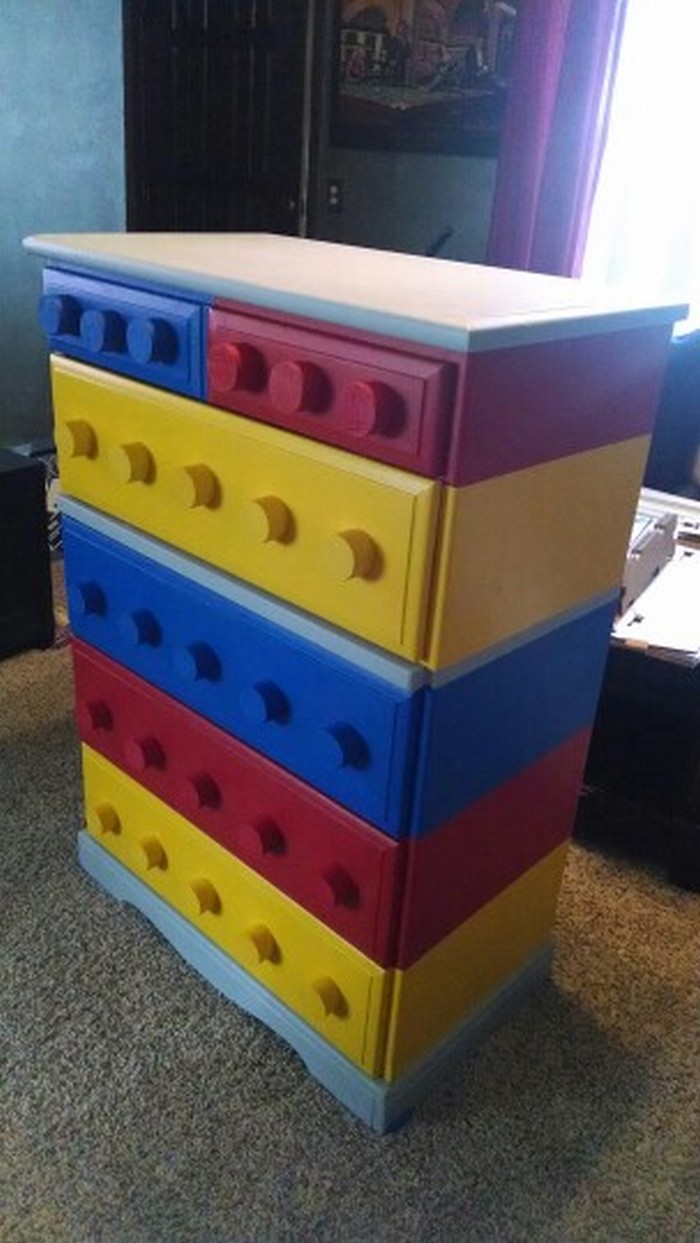
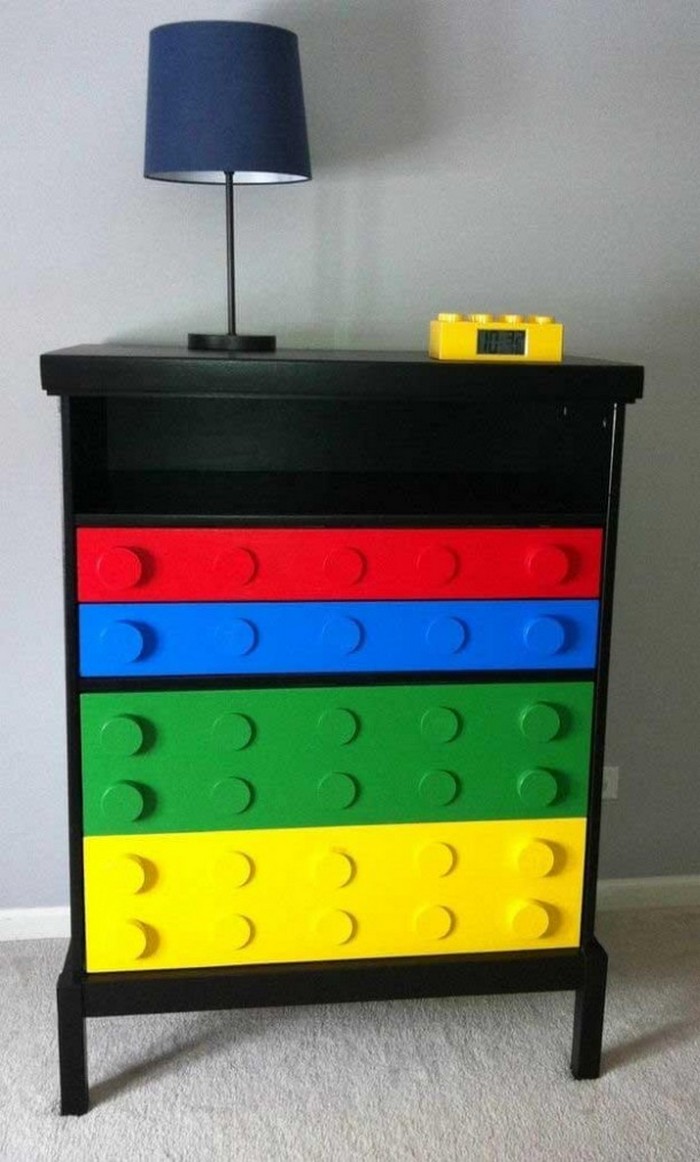
Check out our album of DIY Lego dressers by viewing our album for inspiration!
You can also read about how an old dresser was turned into a Lego table/drawer for the kids by heading over to the step-by-step tutorial linked below the album. 🙂
Click on any image to start the lightbox display. Use your Esc key to close the lightbox.![]()

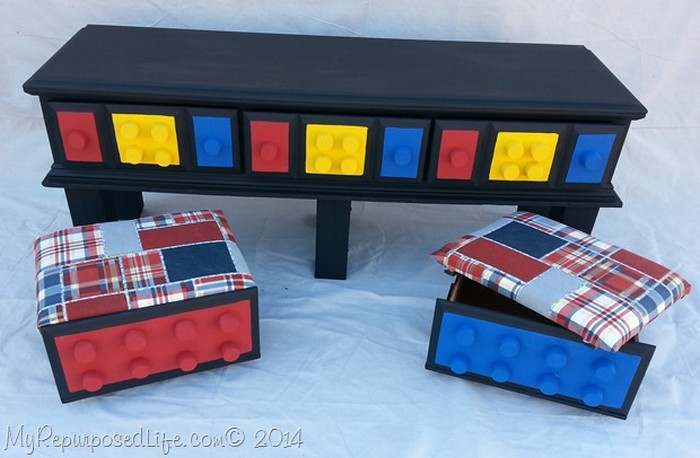
You can get step-by-step instructions from My Repurposed Life over here…