Last Updated on July 24, 2024 by teamobn
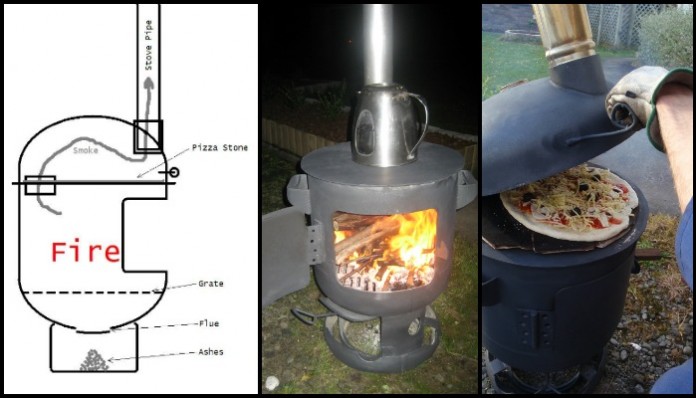
Do you love to do outdoor cooking? If you do, we have a great idea for an awesome stove/cooking equipment made from old propane bottles for you.
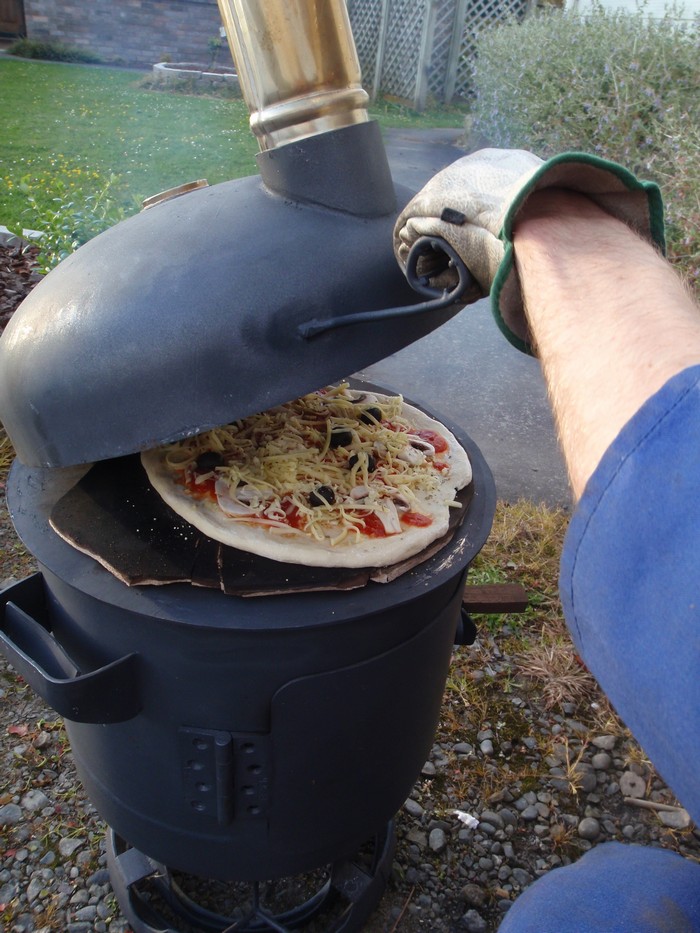
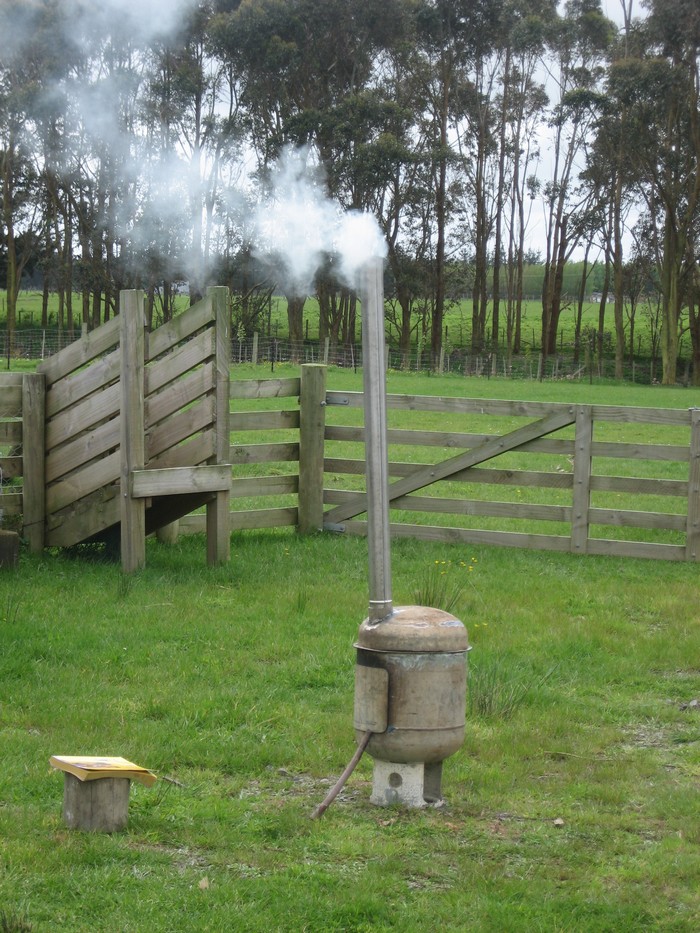
Here’s a DIY project you can do that serves two purposes – a pizza oven and a patio heater/brazier!
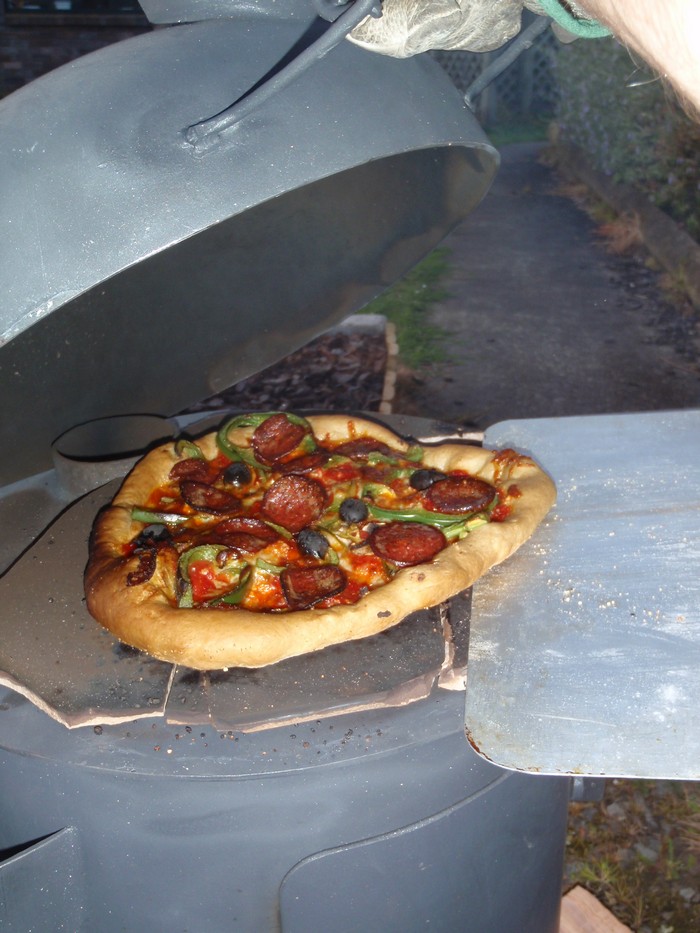
So how does this patio heater and pizza oven work? Here’s the explanation from the owner-builder:
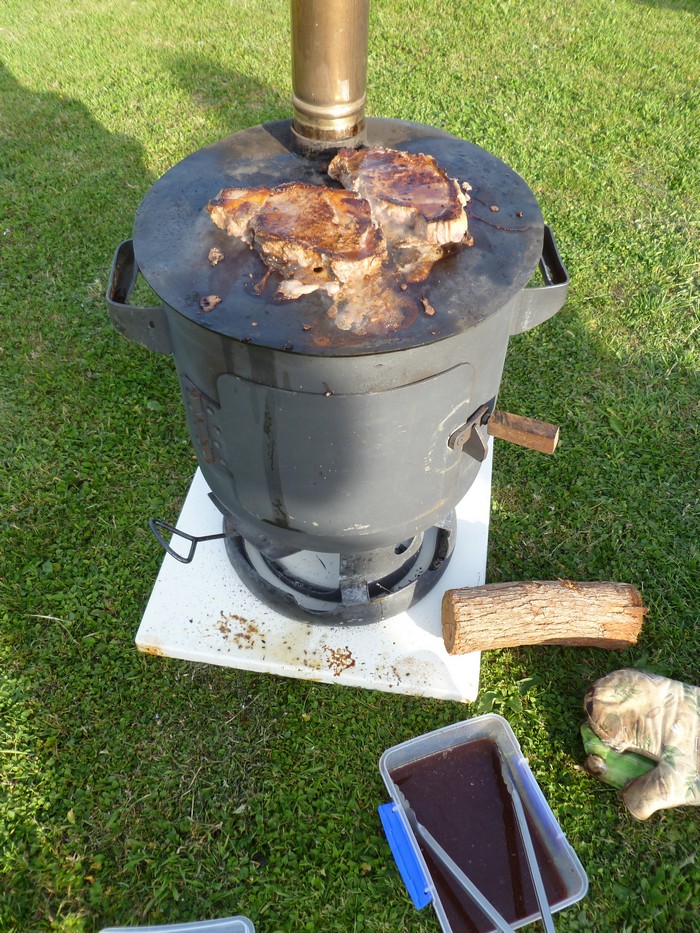
“A fire is built in the main fire pot, and the air is drawn up through an adjustable flue in the bottom which also serves as an ash egress point. There is an upper chamber for cooking which the hot smoke passes through before exiting out the patio heater pipe. The temperature can be regulated both by controlling the air through the flue and also by rotating the top chamber of the patio heater so that the hot smoke has less distance to travel from the fire pot to the stove pipe.

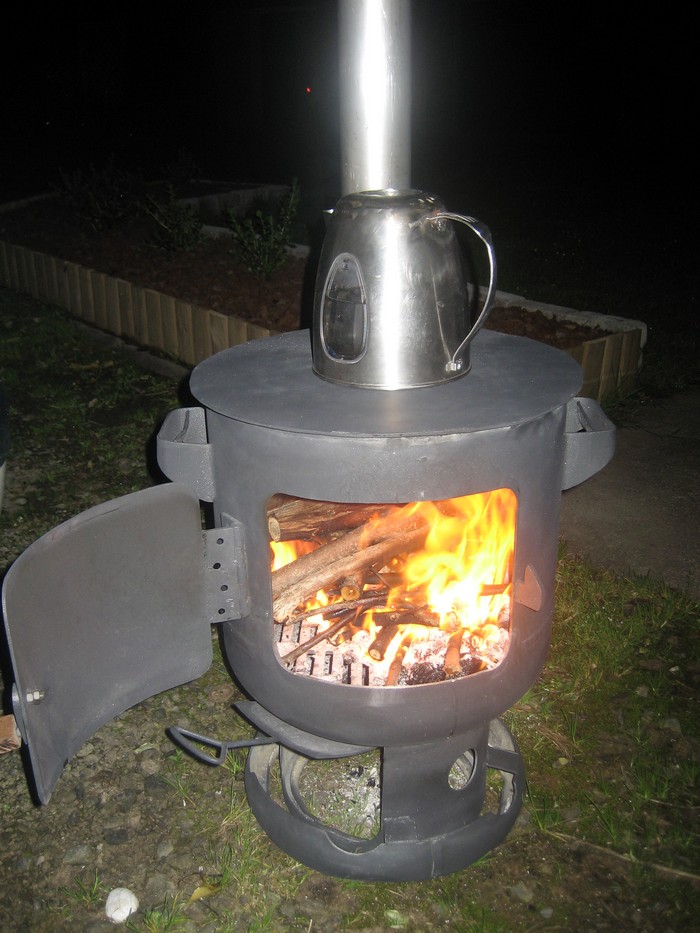
To be used as a brazier or patio heater, the top chamber can be lifted off and the stove pipe fits directly into the fire pot. The kettle boils quite nicely on the stovetop, or even a wee frying pan works well.”
Now you don’t have to worry if you are new to this kind of project. This tutorial from the owner provides clear and detailed steps on how you can turn a propane gas tank into a pizza oven/patio heater. It also touches on how to make the equipment safe for cooking as well as how to cook pizza with it!
2-in-1 Patio Heater and Pizza Oven
Get that pizza baking and have your friends and family over for pizza night.
Click on any image to start the lightbox display. Use your Esc key to close the lightbox. ?


You’ll need these materials:
- Tall Propane Tank
- Steel Door Hinge
- 4″ Stove Pipe
- Grate
- BBQ & Stove Paint
- Exhaust Cement
- Oven Thermometer
- Old Pizza Stone
And these tools:
- Drill (with holesaws)
- Angle Grinder
- Welder
- Sledge Hammer
- Plasma Cutter – very helpful if you have one
Steps:
Cut up the tank: The first order of business is to get your hands on an old 33 kg LPG tank. I got mine from the good blokes at National Gas for a whopping $6NZD, and they were even kind enough to purge it for me. That’s easy enough to do yourself though, just fill it up with the garden hose and then drain it out before cutting into it.

What was originally the top of the bottle is going to be the bottom of the stove, so stand it upside down and scribe a line all the way around where you want the top to be. I used a few sheets of paper taped together to get as accurate a line as I could.
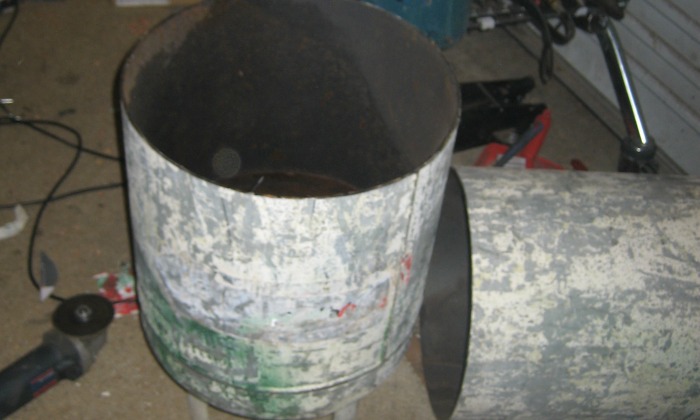
Cut along the line using whatever implement you’ve got, it uses the better part of a 100mm x 1mm cutoff wheel to get all the way around and makes one heck of a mess.

Now lop off the foot ring of the tank so you’re left with a clean dome for the lid. Try to keep it in one piece, you’ll need it later. Also, cut along just above the seam of the dome to remove it from the rest of the bottle.

Make the door: Draw on the door where and how you want it. I positioned mine so it cut out as much of the side and lower seams as possible. Next drill out the corners with a 2″ hole saw…

and connect the dots with the angle grinder to get your door opening.
Cut your door out of the leftover metal, being sure to make it a little oversize, especially on the width. For example, if you made an 8×10″ door opening, cut a 9×12″ door (H x W). Take your door hinge and edge-weld it to the edge of your door.
Note about welding gas bottles: I don’t know if this is the norm, but it turns out that my gas bottle was covered in some sort of incognito galvanization, which gave me a hell of a time trying to weld it. Give the area a good thrashing with the angle grinder before you try to weld anything, to make sure you’ve got clean metal.

Next clamp the door on of your patio heater so it covers the hole, and weld the other side of your hinge to the body of the stove.

Fashion some sort of latch out of the scrap metal to hold the door shut. I found that a countersunk 1/4 20 screw and a bit of hardwood make a plenty heatproof handle.

Make the flue: Cut a flue hole in the bottom the same way you did for the door.

To make the flue sliding door of the patio heater, cut a piece a little larger than the hole again. To get it to fit the curve of the dome I employed my classic bash-it-with-a-hammer-until-it-fits ploy. I was surprised at how easy it was to form considering how thick the metal is. If this doesn’t work for you, just use a bigger hammer.
Once you’ve got it so it sits flat over your hole and can slide straight sideways without lifting off of the bottle cut a couple of rails out of angle iron or whatever you can find to hold it in place. These will have to be curved to the shape of the dome as well. When it all fits and slides without binding, weld your rails down.
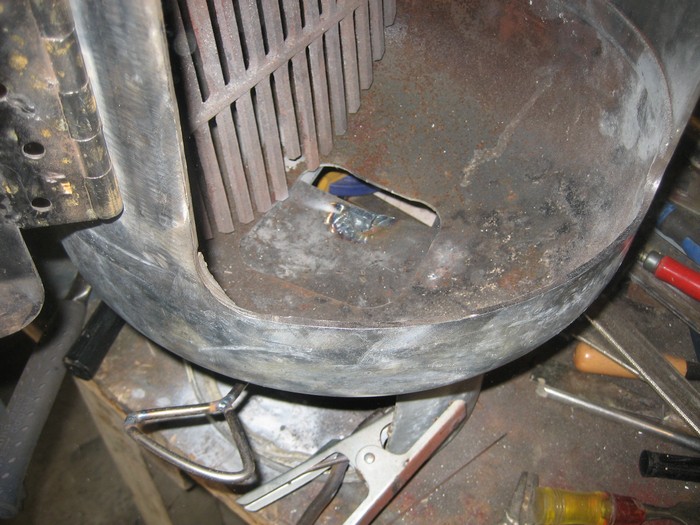
Add a handle of some description so you can operate the patio heater when it’s hot. I made mine out of a rod from an old dead printer. If you look closely at this photo, you can see the nub I welded to the inside of the patio heater once it was installed, to keep it from opening or closing too far.
Now is also a good time to fit your grate. Mine was a cast iron affair, trace the inside circle onto it, cut it up with the angle grinder, and fit it into the bottom of the stove.

Cut the top: If you’ve got some spare 1/4″ plate steel lying around, feel free to use it for the top. I wasn’t so lucky, so I used some of the leftover steel from the bottle.
I cut off as much as I needed, put it in the parking lot, ran it over with my bus a few times to flatten it out, and then finished it off with a sledgehammer.
Put the stove on the plate and trace the circle, I would highly recommend borrowing a plasma cutter if you can find one to cut this out with, it was quite a nuisance trying to cut a curve with an angle grinder, with lots of corners.
Continued Page 2…


