Last Updated on September 29, 2023 by teamobn

Premium materials and top-notch construction techniques guarantee a coop that’s built to last, giving your feathered friends a stylish and reliable roost for years to come. Don’t settle for a run-of-the-mill hen house – upgrade to a custom cordwood chicken coop that’s sure to ruffle some feathers!
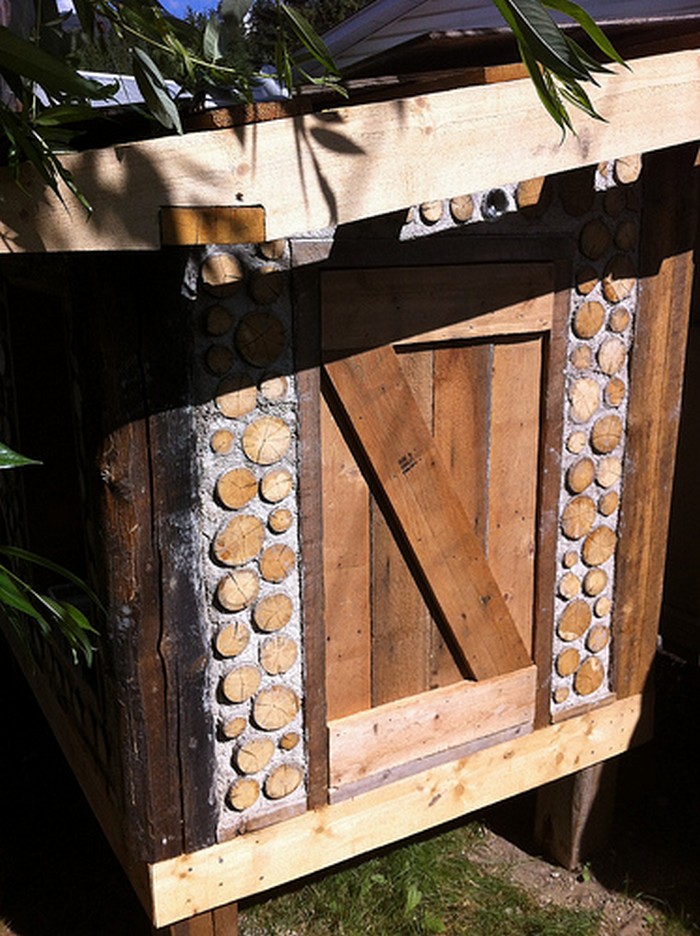
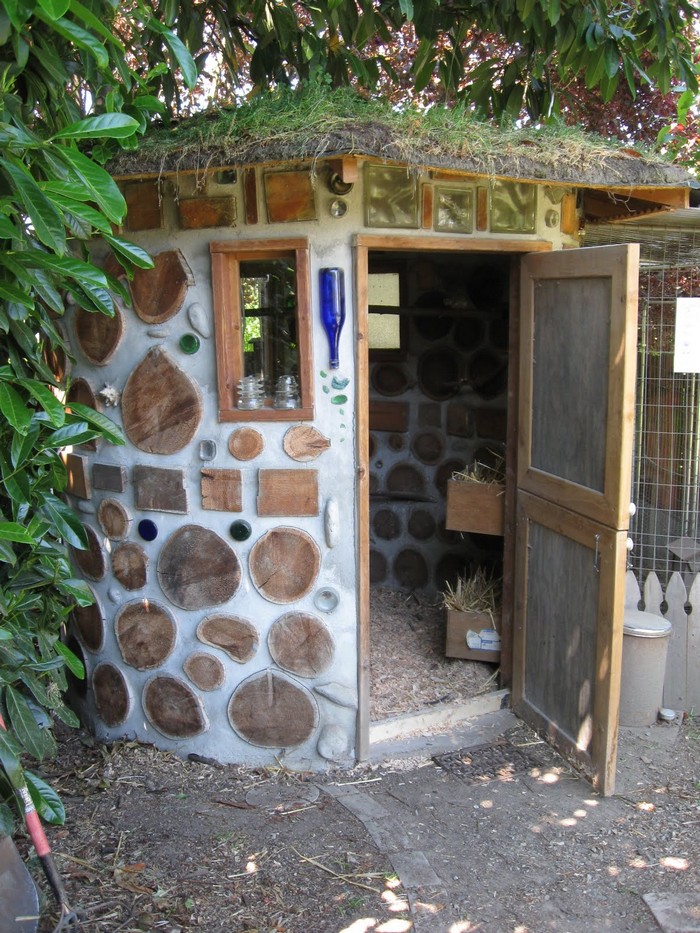
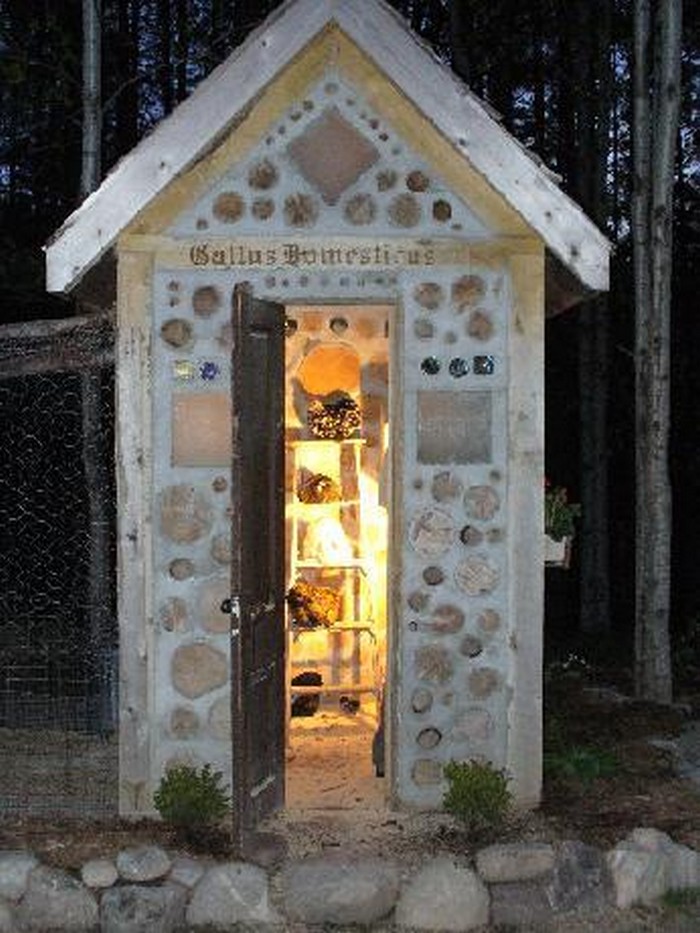
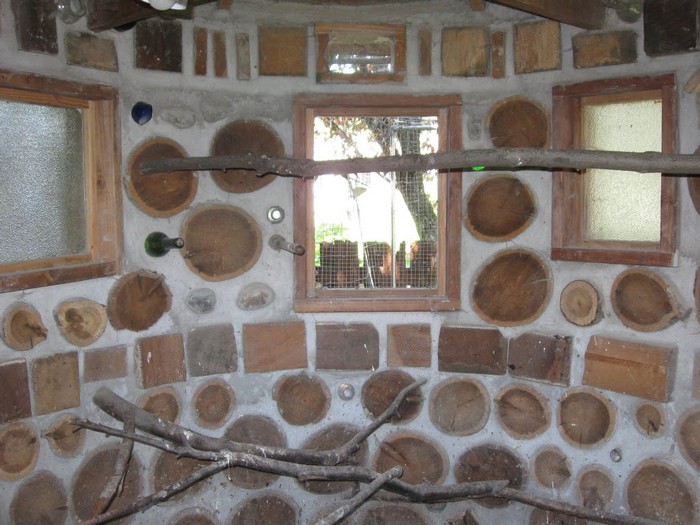
Here’s a great-looking coop that will protect your chooks from harsh weather and other hazards. You can build your backyard chickens a cordwood chicken castle using some simple materials and a bit of know-how. This coop will provide a safe and cozy home for your chickens while also adding character to your property.
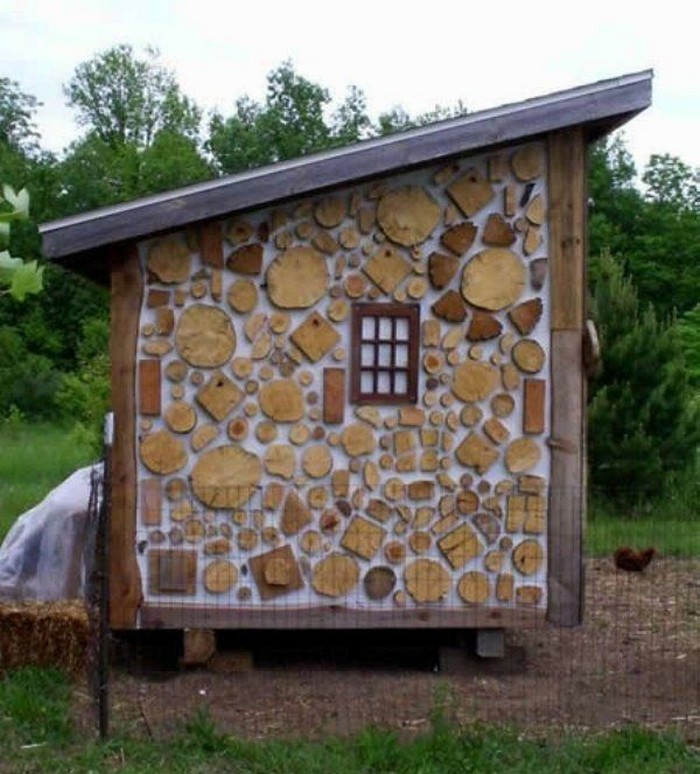
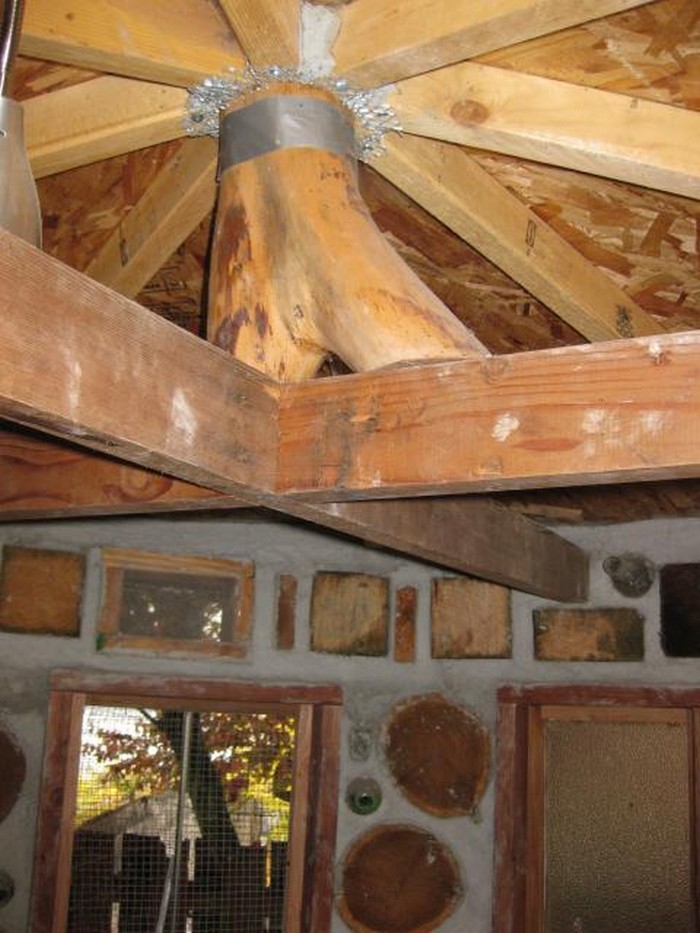
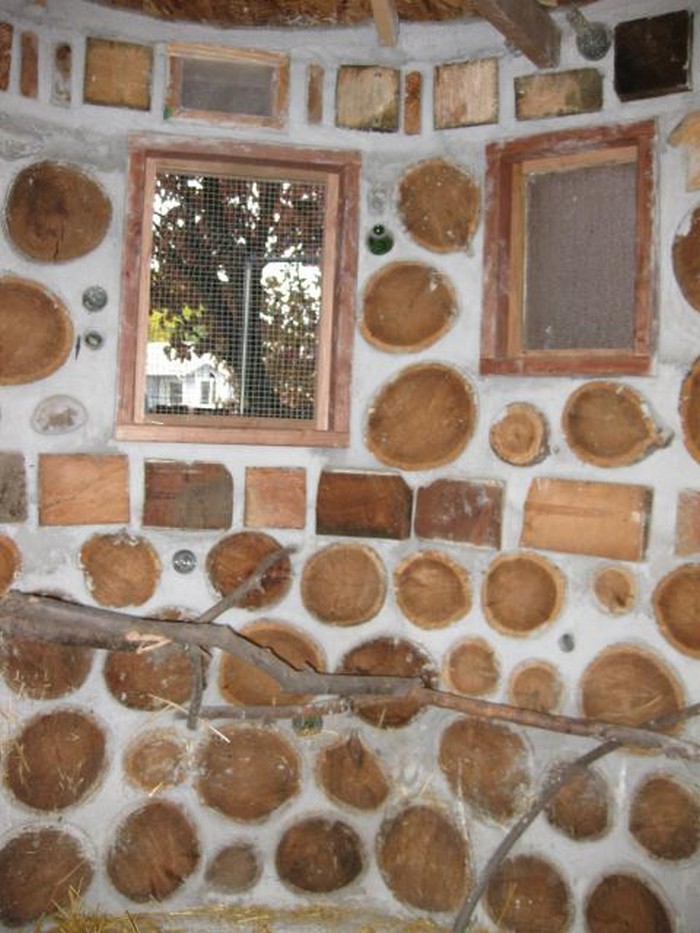
Cordwood construction is an old and straightforward building technique that makes use of wood and mortar. It’s really simple – instead of bricks or stones, wood is set in a bed of mortar that is slightly smaller than the width of the wood. Put more mortar around and over the wood, and repeat the process until you complete your walls.
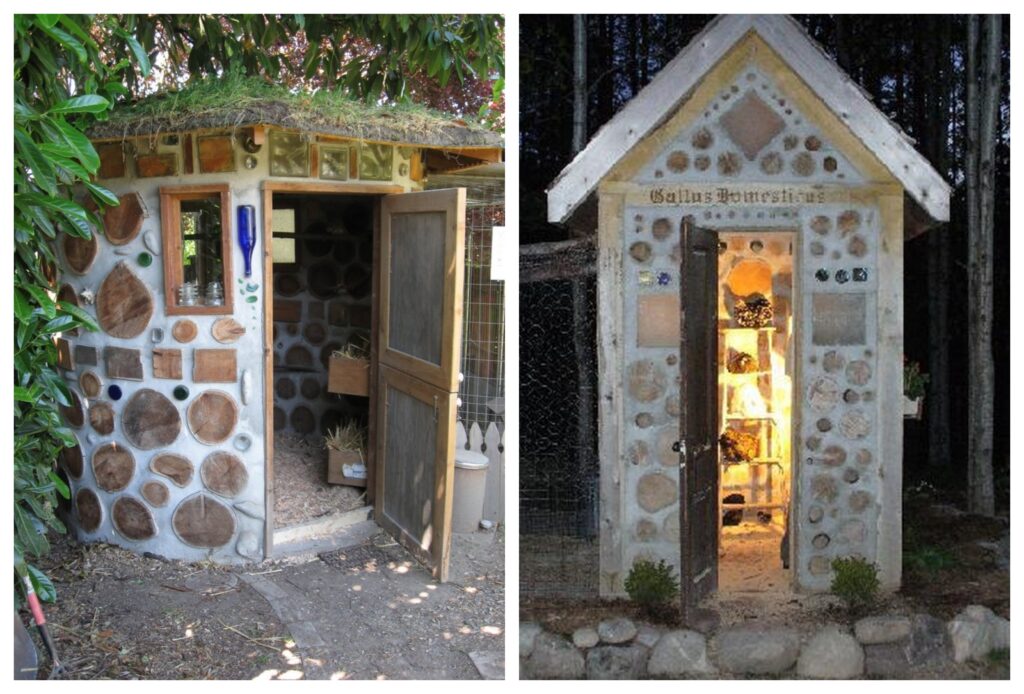
For countless centuries, this building technique has proven to be a valuable method for efficiently repurposing leftover wood and construction materials. What’s more, cordwood construction showcases its exceptional versatility, finding application in the creation of walls, floors, roofs, and even furniture.
Before you decide to build a cordwood chicken coop, study and grasp the process. While it may appear to be a basic and straightforward project, there are also several key aspects to consider before getting started.

As an example, selecting the optimal location for your coop becomes imperative. This choice hinges on finding a level, well-drained area that receives ample sunlight. Ensuring the coop’s size aligns comfortably with your chickens’ needs is also essential.
Once the ideal location is identified, the next step involves gathering the necessary materials, including cordwood, chicken wire, insulation, and various supplies.
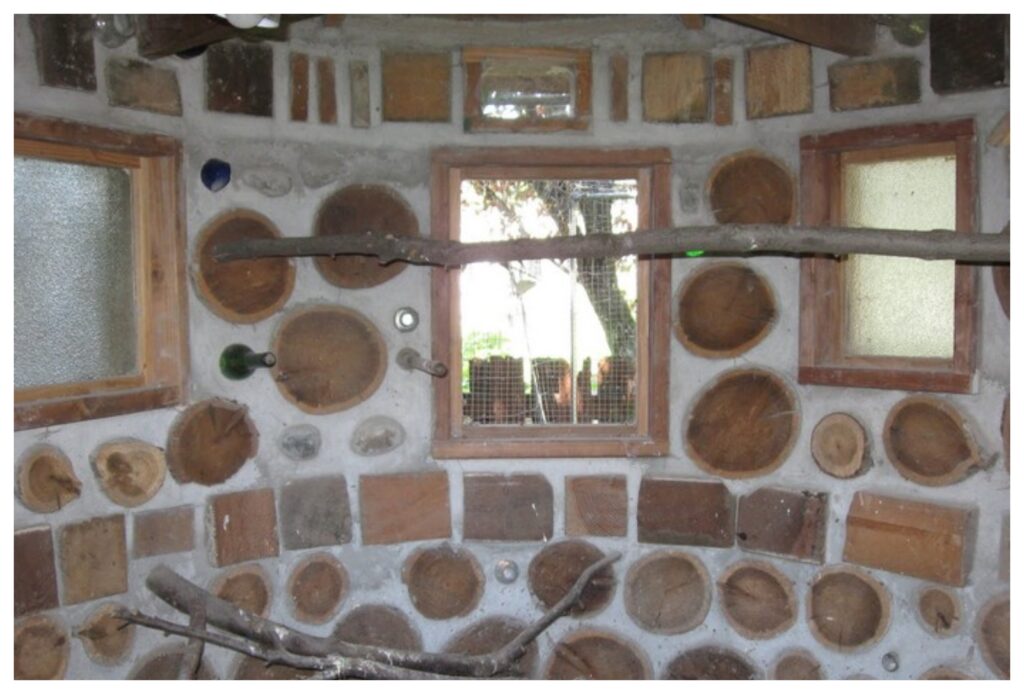
If you’re planning on building a cordwood chicken coop, there are a few key tips to keep in mind. For starters, make sure those walls are thick and strong – 12 to 18 inches! That way, you can strut around knowing your coop is as stable as can be.
To keep your feathered friends happy and your backyard looking fab, use primo wood for your cordwood coop. You don’t want that puppy rotting on you! And if you really want to impress, make sure your coop is sealed up tight against the harsh elements. Your cordwood chicken coop will last longer and look like a million bucks!
For people with a small backyard, this dimension can be a bit too much. But depending on the size of your chicken coop and yard, you might be able to build a cordwood castle with six-inch walls. Again, make sure you do enough research and ask people who are knowledgeable in this subject. 🙂
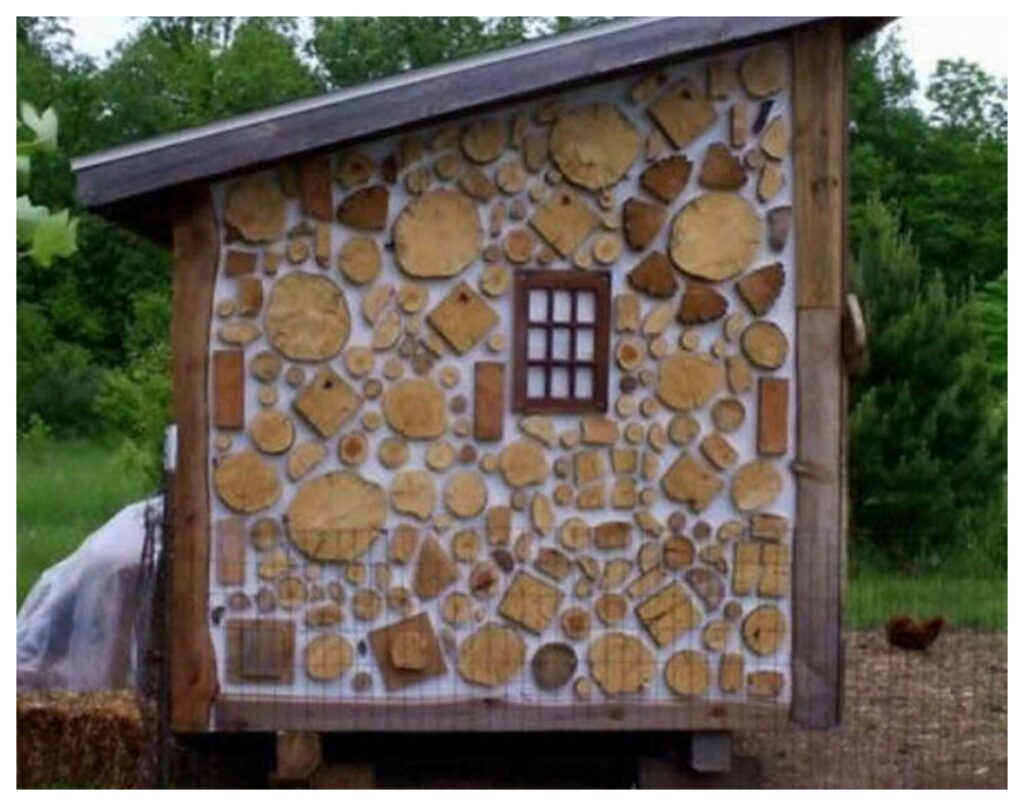
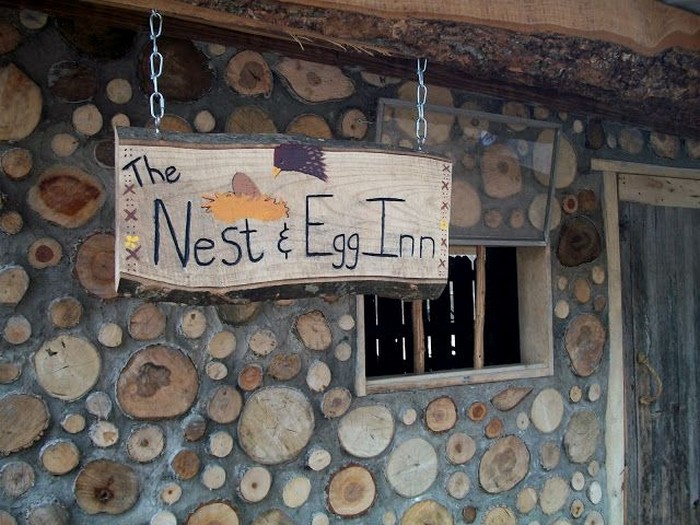
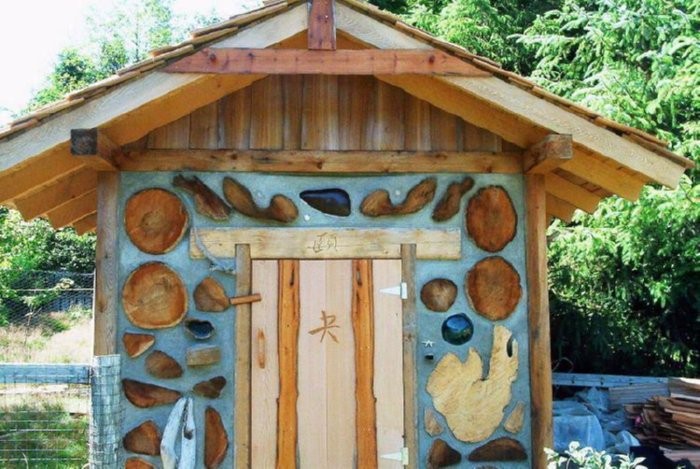
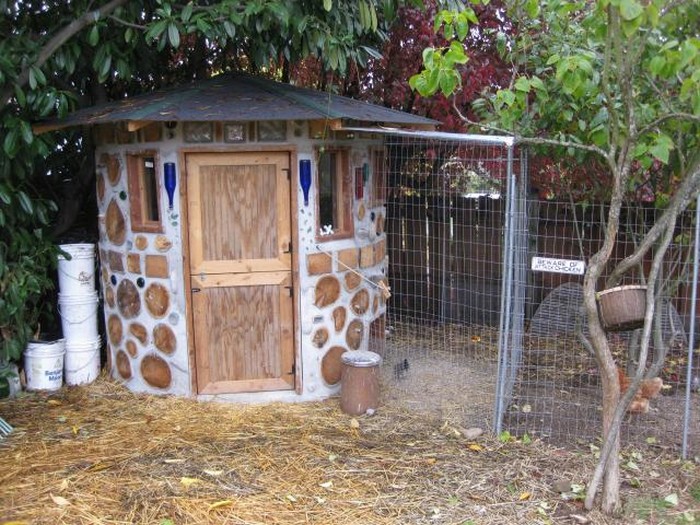
See more examples of a cordwood chicken coop by viewing our album below. If you want to learn more about the building process of the featured cordwood chicken coop above, you can head over to the link at Backyard Chickens!
How to Build a Cordwood Chicken Coop
Take on a journey where logs become building blocks, and ingenuity transforms into a sturdy shelter. Dive into the seven essential steps that will have you crafting an eco-friendly and resilient home for your chickens.
The art of cordwood coop construction is within your grasp. Get ready to gather the essential materials and tools to get started.
Materials
- 2×6 Lumber
- 6×6 Lumber Posts
- 2×4 Lumber
- Sand
- Carriage Bolts
- Door Hinges
- Deck Screws and Nails
- Cement Mixing Tub or Wheelbarrow (for mixing mortar)
- Mortar Mix
(Mortar Mix Ingredients)
- 9 part Sand
- 6 part Lime
- 6 part Sawdust
- 2 part Portland Cement
- Water (until “wet snowball” consistency is achieved)
Tools
- Measuring Tape
- Circular Saw
- Shovel
- Trowel
- Belt Sander
- Spirit Level
- Cordless Power Drill
- Hammer
Click on any image to start the lightbox display. Use your Esc key to close the lightbox.![]()


Steps
Step 1: Planning and Foundation
- Begin by selecting a suitable location for your coop and outlining its dimensions using 2×6 lumber. Dig holes for the 6×6 lumber posts, ensuring they are level and securely anchored in concrete. This forms the foundation of your cordwood coop.
Step 2: Preparing Mortar Mix
- In a cement mixing tub or wheelbarrow, combine the mortar mix ingredients: 9 parts sand, 6 parts lime, 6 parts sawdust, 2 parts Portland cement, and water until you achieve a “wet snowball” consistency. Mix thoroughly.
Step 3: Preparing Logs
- Cut 2×4 lumber into log-sized pieces and sand them for a smooth finish. These will be your cordwood logs.
Step 4: Laying the First Course
- Apply mortar to the foundation and begin placing the cordwood logs horizontally, ensuring a consistent layer of mortar between each log. Use a spirit level to keep the course level.
Step 5: Building Up the Walls
- Continue adding courses of cordwood logs, alternating the direction of the logs for stability. Apply mortar between each log and periodically check for levelness. Create openings for windows and doors as needed.
Step 6: Installing Windows and Doors
- Attach door hinges and install windows and doors in the designated openings. Secure them with screws and ensure they function smoothly.
Step 7: Roofing and Finishing Touches
- Construct a roof using 2×6 lumber and cover it with roofing materials of your choice. Finish by sealing gaps with mortar and adding any additional features you desire, such as nesting boxes or perches.
Your resilient cordwood chicken coop is now complete! This unique and eco-friendly shelter provides a safe and cozy home for your feathered friends, demonstrating the beauty of cordwood construction in just seven simple steps.
Special thanks to Backyard Chickens for sharing invaluable ideas on how to make a cordwood chicken coop!
Feathered Fortress
There you have it! You’ve learned the secrets to crafting a remarkable home for your feathered friends. Through careful planning and the creative use of logs, this eco-friendly cordwood chicken coop emerges as a sanctuary of sturdiness and charm.
From the foundation to the roof, you are guided through seven essential steps, complete with a mortar mix of magic and ingenious design. Whether you’re a seasoned builder or a first-time DIY enthusiast, this project promises a resilient and unique chicken coop that stands as a testament to cordwood craftsmanship.
Create a feathered haven that’s as sturdy as it is stunning with these simple steps!

