Last Updated on October 18, 2022 by teamobn
No, we don’t mean safe as in safety. We mean safe as in hidden away from the baddies! Sadly, burglaries are common. Some are opportunistic, and some are planned. But in all cases, the burglar is in and out in minutes.
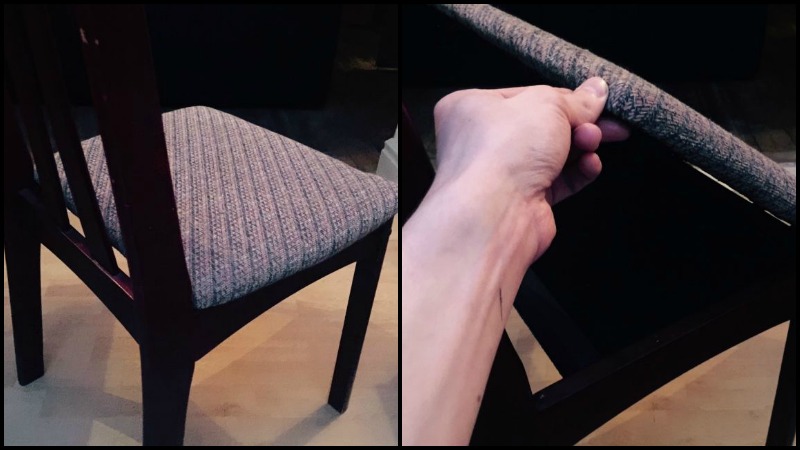
They know where most of us keep our treasures. The empty drawers in seconds and are rummaging through your wardrobes seconds later. They’ll check under your bed and in your freezer. But we don’t think they’ll be checking under the seat of your dining chairs– in a hidden chair compartment.
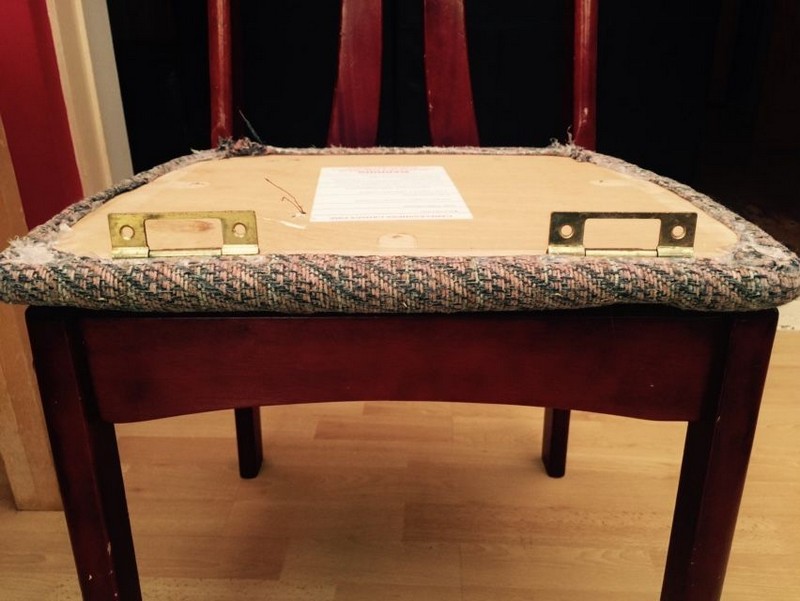
OK… so you have to keep this DIY hidden chair compartment project a secret if you’re going to do it! Unless someone else knows that you have a hidden compartment in your dining chairs, we think this secret storage area will serve its purpose well.
Not comfortable with using it as a sort of security vault? You can use it for regular, extra storage instead! Do this to your work chair where you can store chargers or small tools — anything you can think of that you want near you but out of sight. 🙂
Is this the hidden chair compartment idea that you are looking for? Keep reading to learn how it’s done!
Materials:
- Chair with cushion
- Small wood Beam Scrap
- Hinges
- Screws
- Spray Paint (Optional)
Tools:
- Screwdriver
- Pencil
- Measuring Tape
- Bandsaw
- File
- Drill
- Spirit Level
Steps to make a hidden chair compartment:
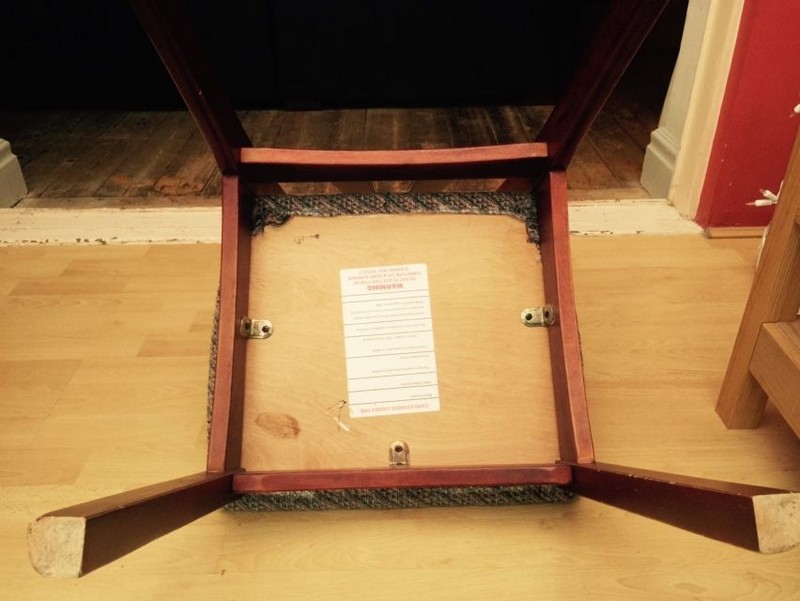
When selecting the chair to use for this DIY hidden chair compartment project, you need to ensure that the support beams around the bottom of the base are of sufficient depth to allow a decent amount of space inside the compartment.
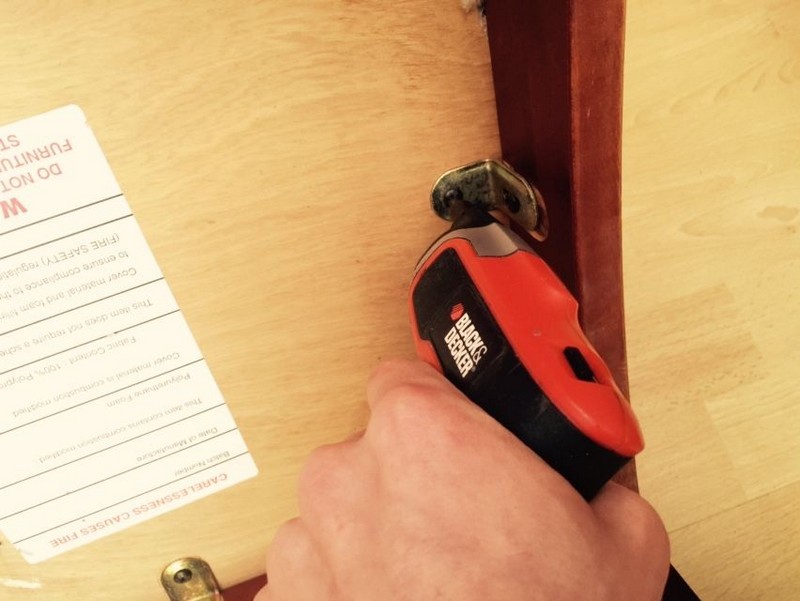
The cushion on my chair was simply held in place with 3 ‘L’ brackets, which I simply unscrewed. I decided to use these brackets later, as you will see, as I liked the look of them. Plus, why would I let them go to waste?!

So after unscrewing the L brackets to make room for the hidden chair compartment, the cushion came right off.
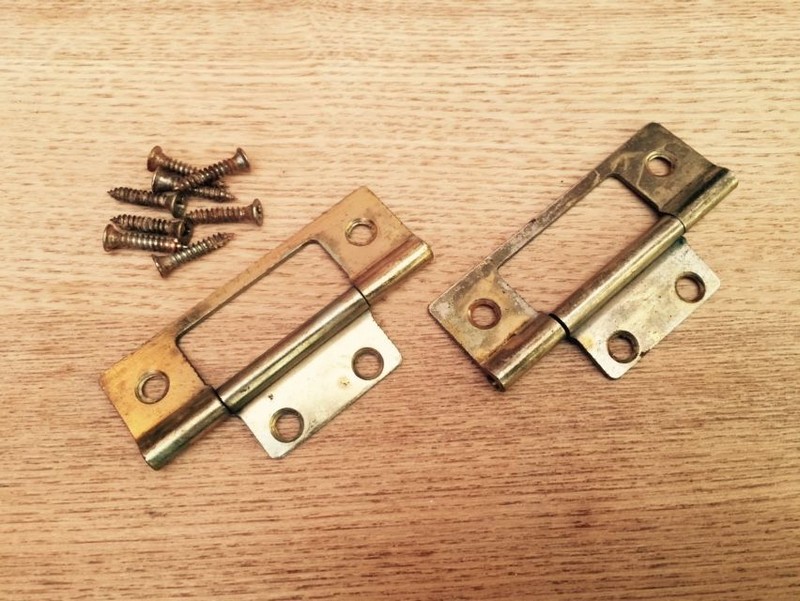
In the spirit of reusing, I scavenged these hinges from an old set of French doors, but any hinges would work. If I was to buy the hinges, I would get a piano hinge.
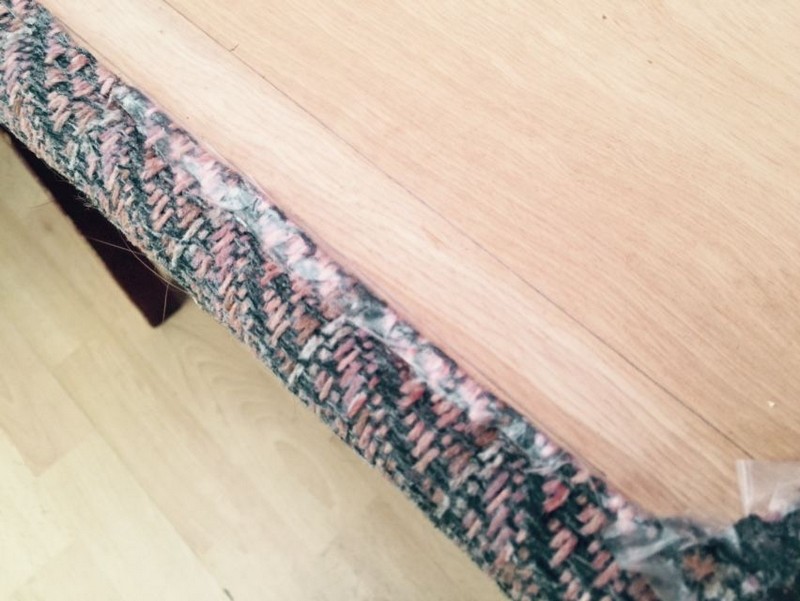
I started my hidden chair compartment project by replacing the seat cushion and marking out on the base of it where the support beam that I was going to attach my hinges was. I should’ve done this before removing the cushion, but that was just poor planning.

After that, I lined up with hinges an equal distance from each edge, ensuring that they had enough space between their edges and the legs of the chair and screwed them in place.
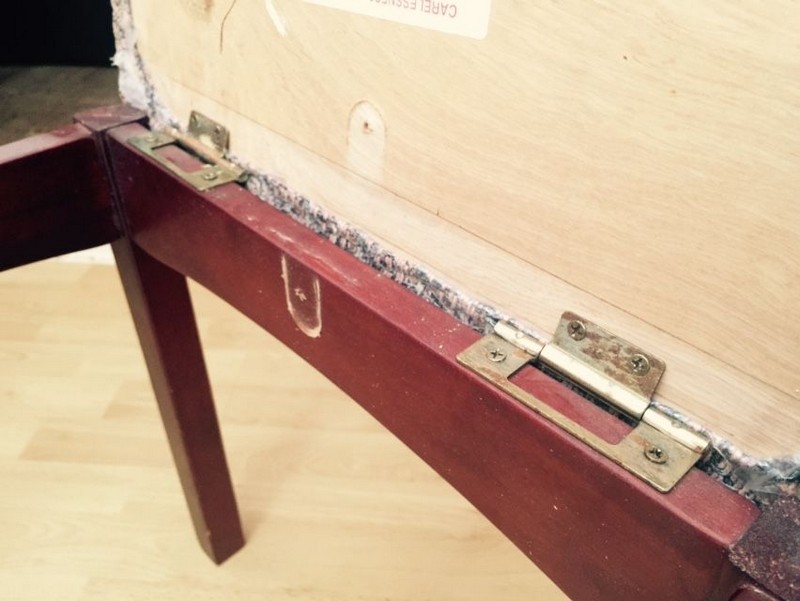
Note: The hinges for the seat cushion are placed at the front of the chair, to avoid any accidental discovery of the compartment if somebody were to pick up the seat from the front.
Creating the hidden chair compartment base:
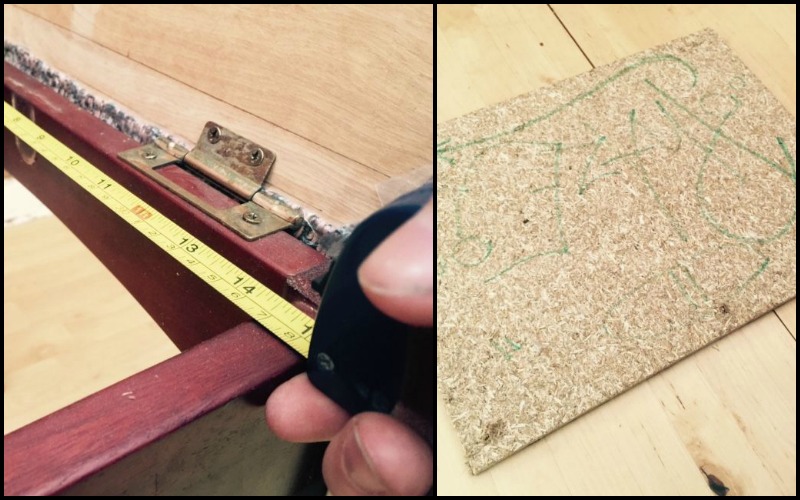
I decided to make my base offset from the back of the chair by about 50mm as there was a slight gap at the back of my chair. I created the base using a small piece of chipboard cut just slightly oversize on the inside edge of the chair.
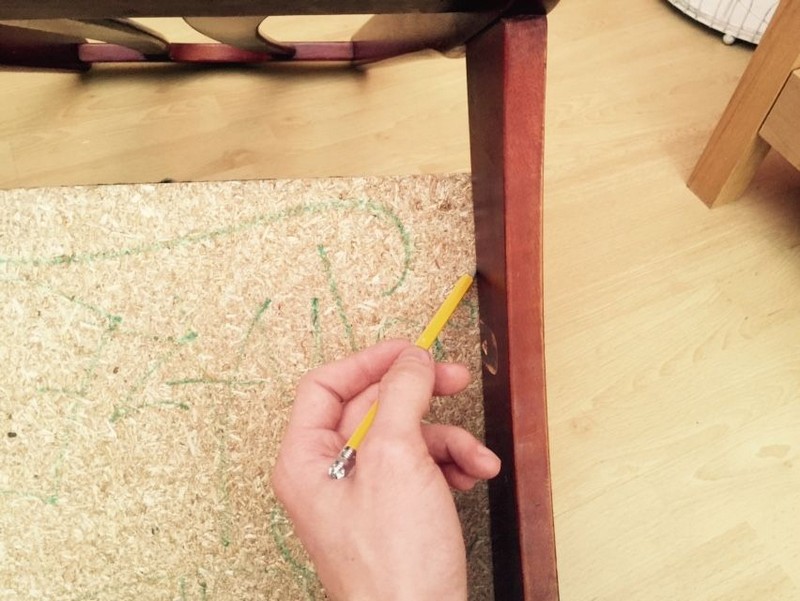
Then, holding it on the base, I drew around the inside profile onto the chipboard.
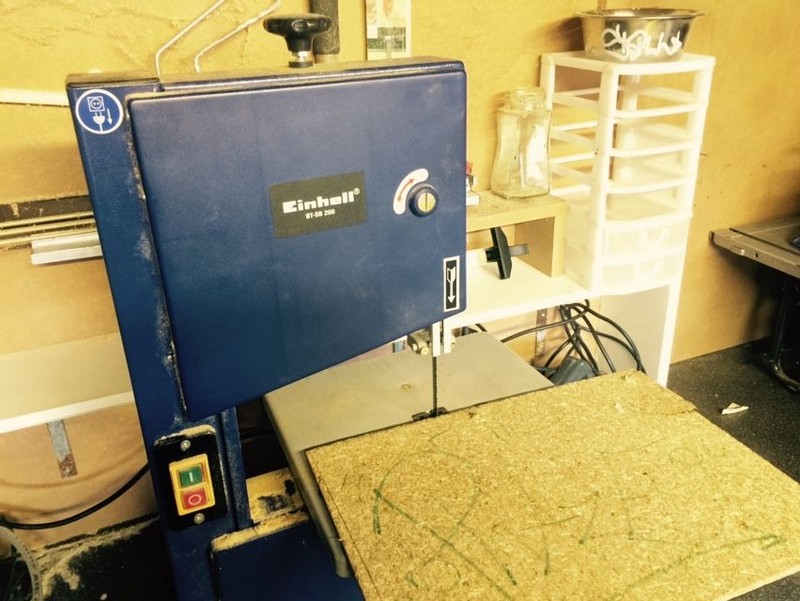
Off to the bandsaw! I then cut out around the shape on the bandsaw and filed the edges.
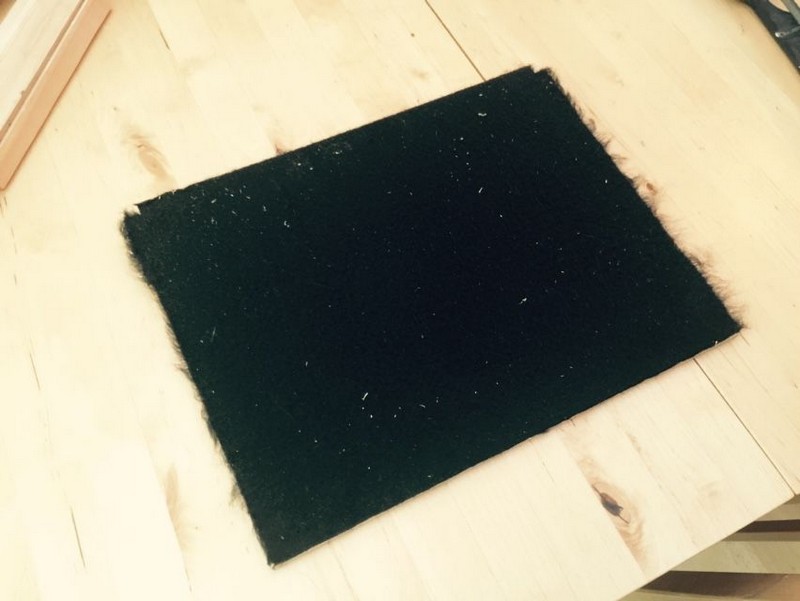
If you’ve used nicer wood than chipboard, it may look ok how it is, but I decided to add some black felt to by base, which is a good idea if you’re going to be putting valuable things in it. It also helps to reduce things sliding around if the chair were to be moved. I attached the felt using spray glue and cut it to size.
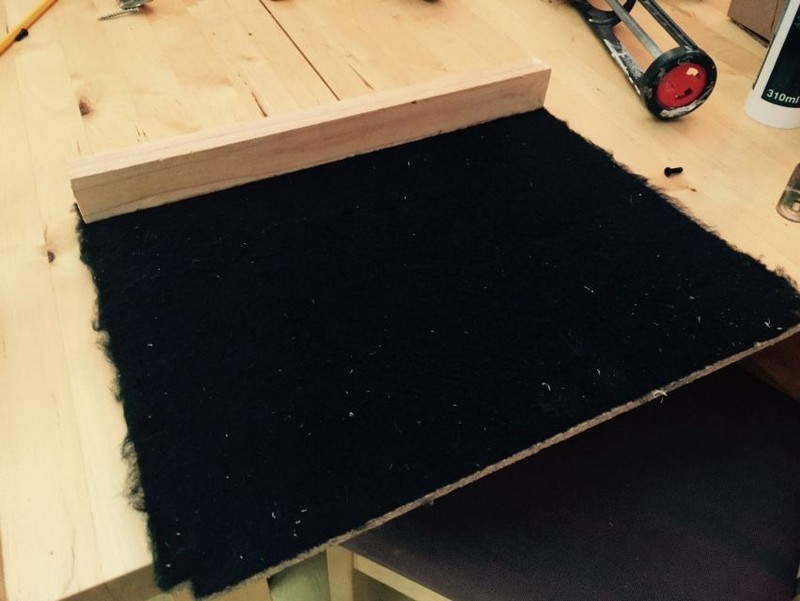
I wanted minimal space wasted in my hidden chair compartment, and this is where I ended up using those ‘L’ brackets I got earlier. I started by cutting a small piece of wood as the main support beam and cutting it to the width of the inside profile. I simply attached this piece to the base with screws through the back.
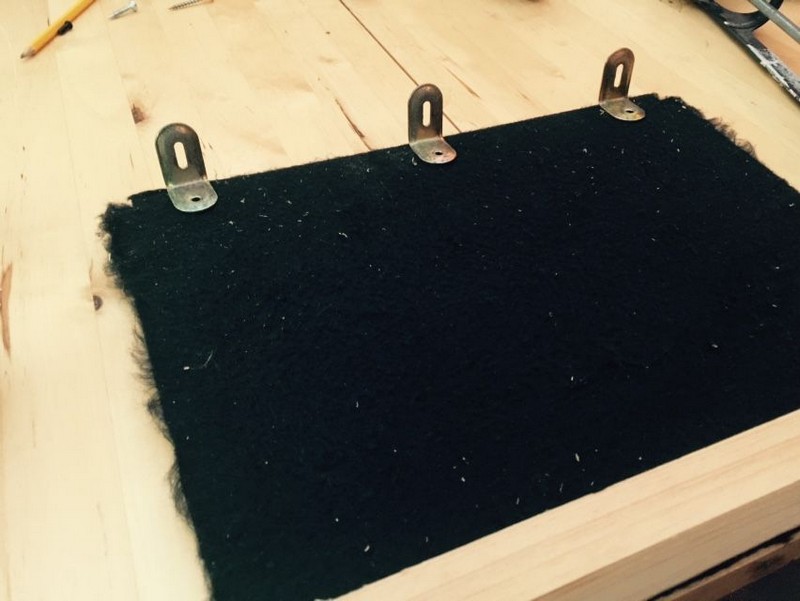
In this picture, I showed 3 brackets but only ended up using 2 of them on this site.
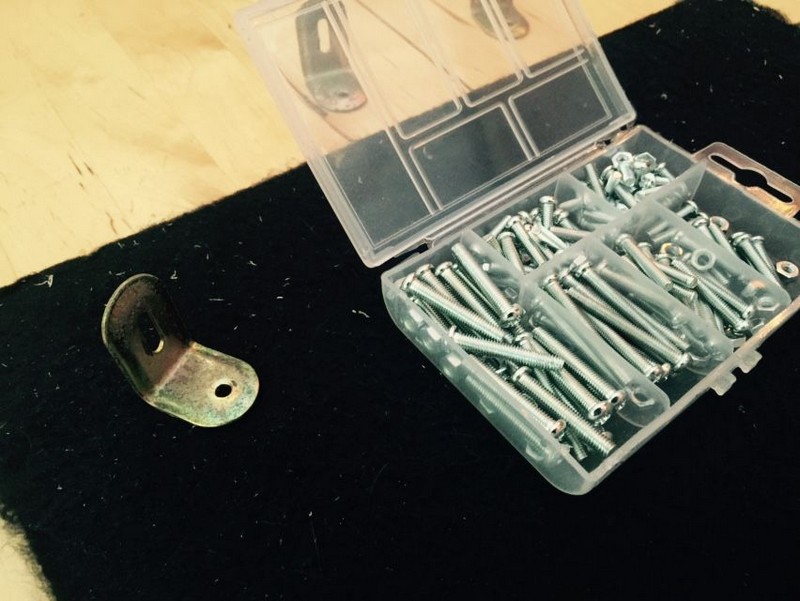
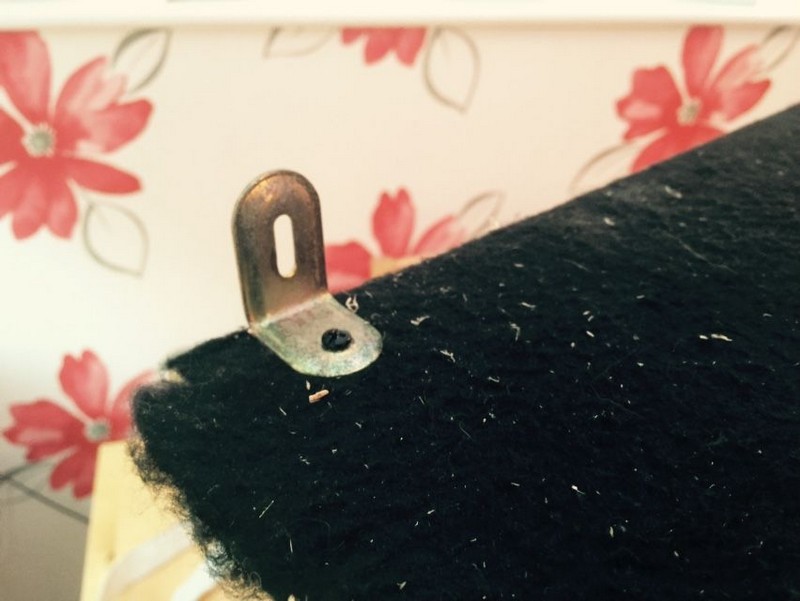
Since the chipboard wasn’t very thick, I drilled 2 holes and used M4 nuts and bolts to secure the brackets to the base.
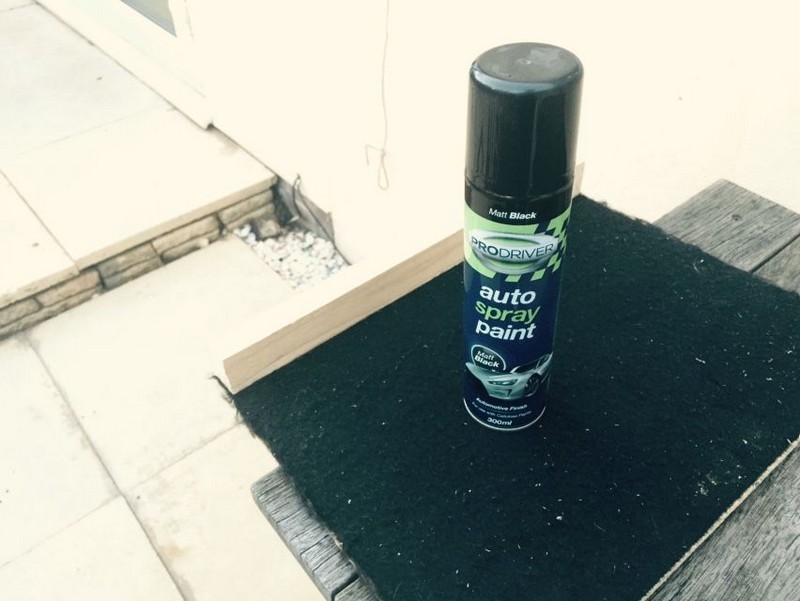
The inside compartment didn’t look very nice with all the odd bits of wood and brackets there, so it’s off to the paint shop (my back garden) to do some blending in!
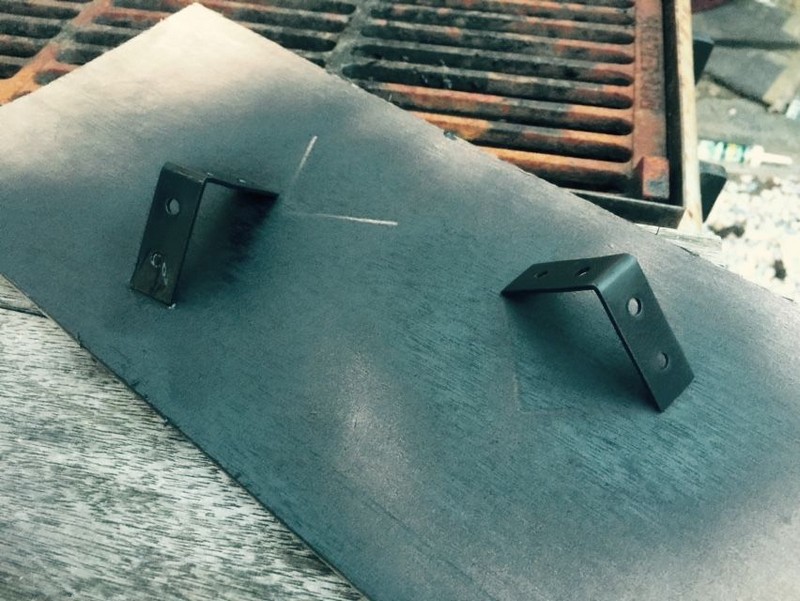
I sprayed the wooden support beam, as well as the 2 ‘L’ brackets, to make them as inconspicuous as possible.
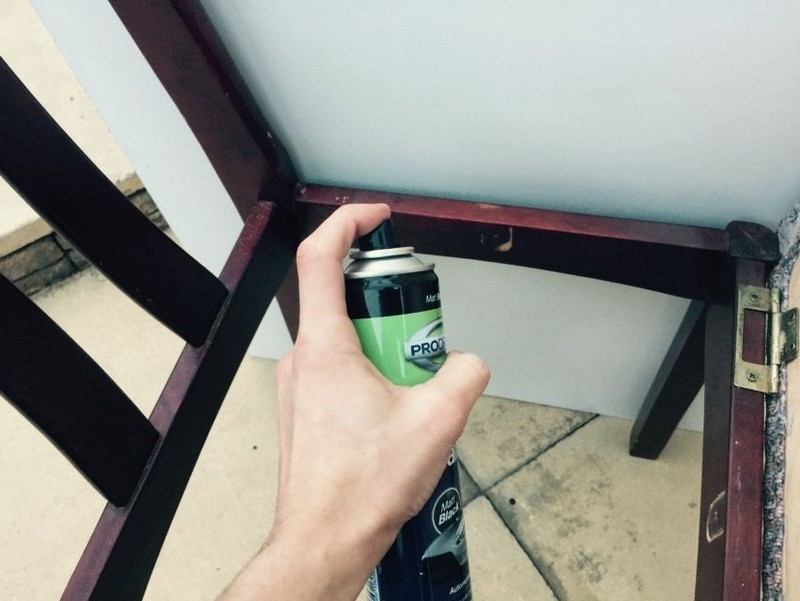
I then sprayed the inside edges of the chair’s support beams where the compartment would be.
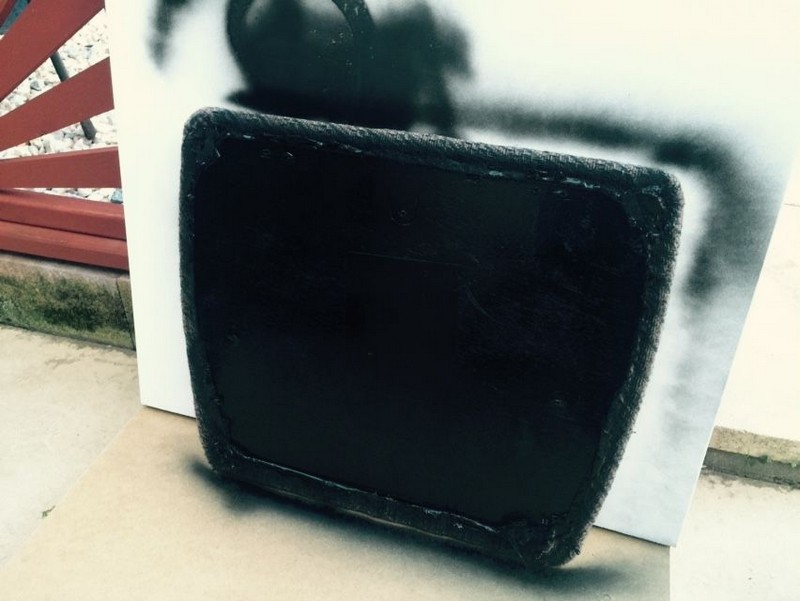
At first, this was as far as the painting would go, but I realized that the base of the cushion looked super ugly when it was lifted, so I painted that too.
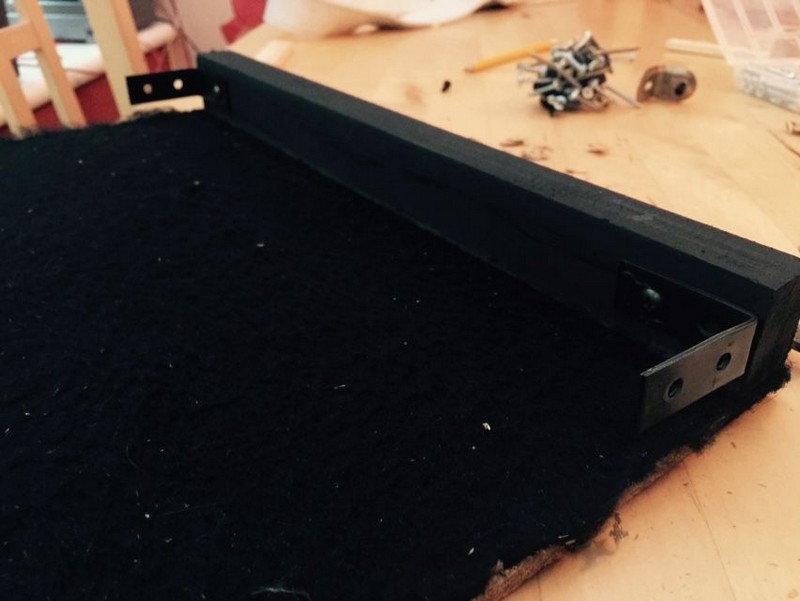
Originally, I was going to screw the wooden support beam through the sides of the chairs with a countersunk hole, however, I realized that this could give away the fact that there have been modifications made to the chair, so I instead opted simply for 2 more ‘L’ brackets, which I also painted black.
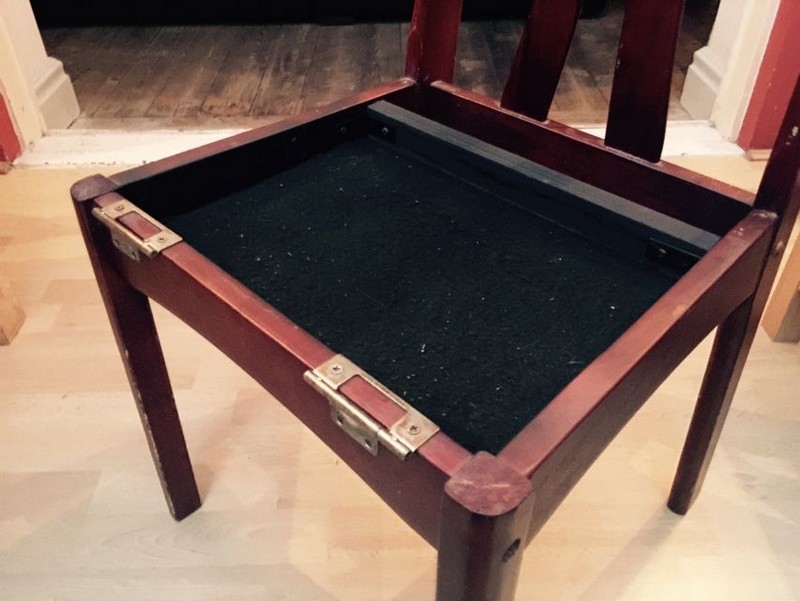
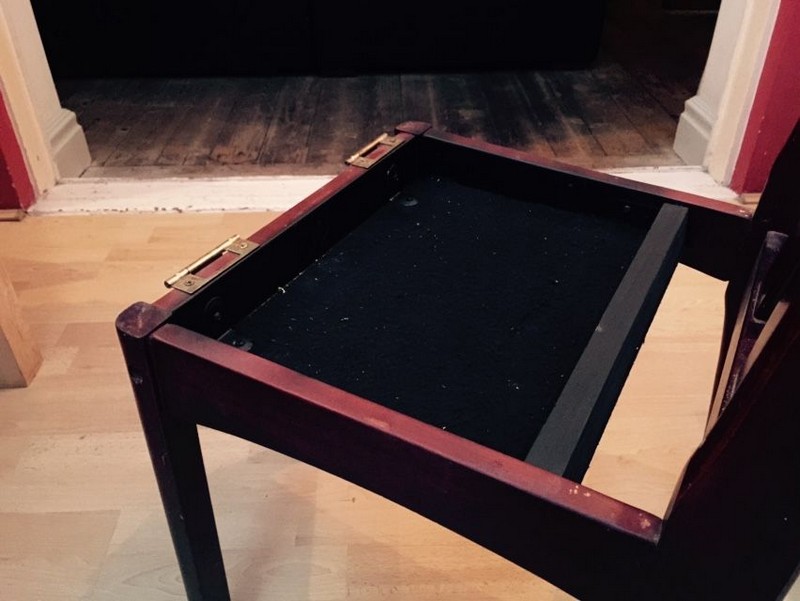
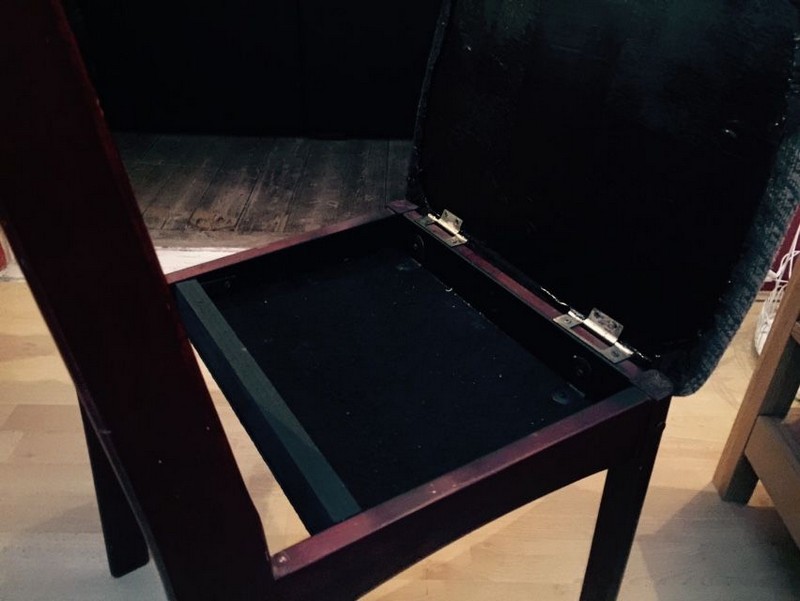
This is all quite simple, really, and there isn’t much to say about this step. I screwed each of the brackets into the support beams on the chair, using a spirit level to ensure it was flat. Then I re-screwed the cushion onto the hinges.
Easy, right? Feeling inspired to modify your simple chairs to have secret storage? How can this project be further improved? 🙂

