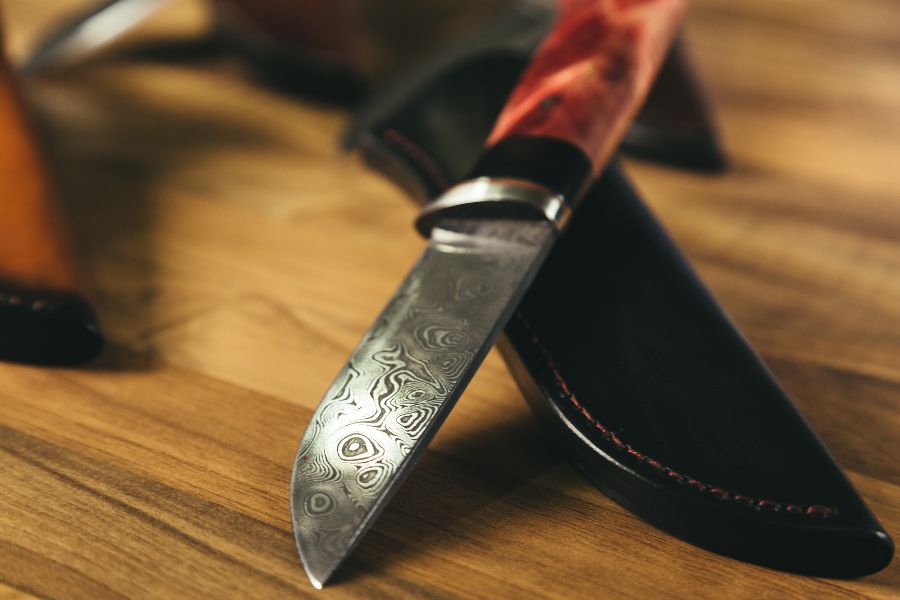
Etching Damascus steel is a fun way to bring out the unique beauty of this old material. Damascus steel has been coveted by artists and blacksmiths for centuries because of its unique, flowing patterns. By carefully etching the surface, you can show off and even emphasize the steel’s many layers, making a unique and striking blade. Whether you’re a professional knife maker or just like making knives for fun, learning how to etch Damascus steel gives you more ways to make your projects unique. The steps in this guide will show you how to properly clean, etch, and polish a Damascus steel blade so that it looks its best.
Contents
Etching Damascus Steel Basics
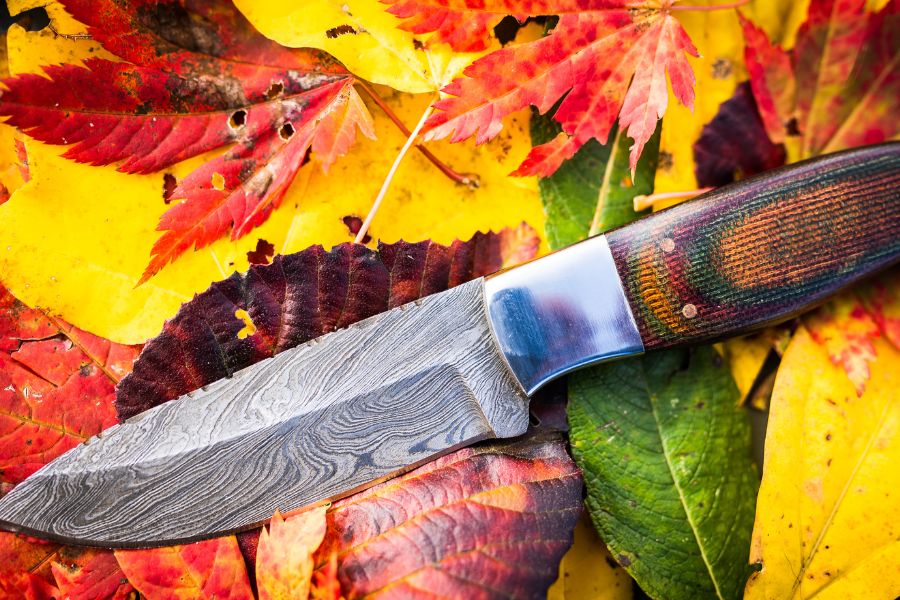
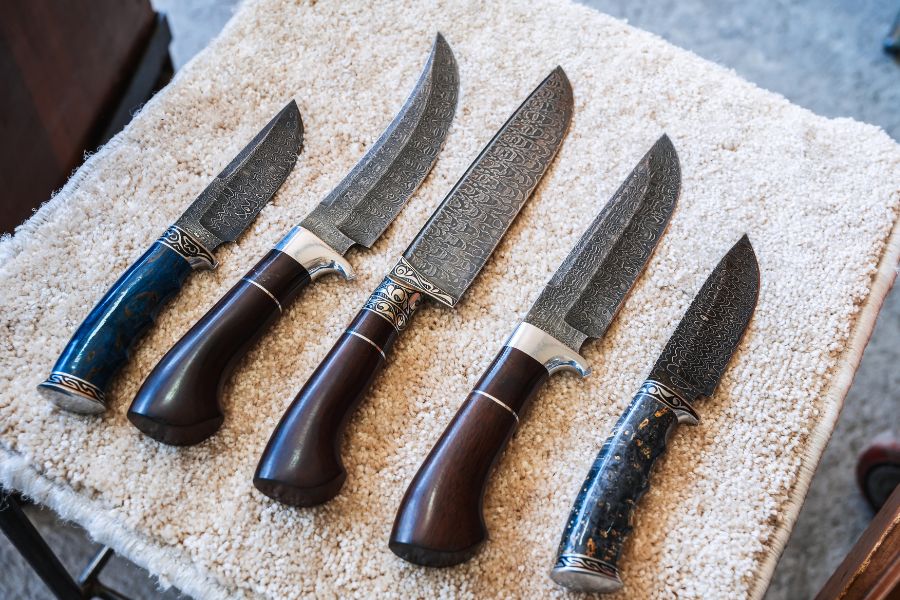
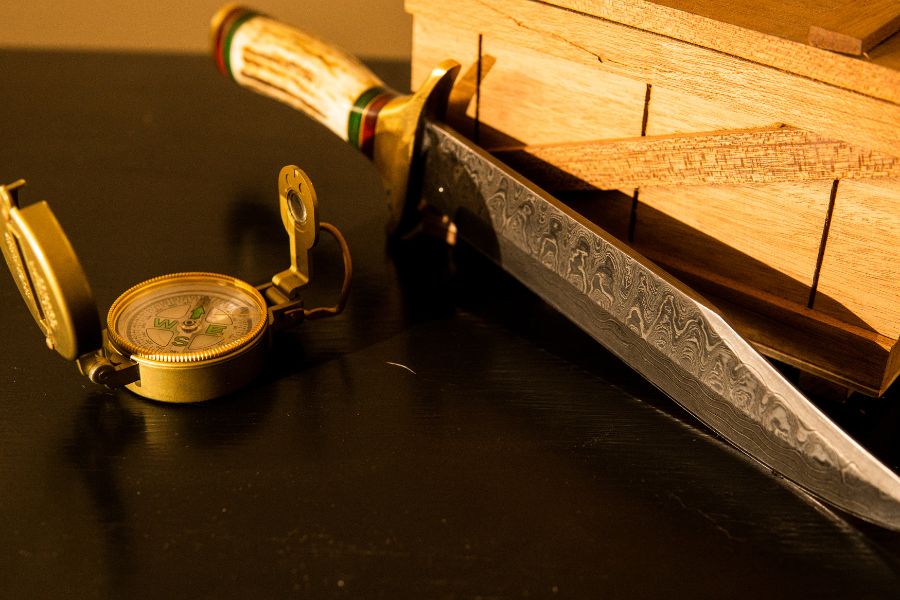
Damascus steel is renowned for its wavy, water-like patterns, created by layering and forging multiple types of steel together. This process results in a blade that combines both aesthetic appeal and enhanced strength. The beauty of Damascus steel lies in the visible layers, which can be further highlighted through etching.
Etching Damascus steel involves using acidic solutions to reveal the intricate, contrasting layers by corroding specific elements in the alloy, bringing out the blade’s unique pattern. This controlled corrosion process allows artisans to accentuate and customize the appearance of the steel, making each piece truly one-of-a-kind.
Preparing Your Damascus Steel Blade
You have to properly clean the blade before beginning etching Damascus steel. Preparation guarantees that the etching process exposes obvious, striking patterns, so enhancing the appearance of your work. This stage consists in selecting the appropriate tools, organizing a safe workplace, and meticulously polishing the blade to eliminate any flaws. Etching Damascus steel correctly will create vivid, long-lasting patterns.
Choosing the Right Tools and Materials
For a successful Damascus steel etching, you’ll need several key items:
- Protective gear: safety goggles, gloves, and a mask
- A soft cloth and mild detergent for cleaning
- Fine-grit sandpaper or polishing pads
- Rubbing alcohol to remove oils and residue
These tools will help you safely handle the blade and prepare it for etching. Damascus steel responds best to a clean, smooth surface, so ensuring your materials are up to the task will improve your results.
Safety Precautions and Workspace Setup
Working with acidic solutions in etching Damascus steel calls for a well-ventilated environment. Arrange your workstation in a spot with good airflow, usually close to a window or outside. Work on a solid, non-reactive surface that is free from flaws like a glass or stainless steel table. Before you start, arrange your tools in reach-ability and put on your safety gear. By following these guidelines, you will guard yourself from chemical exposure and guarantee that your Damascus steel etching project is as safe as possible.
Cleaning and Polishing the Blade
Start with a complete cleaning for best etching Damascus steel results. To clean the blade and eliminate any dirt, oil, or residue, use a soft cloth and light detergent. When it’s dry, look over the surface for any flaws or scratches. Using polishing pads or fine-grit sandpaper, sand the blade until its surface feels even and smooth. To eliminate any last oils, finally wipe the blade with rubbing alcohol. Good polishing and cleaning let the etching solution consistently penetrate the Damascus steel, improving the patterns’ clarity and accuracy.
Etching Techniques for Damascus Steel
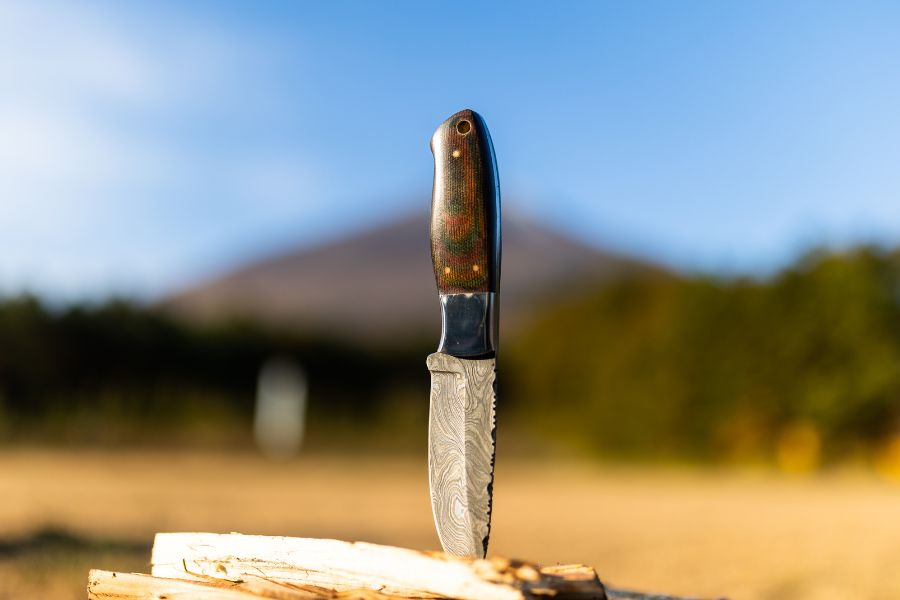
Etching Damascus steel is a transformative process that reveals the intricate patterns forged within the metal. By using acidic solutions to corrode specific steel parts, you can reveal the beautiful, layered designs that make Damascus steel unique. This section will cover popular etching methods, the step-by-step application process, and tips for achieving your Damascus steel blade’s desired contrast and depth. With the right approach, you can enhance the natural beauty of the steel and create a truly unique piece.
Choosing the Right Etching Solution
Several etching solutions work well for Damascus steel. Each solution affects the steel differently, so it’s worth experimenting to find the one that delivers your preferred look. Here are some popular options when etching Damascus steel:
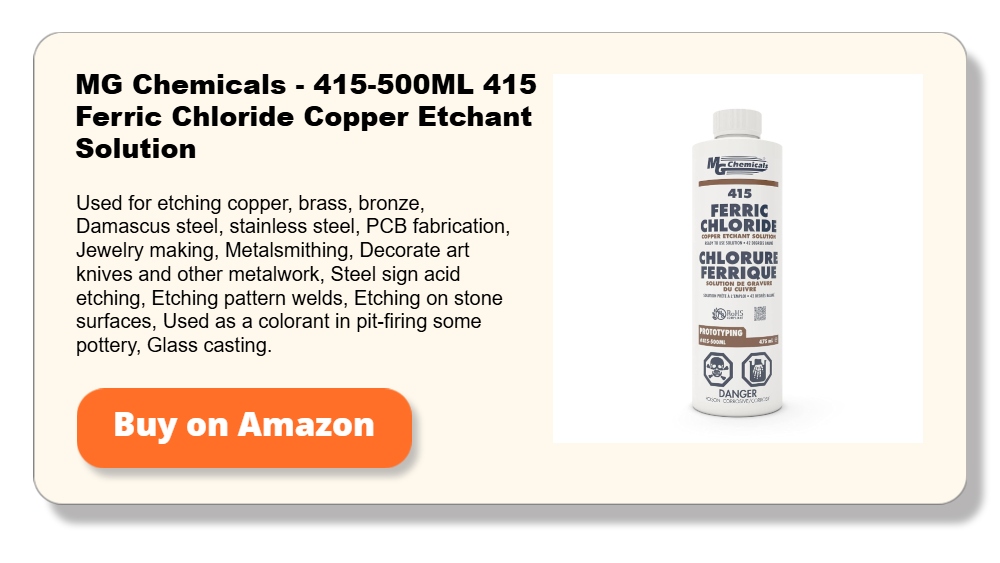
- Ferric Chloride: This is the most commonly used solution when etching Damascus steel. Available in powder or liquid form, it’s easy to find and generally yields consistent results. Ferric chloride will darken the high-carbon layers in the steel, producing a stark contrast against the lighter layers.
- Muriatic Acid: A stronger etchant, muriatic acid is often used to achieve a deeper etch. Because it’s more aggressive than ferric chloride, muriatic acid requires extra caution. It’s particularly effective if you want a bolder pattern with a prominent texture.
- Vinegar and Peroxide Solution: A vinegar and hydrogen peroxide mixture can be a good choice if you prefer a gentler, more controlled etch. This method takes longer to achieve noticeable results but is safer for beginners and allows for a subtler look.
Regardless of the etching solution, always handle these chemicals carefully. Make sure you have your safety gear on, and work in a well-ventilated area.
Step-by-Step Guide to Etching Damascus Steel
- Prepare the Solution: Mix your chosen etchant in a non-reactive container. If using ferric chloride, dilute it with distilled water at a 1:1 ratio. Follow the manufacturer’s instructions for muriatic acid, as this can vary by brand. If using vinegar and peroxide, mix them in equal parts.
- Submerge the Blade: Carefully dip the Damascus steel blade into the solution, ensuring it’s fully submerged. Alternatively, if you prefer, you can use a brush to apply the solution directly to the blade, which gives you more control over where the etch develops.
- Monitor the Etching Process: As the blade sits in the solution, the etchant reacts with the steel. For ferric chloride, you’ll likely need to submerge the blade for 5-15 minutes, depending on your desired depth. With muriatic acid, the etching process will be faster, usually taking around 3-5 minutes. Vinegar and peroxide will take longer, possibly up to 30 minutes.
- Remove the Blade and Rinse: Once the desired pattern has developed, remove the blade from the solution and rinse it thoroughly under running water. Use a baking soda solution to neutralize any remaining acid on the blade, which will help prevent further corrosion. Gently scrub the blade with a soft brush to remove any residue.
- Repeat the Process (Optional): If the etching effect isn’t as pronounced as you’d like, you can repeat the process to deepen the contrast. Simply clean the blade, submerge it, and monitor until you achieve your preferred look.
Tips for Achieving the Perfect Etch
- Testing the Solution Strength: Testing the etchant on a small scrap piece of Damascus steel before applying it to your main project is a good idea. This will help you gauge the strength of the solution and understand how quickly it reacts with the steel.
- Controlling the Etch Depth: Consider lightly sanding the blade between etching sessions for a deeper etch. This can reveal more of the pattern and add dimension to the design. However, avoid over-sanding, as it can reduce the contrast of the pattern.
- Experimenting with Patterns: You can use stencils or resist techniques to create custom designs on your Damascus steel. Applying nail polish, wax, or tape to certain areas of the blade will prevent those sections from etching, allowing you to create unique, contrasting patterns.
Mastering the art of etching Damascus steel takes time and practice, but with the right technique, you can bring out the layered beauty of this unique material. Whether you want a subtle look or a bold design, etching allows you to customize your Damascus steel blade to reflect your style and skill as an artisan.
Neutralizing and Cleaning the Blade
After etching Damascus steel, it’s essential to neutralize and thoroughly clean the blade. Neutralizing stops the chemical reaction and prevents the acid from continuing to corrode the steel, which could damage the pattern you’ve just created. Proper cleaning is equally important to remove any residue that could interfere with the finish or long-term durability of the blade. Follow these steps to ensure your etched Damascus steel is properly treated for a high-quality, long-lasting result.
Neutralizing the Acid
Once you’ve completed the etching process, the first step is to neutralize any remaining acid on the Damascus steel blade. Rinse the blade under cool running water, thoroughly washing all areas. Then, immerse the blade in a baking soda solution, which is made by dissolving a few tablespoons of baking soda in a water bowl. This neutralizing bath helps stop the acid’s reaction with the steel. Swish the blade gently in the solution for a few minutes, ensuring that all etched areas come into contact with the baking soda mixture. Neutralizing is crucial to preserving the etched Damascus steel pattern and preventing further etching.
Rinsing and Drying the Blade
After neutralizing, rinse the blade under cool water to remove any remaining baking soda. Ensure no residue is left on the surface after etching the Damascus steel, as this could interfere with the finishing process. Pat the Damascus steel blade dry with a soft, clean cloth. Be gentle, as rubbing too vigorously can alter the etched pattern. At this point, your etched Damascus steel blade should be free of acid and baking soda, ready for the final stages of cleaning and polishing.
Thoroughly Cleaning Residue
To remove any final traces of etching solution, apply a bit of rubbing alcohol to a soft cloth and wipe down the blade. Rubbing alcohol evaporates quickly, making it ideal for removing any oils or residue left on the surface. This step is especially important if you plan to apply a sealant or protective coating to your Damascus steel. Etching often leaves small traces of the solution on the blade, and cleaning it with alcohol ensures a smooth, residue-free surface ready for finishing. By thoroughly cleaning the blade after etching Damascus steel, you’ll enhance the durability and appearance of the final pattern.
Polishing the Blade
After neutralizing and cleaning, polishing can help your Damascus steel blade look its best. Use a metal or fine grit polish compound on a soft cloth to gently buff the surface. Focus on even strokes, paying close attention to the etched areas to highlight the newly revealed pattern. This polishing process contrasts the layers, enhancing the depth and richness of your etched Damascus steel. Be careful not to over-polish, as it can reduce the texture and contrast of the pattern.
Following these steps ensures your etched Damascus steel blade remains protected and visually striking. With the acid neutralized and the blade clean, you’re ready to move on to sealing and preserving the pattern, helping your Damascus steel blade retain its beauty and unique design for years to come.
Sealing and Protecting the Etched Blade
Sealing and protecting the surface is essential once you’ve completed the etching process on your Damascus steel blade. A proper seal helps preserve the patterns created through etching, protects the steel from rust, and ensures the blade maintains its appearance over time. Sealing is a critical final step that keeps your etched Damascus steel blade looking sharp and prevents potential damage. Here’s how to effectively seal and protect your work.
Why Sealing is Essential for Etched Damascus Steel
Damascus steel is prone to oxidation due to the high-carbon content in its layers. When you’ve finished etching Damascus steel, the surface can be more vulnerable to rust and corrosion. Applying a sealant creates a protective barrier that minimizes moisture exposure, helping preserve the blade’s unique pattern and preventing it from tarnishing. Sealing protects your Damascus steel blade and enhances the etched design’s contrast, giving it a polished, professional finish.
Recommended Sealants for Damascus Steel
Choosing the right sealant is essential to preserving the intricate details when etching Damascus steel. Here are some popular options:
- Mineral Oil: This traditional, widely used oil protects the steel and enhances its natural sheen. Mineral oil is particularly good for Damascus steel blades intended for display rather than frequent use.
- Renaissance Wax: This high-quality wax is popular among metalworkers and conservators. It provides a durable, moisture-resistant layer and gives the Damascus steel a slight sheen. Apply a thin coat with a soft cloth and buff gently.
- Gun Oil or Knife Oil: These oils are designed specifically for blades, offering excellent protection against rust. They’re ideal for Damascus steel blades that will be used regularly, as they create a long-lasting protective layer that withstands regular handling.
Each sealant will help preserve the pattern you’ve developed by etching your Damascus steel, protecting it from environmental damage.
How to Apply the Sealant
- Prepare the Blade: Make sure your Damascus steel blade is completely dry and free of dust or fingerprints before sealing. Etching can leave the surface slightly rough, so it’s best to gently wipe down the blade one final time with a soft, lint-free cloth.
- Apply a Thin, Even Coat: Dip a soft cloth into your chosen sealant and apply a light coat to the etched Damascus steel. Spread the sealant evenly, covering all areas, especially the etched sections where moisture could accumulate. Work in small sections to maintain control and prevent the sealant from pooling.
- Buff and Let Dry: For oils, simply wipe off any excess after a few minutes, then buff the surface to a smooth, even finish. If using a wax-like Renaissance Wax, allow the wax to set for a moment before buffing with a clean, soft cloth. This will leave a protective layer that brings out the Damascus steel’s beauty and enhances the etched pattern’s visibility.
Regular Maintenance Tips for Etched Damascus Steel
To keep your etched Damascus steel blade in excellent condition, it’s important to reapply the sealant periodically. Here are some maintenance tips:
- Re-oil or Wax as Needed: Apply a fresh coat of oil or wax every few months for frequently used blades. This helps maintain the protective barrier on the etched Damascus steel, preventing rust and keeping the blade looking sharp.
- Avoid Harsh Cleaners: Use only mild soap and water to clean the blade, then dry thoroughly and reapply the sealant as needed. Harsh chemicals can damage the protective layer and erode the etched pattern over time.
By sealing and regularly maintaining after etching the Damascus steel blade, you can enjoy the beauty and craftsmanship of your work for years to come. Proper sealing highlights the pattern you’ve created and ensures that your Damascus steel retains its unique appeal and quality over time.
Troubleshooting Common Etching Issues
Etching Damascus steel can yield beautiful, intricate designs, but the process sometimes presents challenges. Various issues can arise during and after etching from uneven patterns to unexpected rust spots. Knowing how to troubleshoot these problems helps ensure your Damascus steel blade turns out as intended. Below, we’ll cover some of the most common issues with etching a Damascus steel and provide practical solutions to keep your project on track.
Uneven Etching Patterns
One common problem with etching Damascus steel is an uneven pattern, where some areas appear more deeply etched than others. This can happen if the etching solution wasn’t evenly applied or if the blade wasn’t thoroughly cleaned beforehand.
- Solution: Ensure the blade is polished and completely clean before etching. Any residue, oil, or fingerprints can interfere with the acid’s ability to etch the surface evenly. You may also want to re-submerge the blade for a brief second etching, focusing on the areas that didn’t etch as deeply. You can apply the etching solution with a brush to target specific areas for a more controlled approach.
Blotchy or Discolored Patterns
Blotchy patterns can appear if the etching Damascus steel solution is too strong or the blade isn’t properly neutralized. This can result in uneven coloration or strange patches on the steel, detracting from the overall look.
- Solution: Dilute the etching solution slightly to reduce strength and ensure a slower, more even reaction. Ferric chloride, for example, can be mixed in a 1:3 ratio with distilled water for a gentler etch. Additionally, always neutralize the blade with a baking soda solution immediately after removing it from the etching solution. This halts the chemical reaction and helps prevent further discoloration.
Over-Etching and Pitting
Over-etching is a risk when you leave the Damascus steel blade in the solution for too long, which can lead to deep pits or holes on the surface. These pits weaken the blade and obscure the layered patterns that make Damascus steel unique.
- Solution: Monitor the etching process carefully and limit each etching session to a few minutes, checking the blade frequently. If you notice pitting, you may be able to remove some of the rough spots with fine-grit sandpaper. Moving forward, try shorter etching sessions and avoid overly strong solutions to reduce the chance of over-etching.
By understanding these common issues and solutions, you’ll be better equipped to handle challenges that arise when etching Damascus steel. Each project has its nuances, and with some patience and practice, you can refine your technique to consistently produce beautiful, well-etched Damascus steel blades.
Conclusion
Etching Damascus steel unlocks the hidden beauty of the blade’s layered patterns, creating a stunning, one-of-a-kind finish. With proper preparation, careful etching, and mindful sealing, you can achieve impressive, long-lasting results that showcase the intricate design of Damascus steel. Embrace the process, and you’ll find that each etched blade reflects your skill and creativity as an artisan.
After etching Damascus steel, we have ways to display your art. Check out our guide on making your own DIY knife block.

