Last Updated on July 1, 2024 by teamobn
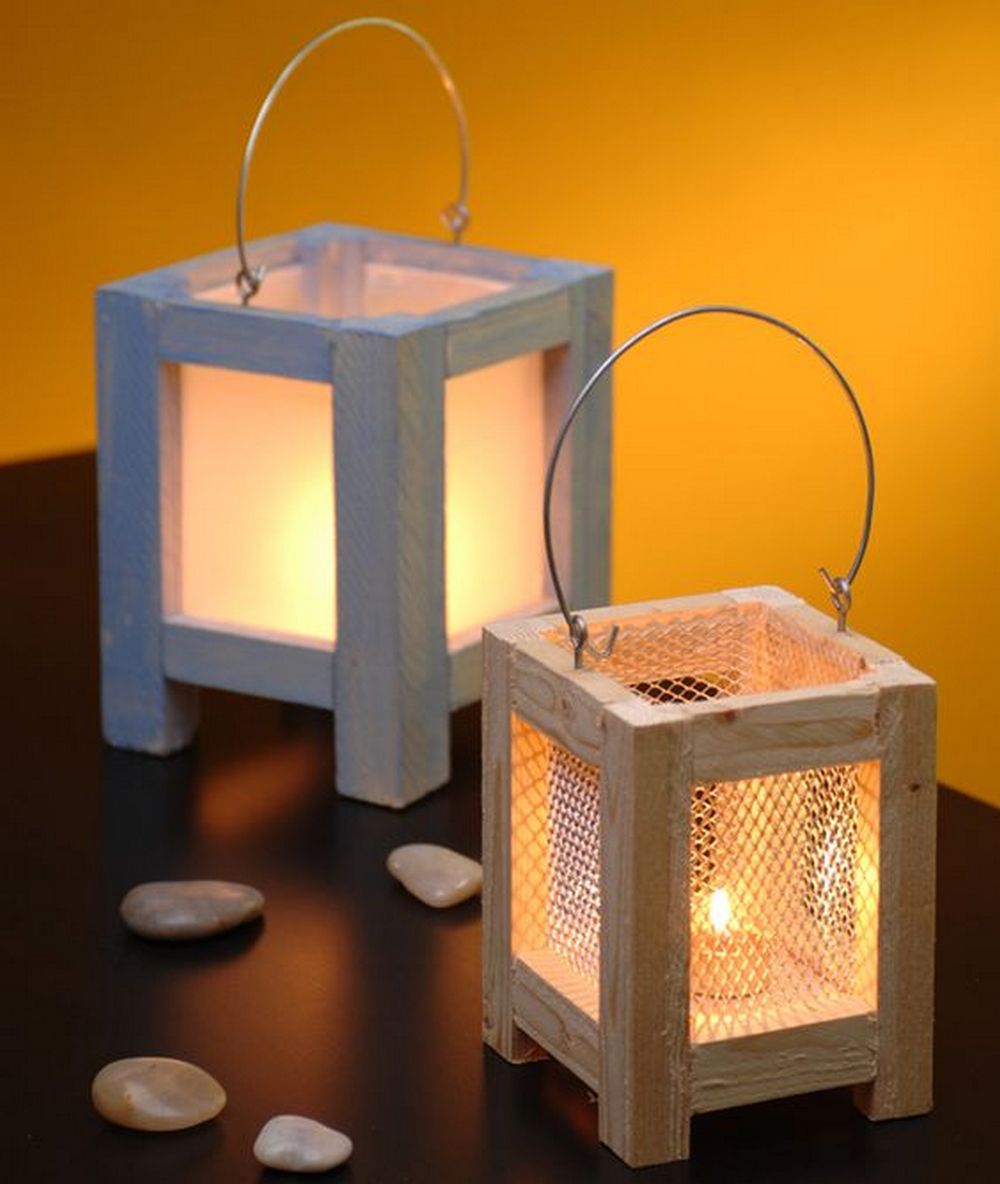
Lantern candles are a great way to add a touch of elegance to any space in the home. They are perfect for both indoor and outdoor use, and can really help to dress up a room. lantern candles come in a variety of shapes and sizes, so you can easily find one that will fit your needs. They also come in a variety of colours, so you can choose one that will complement your home’s décor.
The right lantern can do more than just light up a room – it can create an ambience that sets the tone for the entire space. If you’re placing lanterns outdoors, go for the brighter ones to make the most impact. But don’t forget to consider the size of the lantern in relation to the area you’re trying to light up. Too big or too small and the lantern will stick out like a sore thumb.
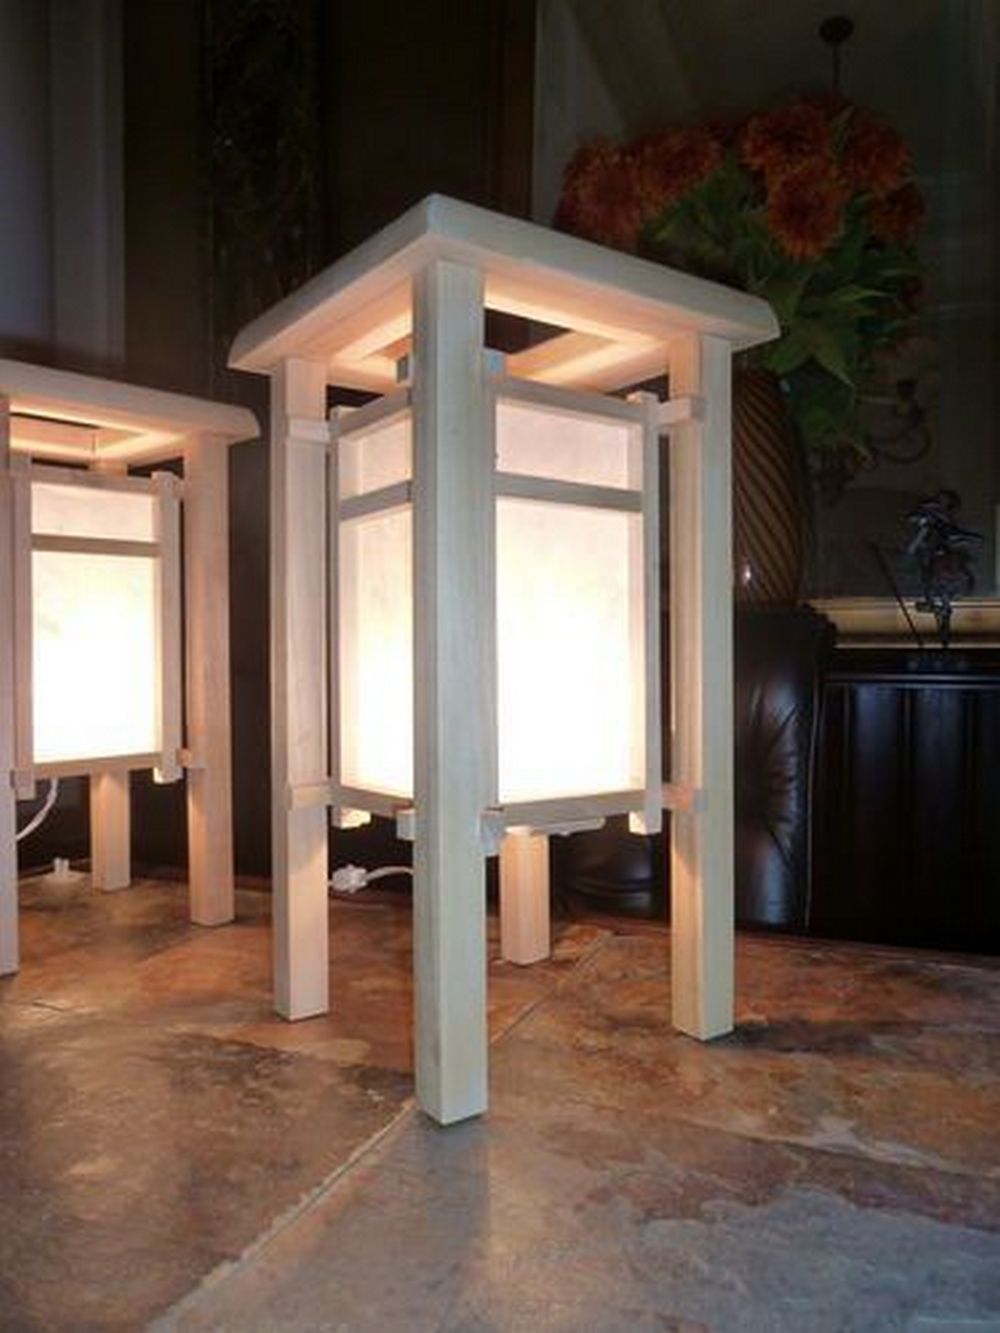
Of course, you’d need something to put those candles in. There are a lot of ready-made candle holders, some sold at $50 apiece. But instead of buying a lantern candle holder, why not make your own? With a DIY project, you get free rein on what you want to do with it – size, shape, and colour. You can inject your own personality into the design.
When choosing a lantern candle holder, it is important to consider the pros and cons. Lantern candle holders can be a great addition to any home, but there are some things to keep in mind before making a purchase or even making one.
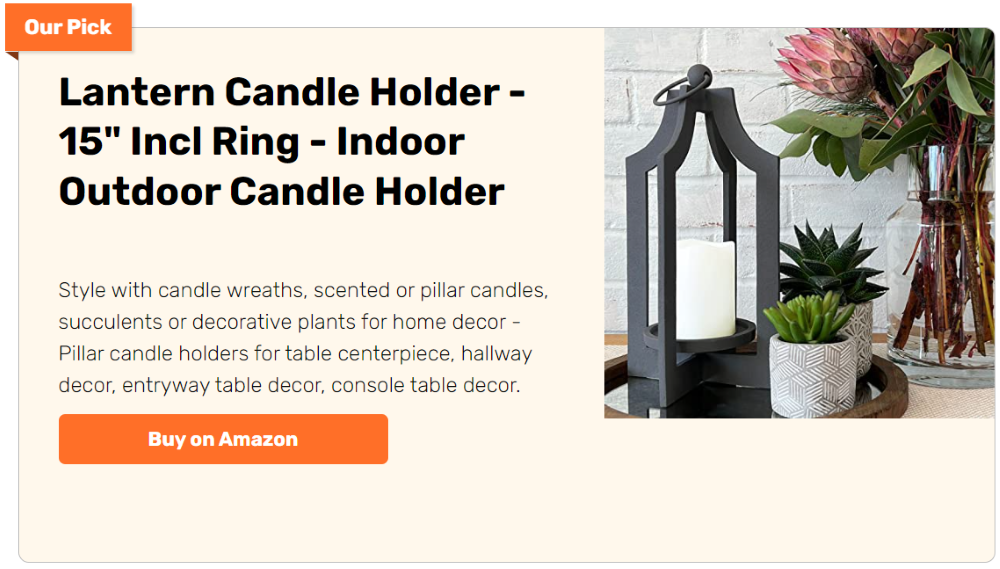
One of the many advantages of using lantern candle holders is the elegant atmosphere they can help create. When used thoughtfully, lanterns can contribute to the overall ambience of a room and set the tone for an enjoyable evening. They also emit a warm, inviting glow that is perfect for entertaining guests or unwinding after a long day. For these reasons and more, lantern candle holders remain a popular choice for homeowners and decorators alike.
However, there are some things to keep in mind when using lanterns to avoid any potential fire hazards. When using a lantern, be sure to place it on a stable surface where it cannot be easily knocked over. It is also important to keep the lantern out of reach of children and pets. If you are using a lantern with a real candle, be sure to blow out the candle before leaving the room or going to bed. By following these simple safety tips, you can enjoy the beauty and atmosphere that lanterns provide without any worry.
This project is pretty simple and inexpensive. You would need a few woodworking skills but it’s no rocket science. If you can’t operate an electric saw, ask for help. The bottom line is, this project is doable. So have fun making lantern candle holders!
To start, you will need to gather the supplies we had on our list below. Once you have all your supplies, you can check out the video below to guide you through the step-by-step process of making your own Lantern Candle Holder. What are you waiting for?
Contents [show]
Making a Lantern Candle Holder
Materials
- Wood
- Gorilla glue
- Screws
- Wood stain
Tools
- Measuring tape
- Clamp
- Round saw
- Electric drill
- Sandpaper
Steps
Design Your Lantern:
- Decide on the size and shape of your lantern. A simple rectangular or square frame is easy to make and versatile in style.
Measure and Cut the Wood:
- Using the measuring tape, measure the lengths required for each side of your lantern.
- Mark your measurements on the wood.
- Use the round saw to cut the wood to the desired lengths. Be sure to wear safety goggles during this step.
Sand the Wood:
- Smooth all edges of the cut wood pieces with sandpaper. This prevents splinters and prepares the surface for staining.
Assemble the Frame:
- Lay out the wood pieces to form your lantern frame.
- Apply Gorilla glue to the joints to secure them together.
- Use clamps to hold the pieces in place as the glue dries.
- For additional stability, drill holes and screw the pieces together with wood screws.
Stain the Wood:
- Once the glue is dry and the frame is stable, apply wood stain to all surfaces of the lantern.
- Use a brush or a rag to apply the stain evenly.
- Allow the stain to dry completely according to the instructions on the stain container.
Add a Base and Top:
- Measure and cut additional wood pieces for the base and top of the lantern.
- Sand, then stain these pieces.
- Once dry, attach the base and top to the frame using Gorilla glue and screws for reinforcement.
Insert Candle Holder:
- Choose a small glass holder or a metal plate to place inside the lantern for the candle.
- Secure the holder to the base of the lantern using glue or screws, depending on the material of the holder.
Final Touches:
- Check all joints and screws to ensure they are tight and the lantern is stable.
- You may add a handle on top of the lantern using a sturdy wire or additional wood if desired.
Place Your Candle:
- Place a candle inside the holder. Ensure it’s the right size to prevent any fire hazard.
- Light up your DIY lantern candle holder and enjoy the ambiance it creates.
Click on any image to start the lightbox display. Use your Esc key to close the lightbox.
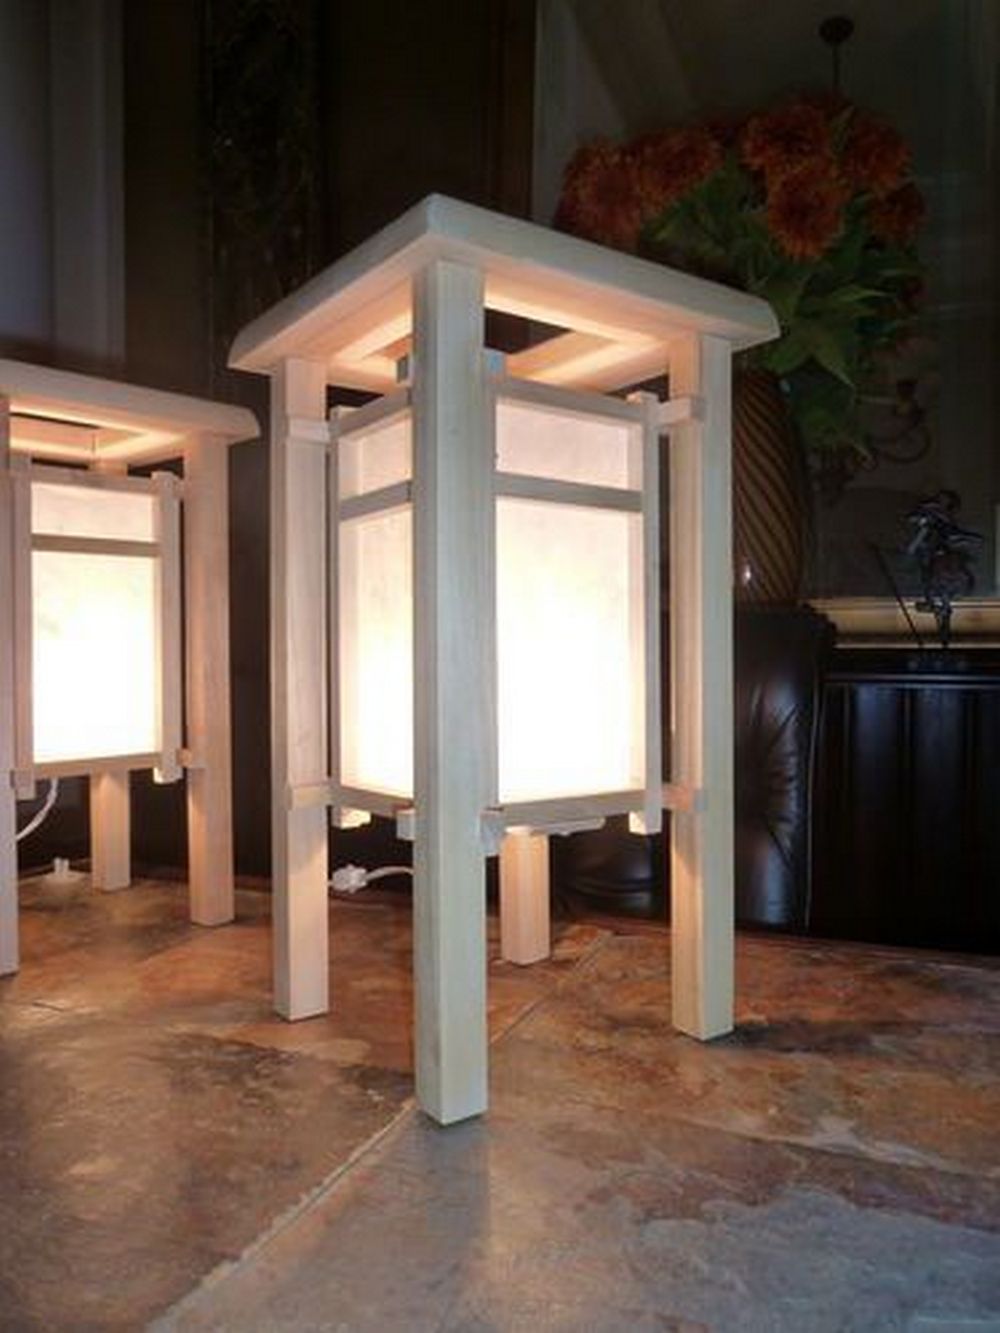
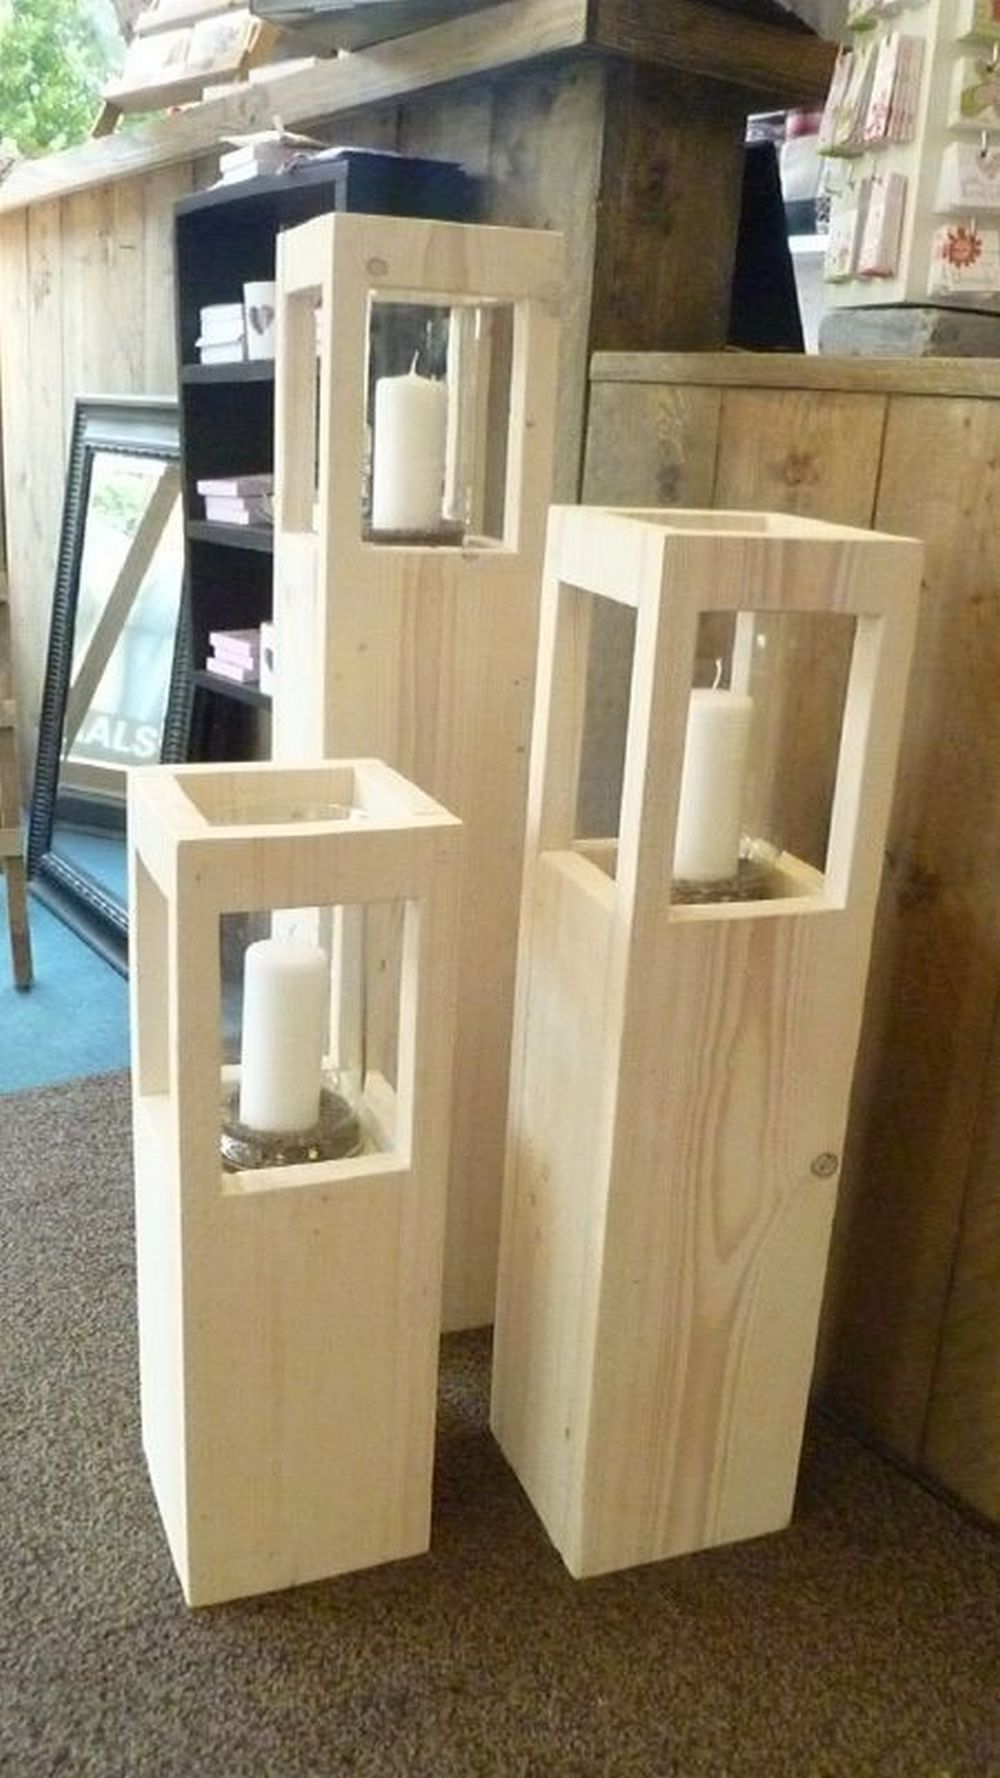


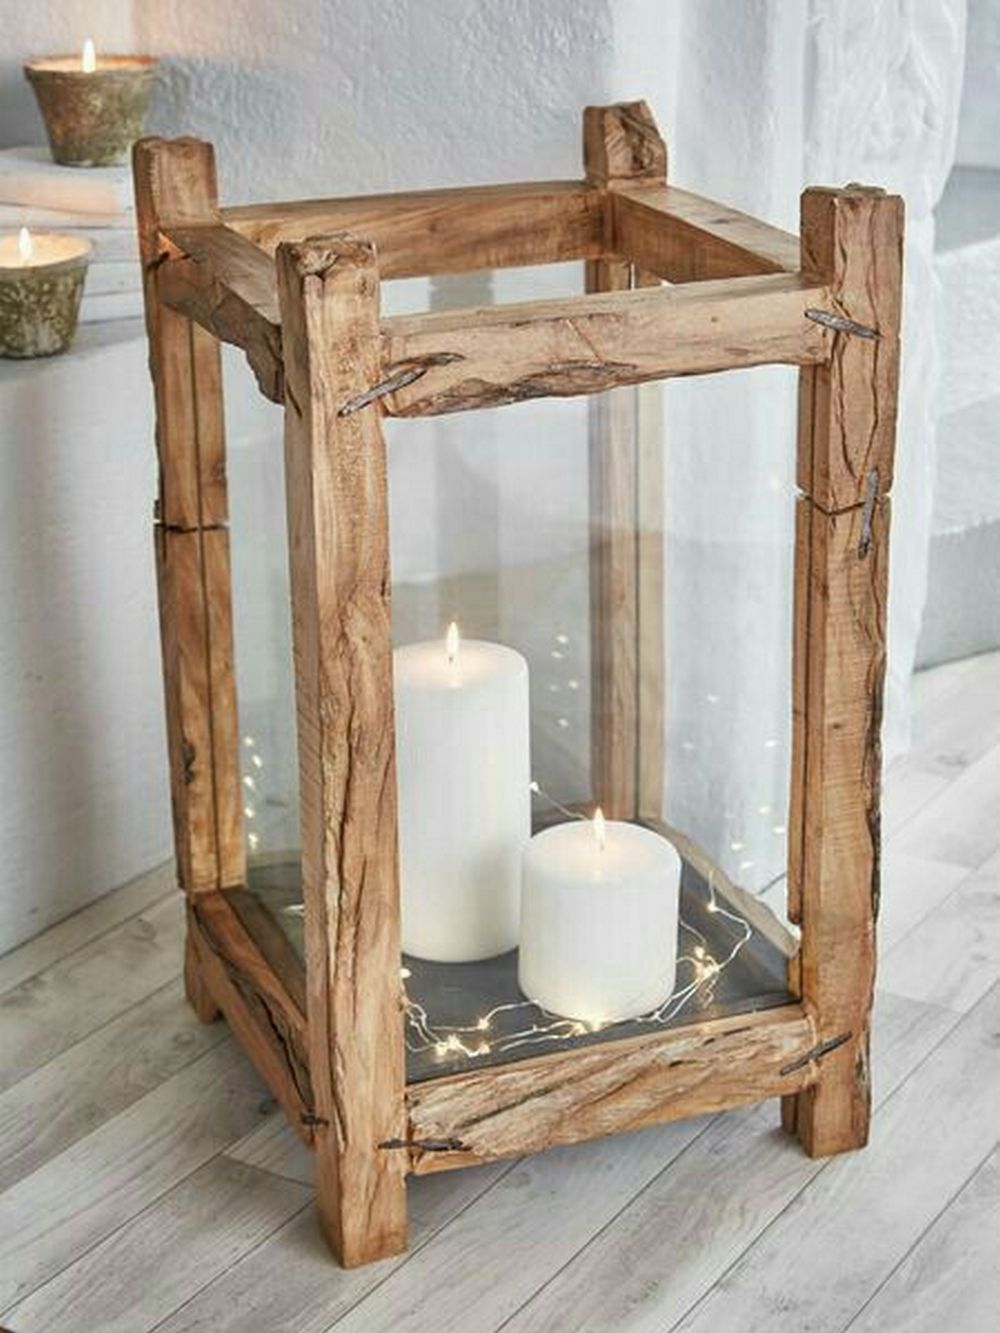

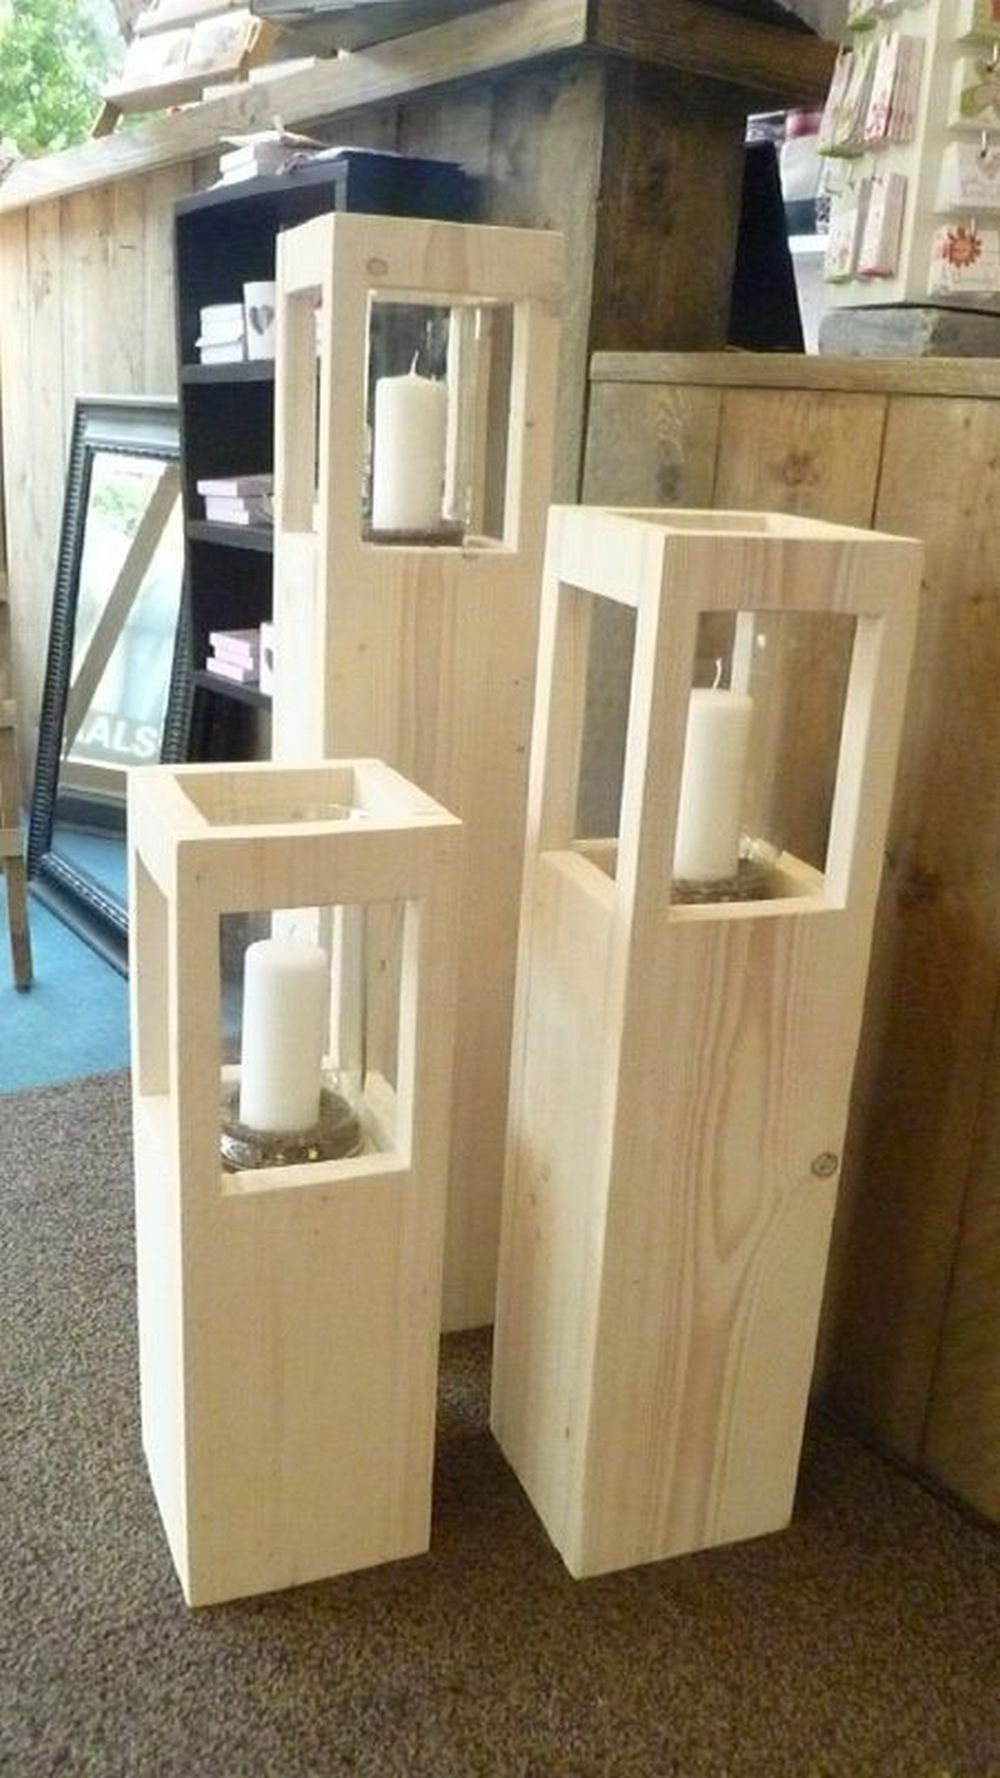
You can get step-by-step instructions here…
Different Types of Lantern Candle Holders
A lovely and flexible approach to accentuate any area with warmth and atmosphere is lantern candle holders. Each of their several forms fits a distinct environment and need. There is a lantern candle holder to fit your needs whether your goal is to brighten your outdoor events or improve your inside ambiance.
Here we investigate the several kinds of lantern candle holders on the market.
Tabletop Lantern Candle Holders
Tabletop lantern candle holders are meant to rest on level surfaces like tables, shelves, or mantels. Usually smaller and more portable, they are perfect for accentuating a subdued light and elegance into indoor environments. Often with complex designs, these lanterns can be created from metal, glass, or ceramic among other materials.
Hanging Lantern Candle Holders
Any location would benefit from the lovely accent hanging lantern candle holders provide. Suspended from ceilings, branches, or hooks, they provide a floating source of light adding character and depth to the surroundings. Perfect for outdoor patios, balconies, or around the garden, these lanterns softly swing in the breeze to create a comforting glow.
Wall-Mounted Lantern Candle Holders
Wall-mounted lantern candle holders are affixed to walls and are excellent for lighting pathways, porches, or any outdoor area needing a fixed light source. They help save space while providing functional illumination. These lanterns are often used in pairs to frame an entryway or line a driveway, enhancing the architectural features of a building.
Freestanding Lantern Candle Holders
Freestanding lantern candle holders are larger and designed to stand on the ground. They can be placed along walkways, in garden corners, or on patios to provide significant lighting coverage. These lanterns are ideal for creating focal points in large spaces and are commonly used during outdoor events like weddings or evening parties to create a magical and inviting atmosphere.
Each type of lantern candle holder offers unique benefits and can be chosen based on the specific needs of your decor or event, ensuring you always have the perfect lighting to create the desired ambiance.
DIY Customization Ideas
Lantern candle holders offer a unique opportunity for customization, allowing you to add personal touches that reflect your style and creativity. Whether you’re aiming for a rustic look or something more refined, there are numerous ways to personalize your lanterns. Here are some DIY customization ideas to inspire your next project.
Paint and Patina
- Paint Techniques: Transform your lantern candle holder with paint. Use spray paint for a uniform coat or hand paint designs for a more artistic approach. Techniques like distressing or using a sponge can add texture and depth.
- Patina Effects: For a vintage or antique look, apply a patina finish. You can use specialty paints or create your own effect with a mixture of vinegar and salt to naturally oxidize the metal components of the lantern.
Decorative Additions
- Glass Etching: Customize the glass panels of your lantern with etching techniques. Use stencils to apply designs or etching cream for a frosted effect, adding elegance and privacy.
- Adding Embellishments: Attach embellishments such as beads, crystals, or stones to the exterior. These can be glued around the edges or hung from the frame to enhance the aesthetic appeal and sparkle under candlelight.
Natural Elements
- Wood Staining: If your lantern is made of wood, consider staining it in various shades. You can also use different sanding techniques to create a weathered look or expose underlying grains.
- Incorporating Foliage: Adorn your lantern with natural elements like moss, dried flowers, or twigs. These can be attached directly to the lantern or used inside around the candle for a rustic, earthy vibe.
Functional Modifications
- Candle Alternatives: Switch traditional candles for LED lights or fairy lights for a safer, longer-lasting light source. This is particularly useful for lanterns in children’s rooms or outdoor areas where wind may be a concern.
- Adjustable Panels: Modify your lantern to have adjustable side panels. This allows you to change the amount of light emitted and can be useful for creating different lighting effects depending on the time of day or the desired ambiance.
By exploring these DIY customization ideas, you can transform a simple lantern candle holder into a stunning piece of decor that not only lights up your space but also showcases your individual flair and craftsmanship.
Conclusion
Crafting your own lantern candle holder is a rewarding project that enhances any space with a personal touch and ambient light. With a variety of materials and customization options available, you can easily create a piece that complements your style and decor preferences. Enjoy the satisfaction of making something beautiful and functional, perfect for indoor coziness or outdoor gatherings.


