Last Updated on April 2, 2021 by teamobn


Fold the very top edge so that the rough edge is not exposed as in the picture. Then pin and sew along this edge.

Turn the fabric inside out again so that the good sides are in, and iron the top of the bag at about 1 inch fold.

Fold the raw edges inside. Iron again and pin. Sew the hem very close to the bottom edge.

Now you’re ready to wax it.

Chip away beeswax and parafin wax so that you have 1/2 cup of them each. Place them in an old tin can. Bring a pot of water to boil. Before placing your can of wax, bring down the heat at low temperature so that the water is not boiling. Stir the wax with a stick as it melts.

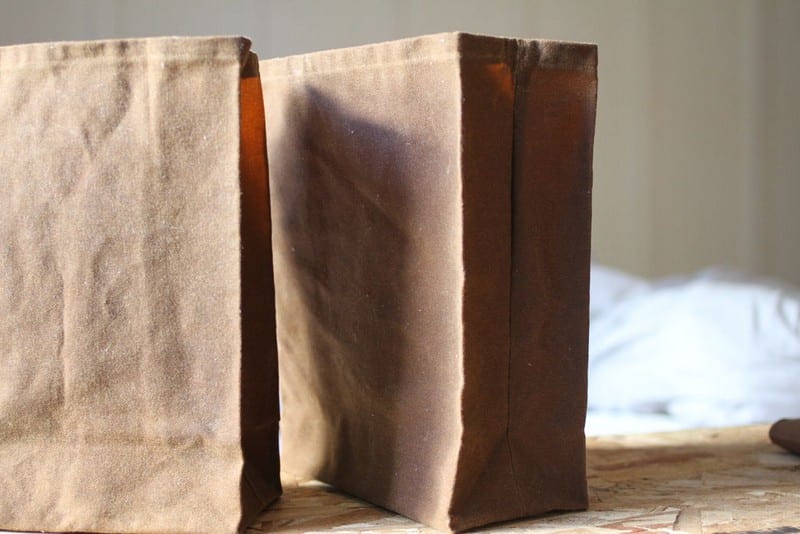
Brush the entire canvas bag with the melted wax. Keep the can on a hot water so that it won’t harden while you are working. Feel free to brush more amounts at the bottom and seams to make your bag sturdier. The thicker the wax the darker the finish will be as well. Leave it to dry.

Now this is an amazing part: Put your dried canvas bag inside an old pillow case and tie it up. Place it in a dryer in its highest setting for 20-40 minutes, depending on the thickness of your wax.

When you remove it from the dryer the wax should be completely soaked into the fabric. If you see any white spots, put it back on the dryer for another 10 minutes or use a blower to deal with small spots. And you’re done!
Thanks asergeeva for this great project!


