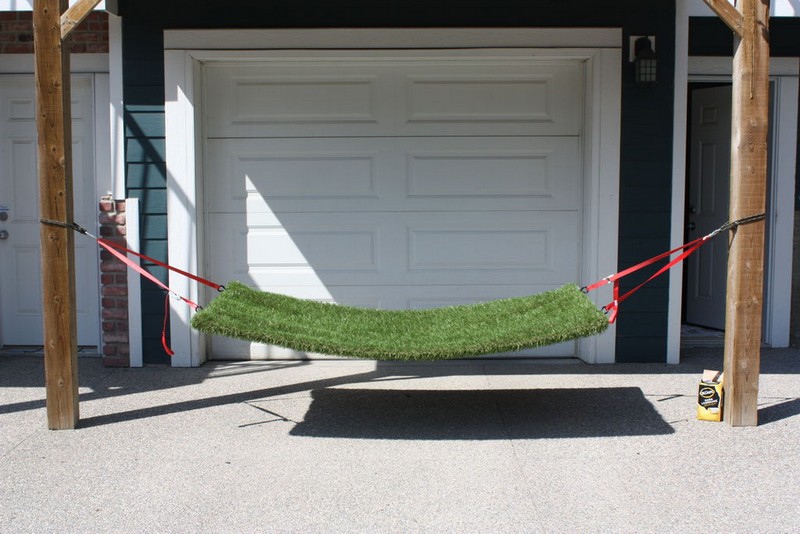
A grass hammock is a perfect way to enjoy a summer day. You can lounge in the sun, read a book, or take a nap. Grass hammocks are also great for picnics and outdoor parties. They add a touch of luxury and relaxation to any event.
Need a good outdoor ‘bed’ you can use for relaxing in your yard? Here’s a quick DIY project from Mitchael Randle that’s sure to be envied by the neighbours! 🙂
Hammocks offer a unique and comfortable experience that can be enjoyed indoors or out. They are perfect for taking a nap, cuddling up with a loved one, or simply reading a book. This DIY grass hammock project can be completed in less than an hour if you have the necessary posts, trees, or hammock stand. With a little effort, you can enjoy the relaxation and comfort of a hammock any time you want.
This grass hammock is comfortable and definitely cool! It’s perfect for picnics or just relaxing in the sun. You’ll stay cool and comfortable while enjoying an ant-free experience!
Can you imagine now resting on this inviting grass hammock? 🙂
Materials:
- Grass Shag Carpet
- 2 pcs – Tie Downs
- 2 pcs – Black Metal Pipes
- Zip Ties
- Caribiner or Quick Links
- Rope
- Silver Sharpie or any Marker
Tools:
- Measuring Tape
- Knife (military tactical type)
Steps:
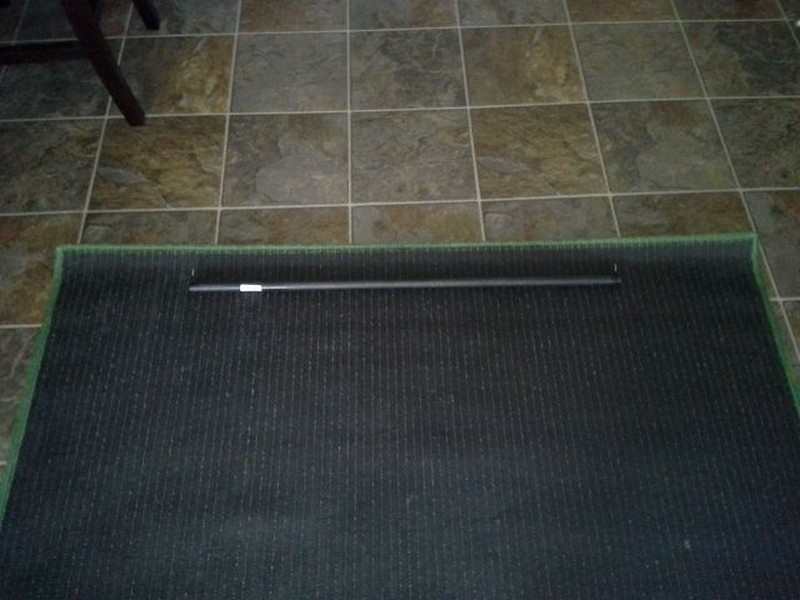
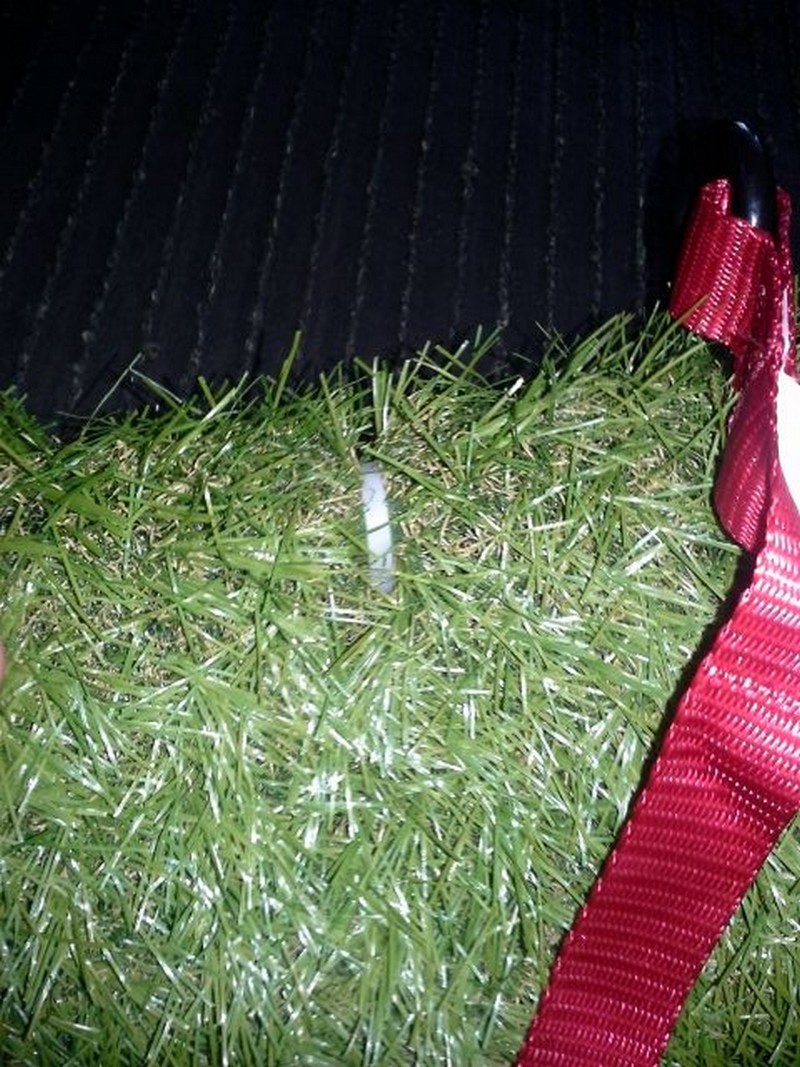
I didn’t even need to measure at all I just counted the seams. I started by finding the relative centre by counting how many seams from the outside would fit the pipe.

I marked this spot with a silver sharpie. I then rolled the pipe back until I could roll enough of the carpet around the pipe to cover it.

I cut some slits where I thought I should bring the hooks through for my DIY grass hammock.
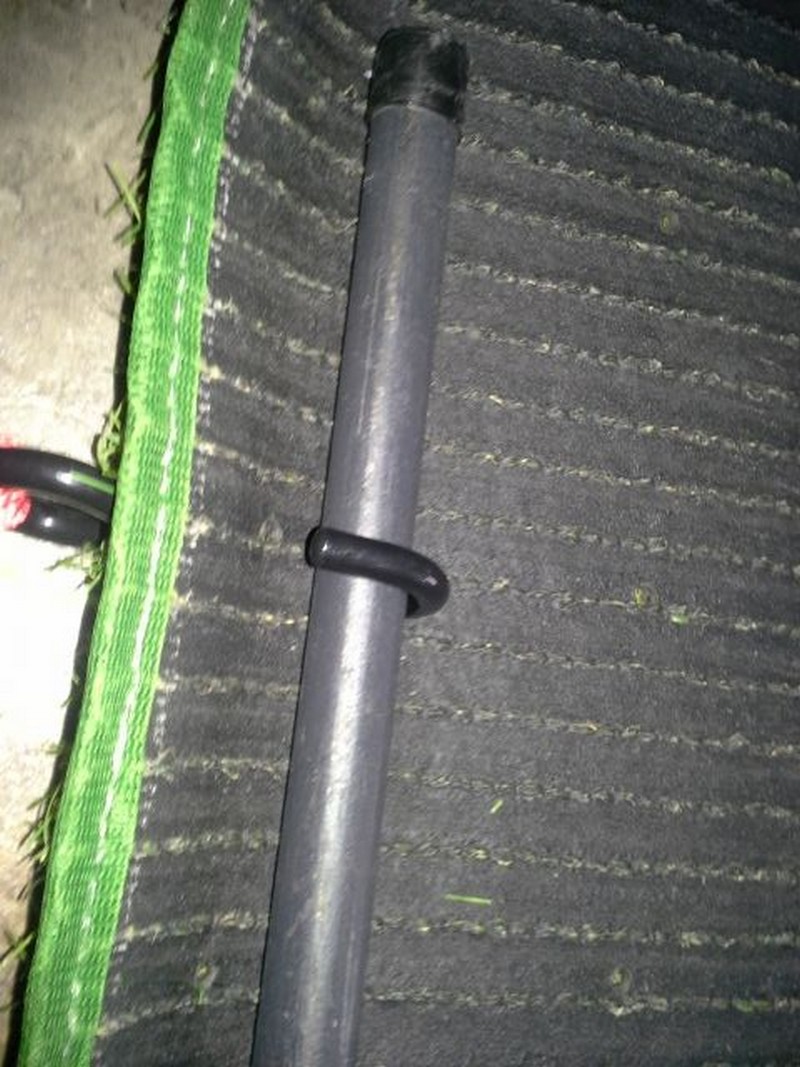

I carefully slid the metal hooks into the small slits of the grass-shag carpet, making sure not to damage the material. I then placed the pipe in the hook, securing it in place.

I then tucked the end of the carpet between the hook and the pipe to keep it in place.

Once in place use a few zip ties to secure the carpet around the pipe. The zip ties don’t add too much structure, they just keep the carpet in place around the pipe.

The idea here is to have the tie-downs go around the pipe, this distributes the weight along the length of the carpet.

Fold whatever is left on the sides around the ends of the pipe. This not only makes the top and sides look nice, and hides the hooks from the tie-downs, but I believe it adds some strength as well. Try and follow the seams with the edge of the carpet when folding.
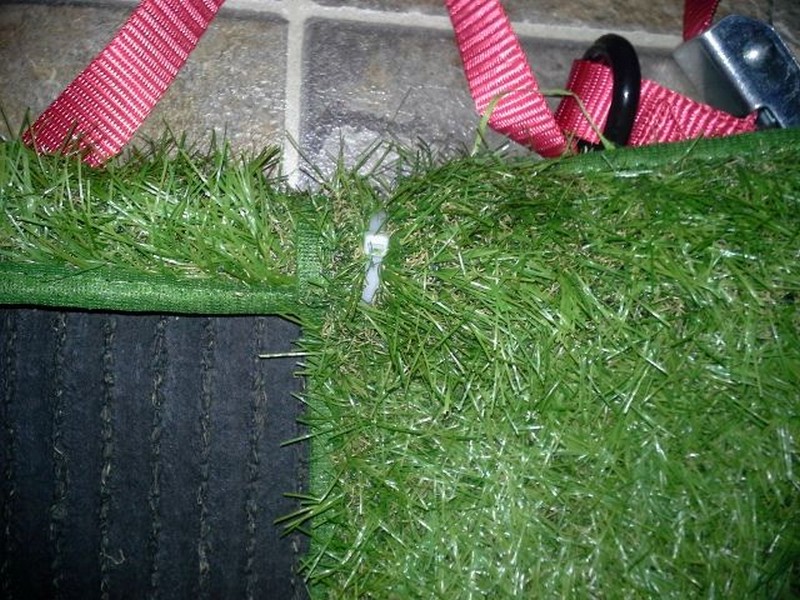
Once it is folded put some more holes into the carpet and zip-tie it around the pipe. I used only 3 zip ties per side but you could add more. I thought it may be possible to sew the flap to the carpet and attach it to the top but I haven’t found it necessary yet.

Now that you’ve finished your DIY grass hammock, it’s time to put it to good use! Find two posts or other sturdy supports and attach your hammock for maximum relaxation. This is the perfect spot to enjoy a sunny day or a cool breeze, so make the most of it!

To make it attach easier you can use two lengths of rope tied in a loop and attach with carabiners or chain quick links.

Don’t have posts or trees available? Build a hammock stand! 🙂
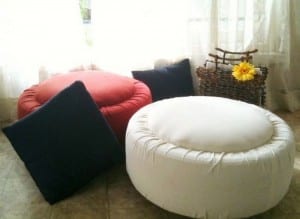
Need something for two? How about a grass daybed? We think this one is absolutely awesome!
Here’s a quick video tutorial…