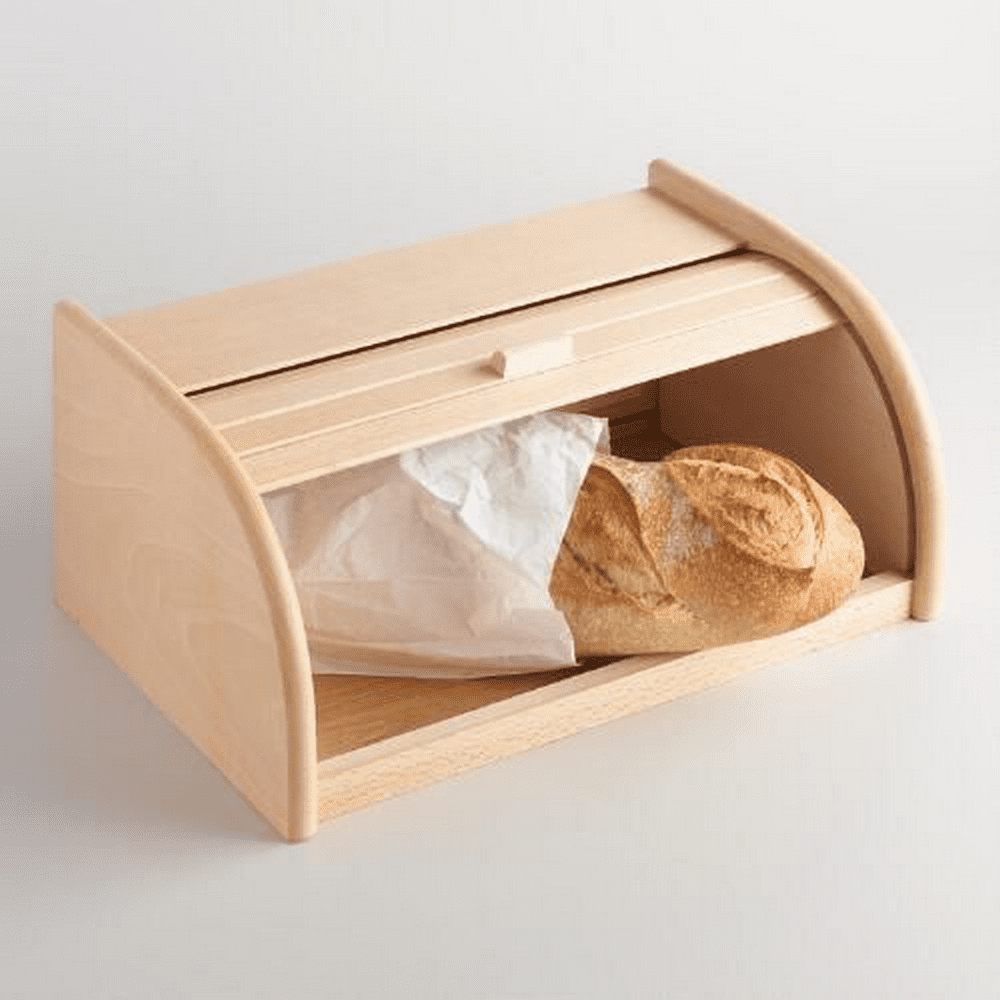
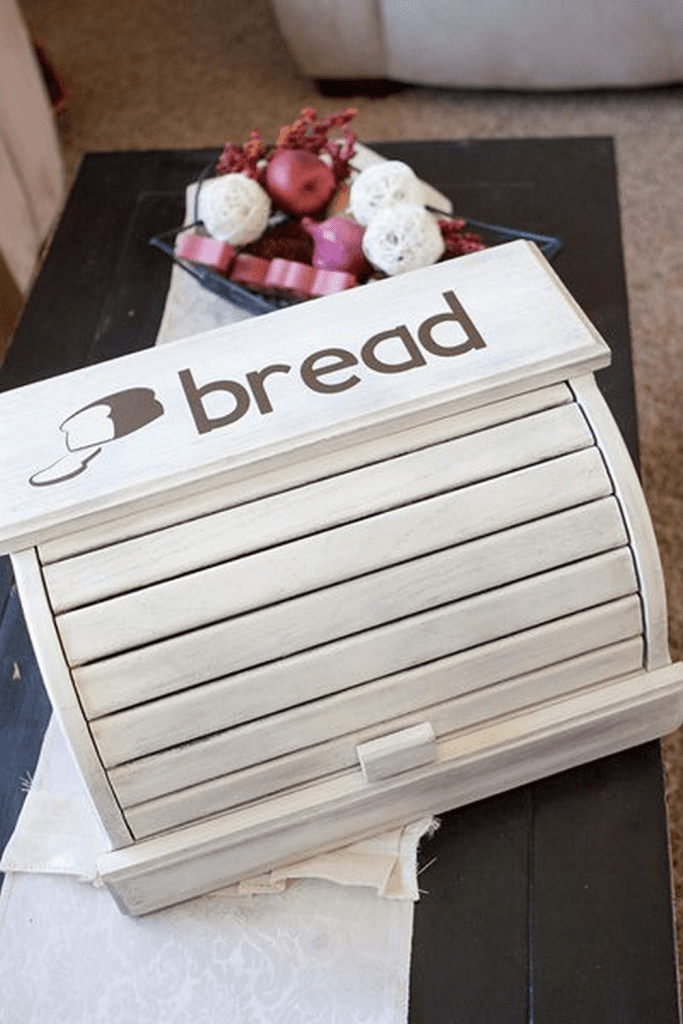
Here’s a DIY breadbox project that definitely exemplifies form and function.
Keeping your kitchen organized is essential in any home. An organized kitchen not only simplifies your meal prep but also makes mornings more enjoyable and less chaotic.
My husband is on the same page with me about this. He always includes clever storage solutions in our home designs, helping us maintain a clean and orderly space. This reduces clutter and frees up room throughout the house.
Not long ago, my mother-in-law visited us. During her stay, she took charge of the kitchen and mentioned something we’d overlooked: we didn’t have a breadbox. I’d never thought about it, but she reminisced about having one as a child and how it kept their bread fresh. We realized she had a point.
Adding a breadbox might seem small, but it’s changed our kitchen for the better. It’s surprising how such a simple item can make a big difference.
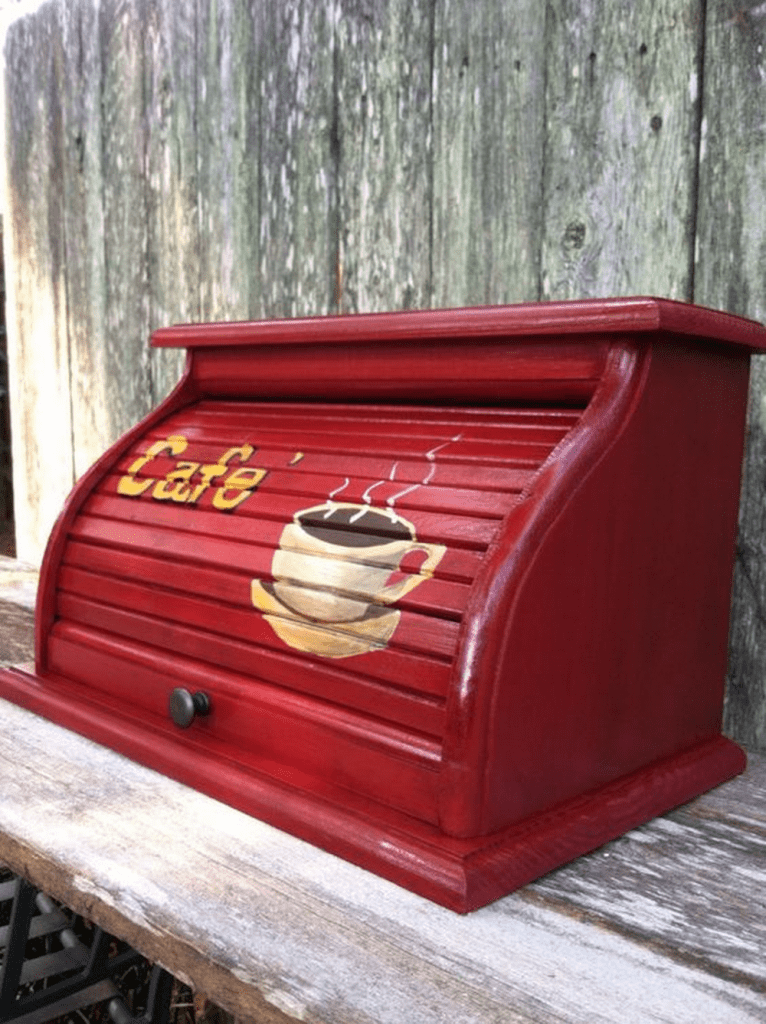
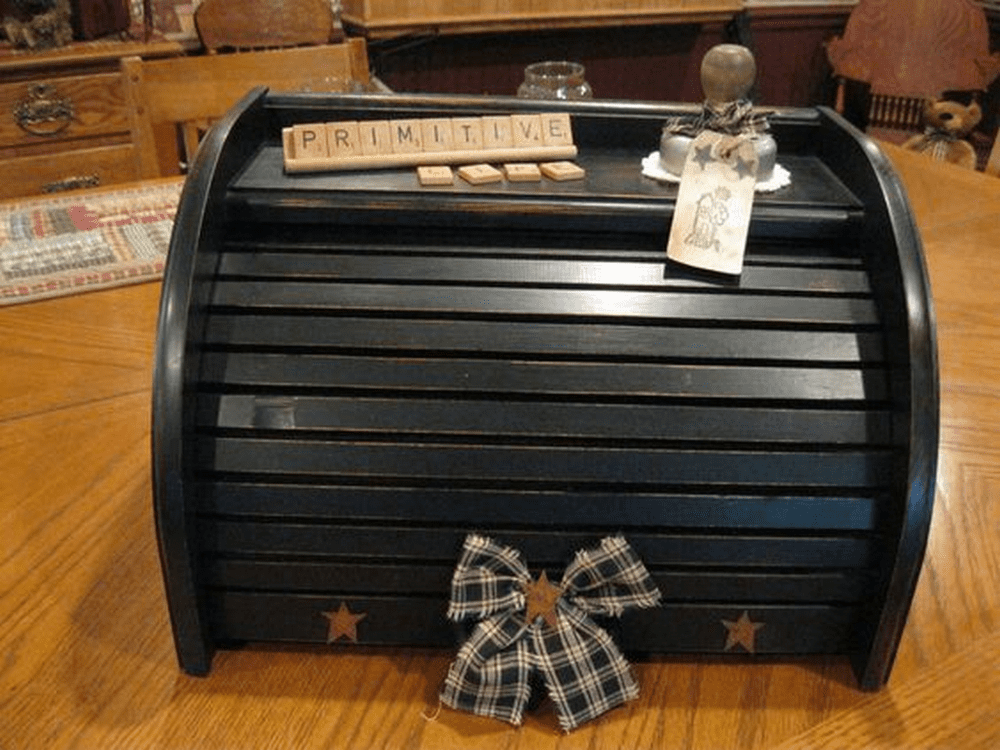
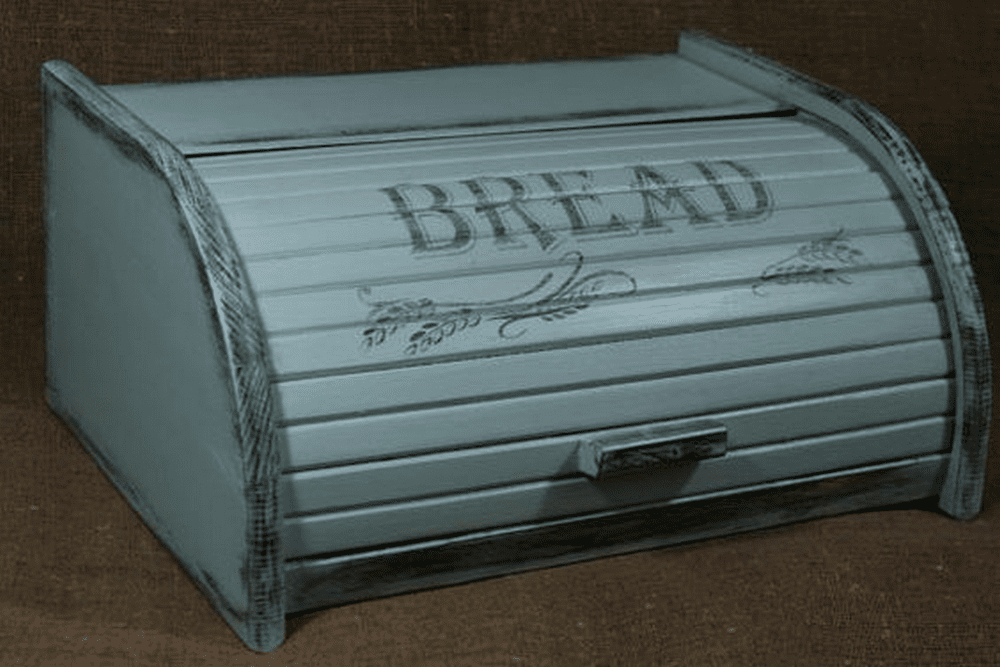
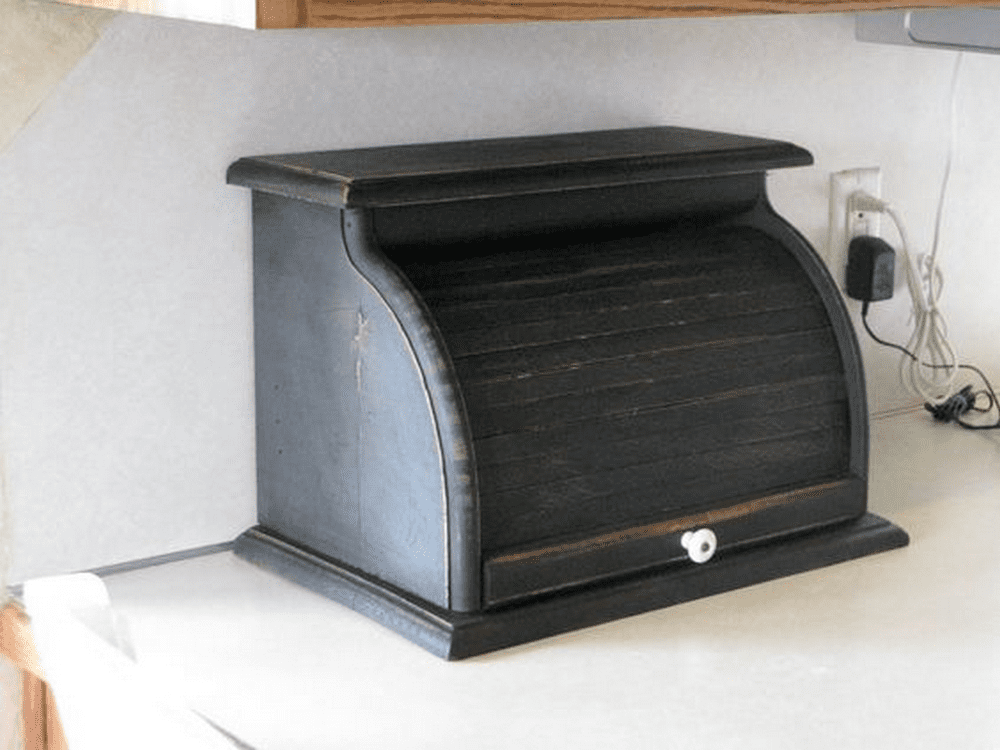
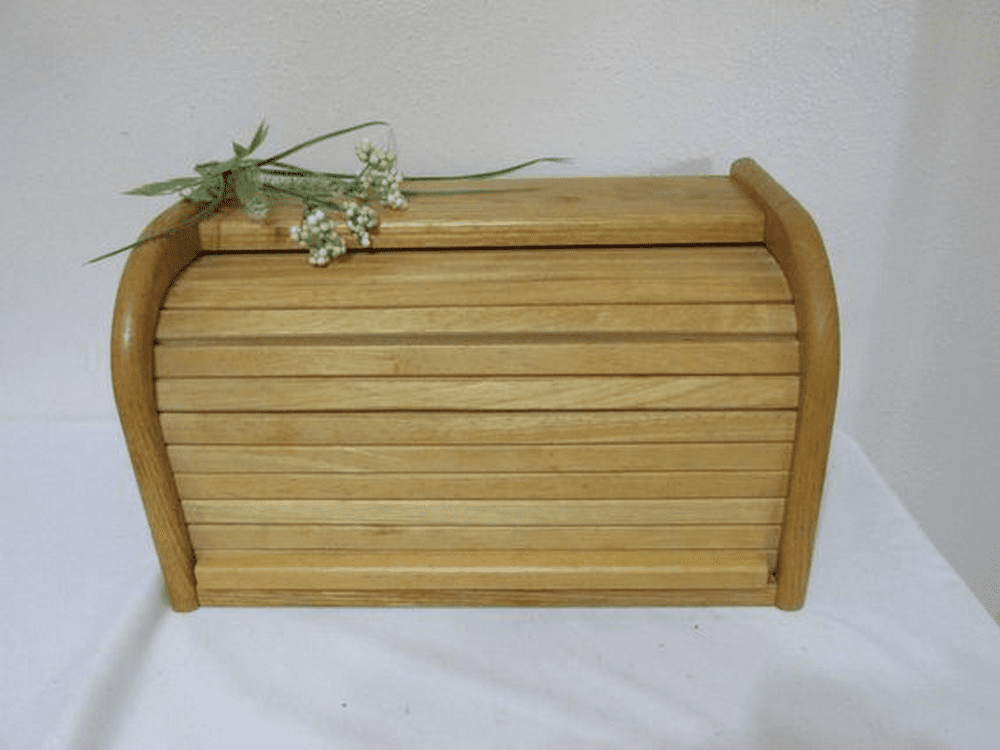
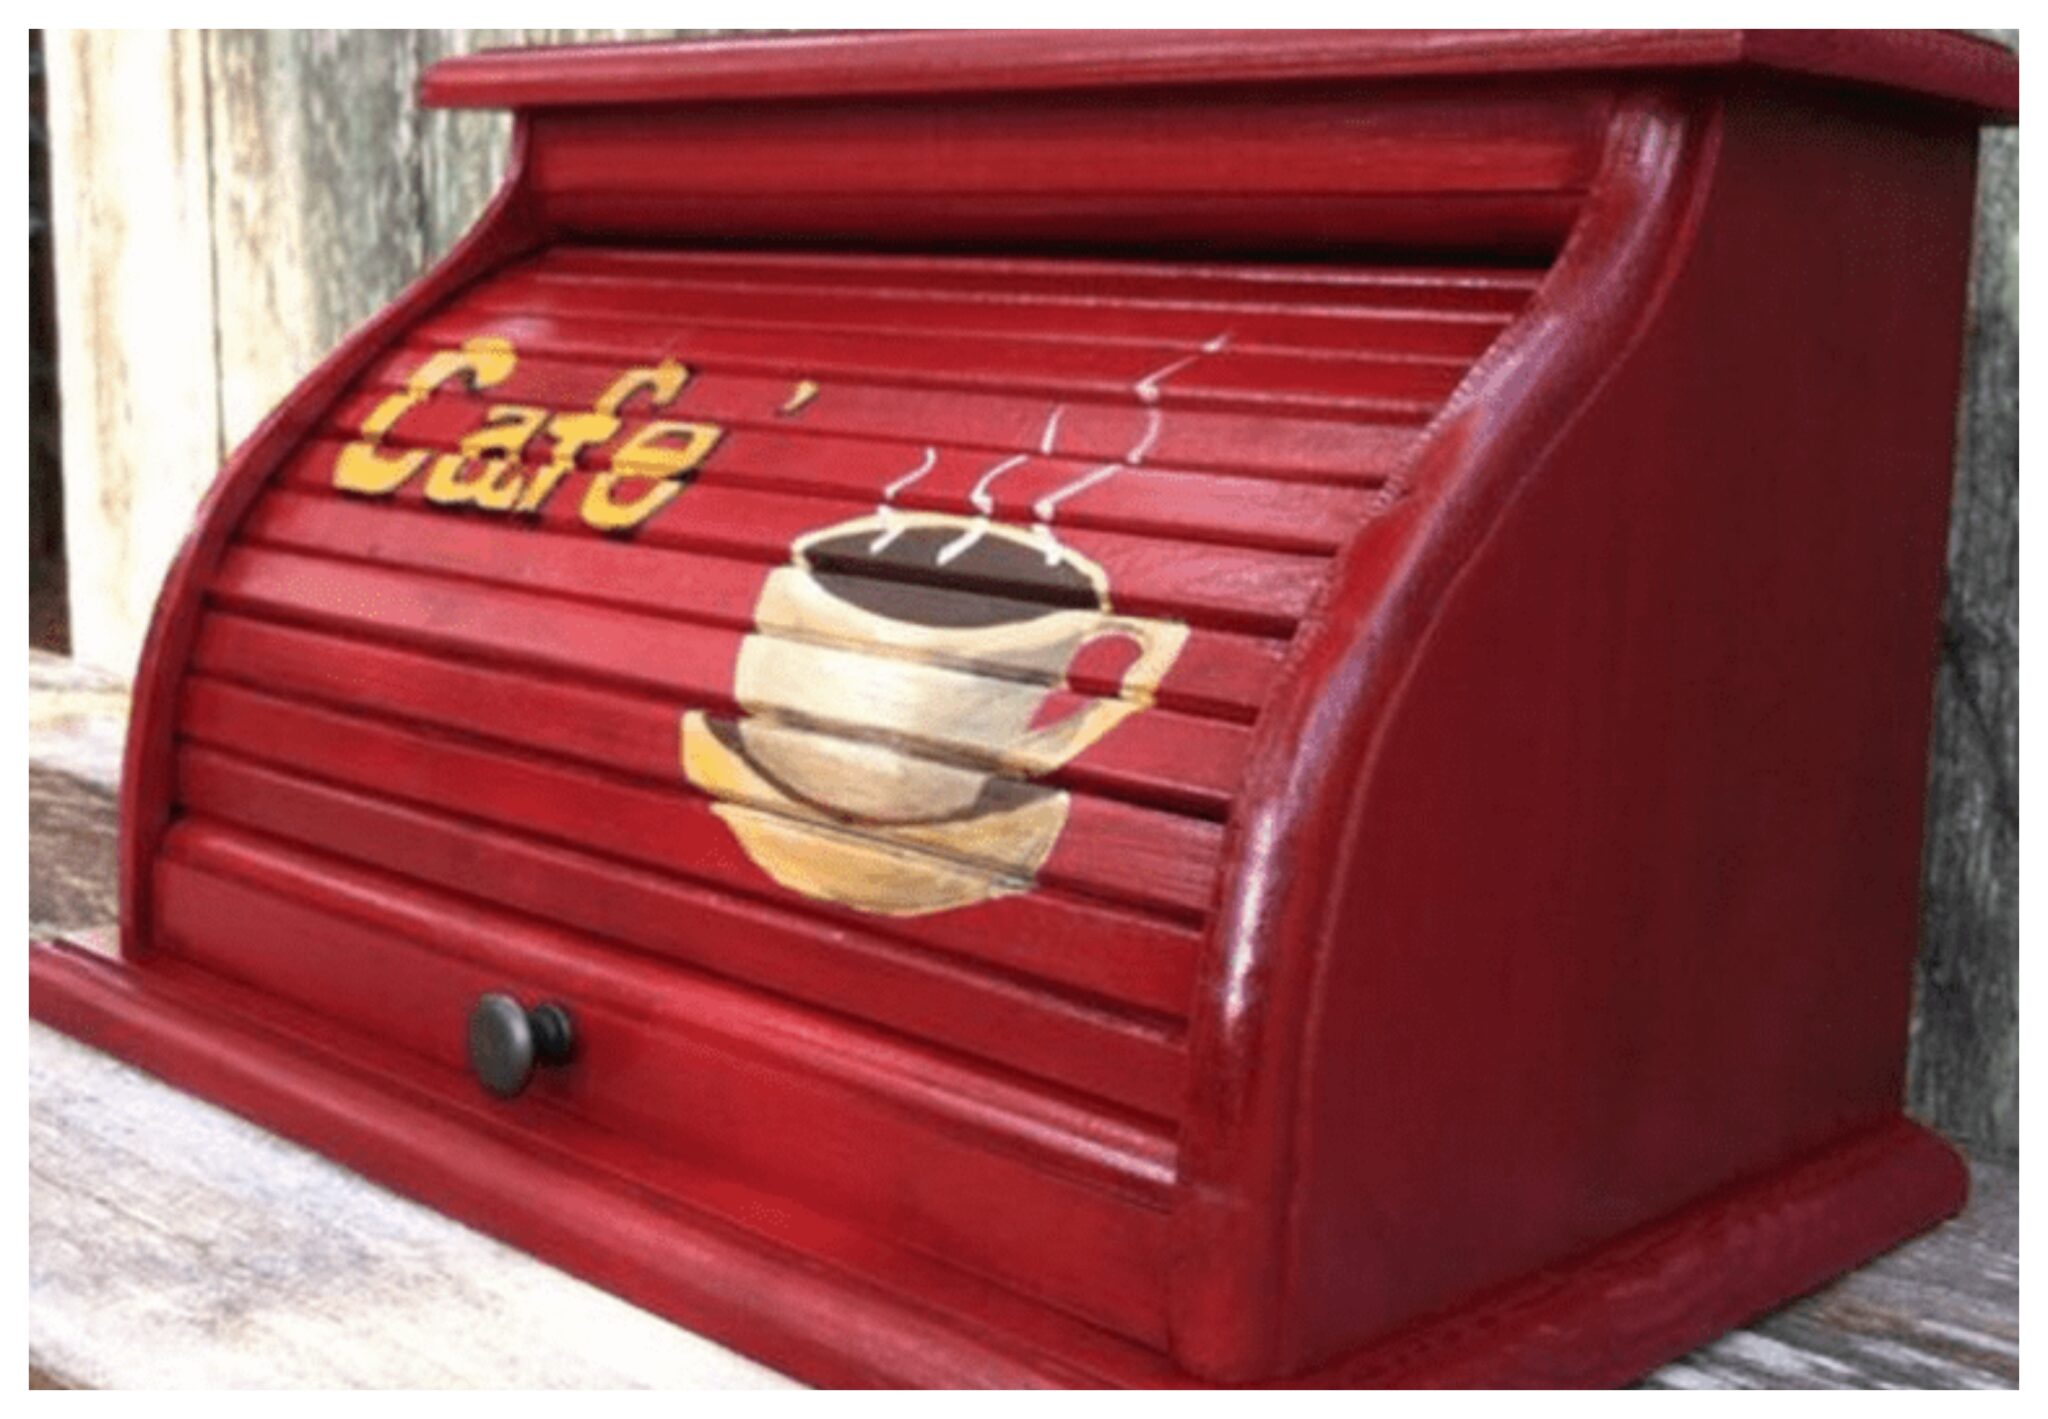
A breadbox typically comes in wood or metal and includes a lid to keep your bread and baked goods fresh. They vary in size to fit different kitchen needs and are often paired with a bread knife for easy slicing.
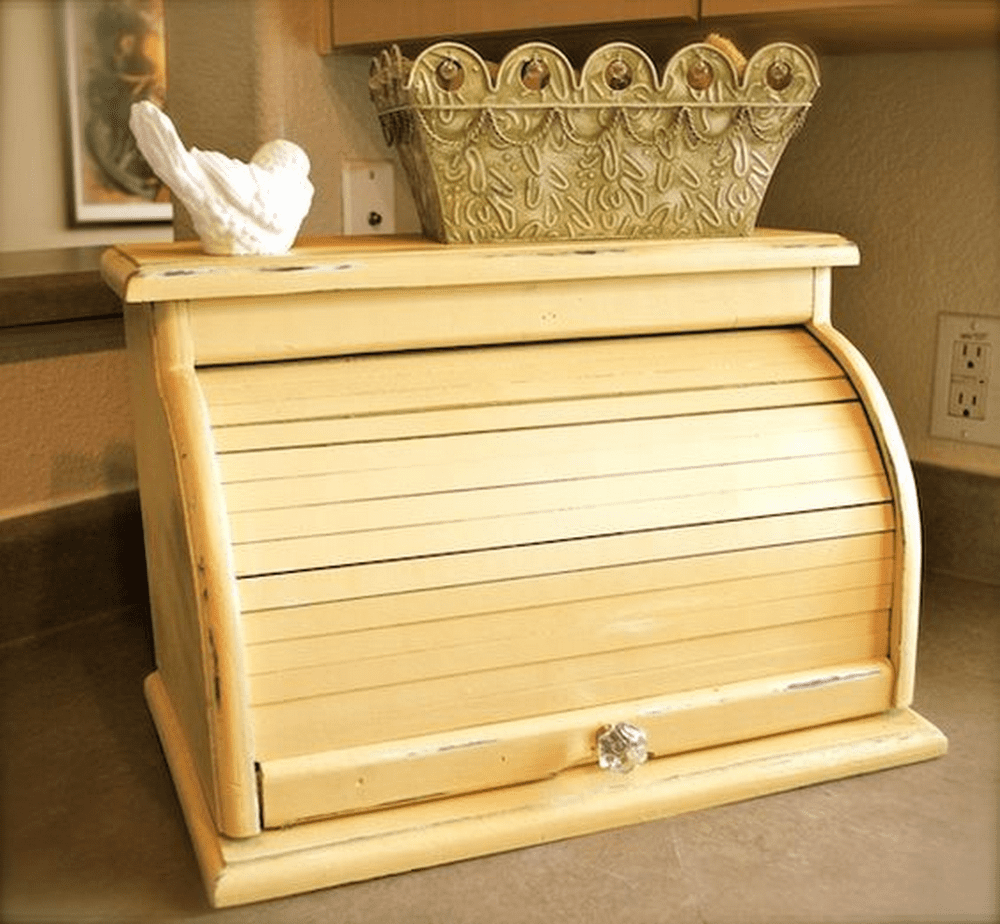
One weekend, my husband decided on a whim to build a breadbox. I was a bit doubtful at first, but he was confident. He used some leftover lumber and got to work. By the end of the weekend, we had a brand new breadbox that looked fantastic. It was a practical project that saved us money and turned out to be a perfect blend of beauty and utility, something any DIY enthusiast would appreciate. Why not give it a shot? Building your own breadbox is both fun and rewarding. You’ll love the result and feel proud to display it in your kitchen.
Contents
Building a Breadbox
Materials
- Lumber
- Premium Wax
- Brad’s nails
- Stain
Tools
- Table saw
- Jig saw
- Sander
- Canvas cloth
- Wood Glue
- Hammer
- Router table
- Band saw
- Clamps
Instructions
Step 1: Design and Measurements
- Plan your breadbox size and design. Sketch out your design on paper, including measurements. A typical breadbox might measure around 16 inches long, 10 inches deep, and 8 inches tall.
- Mark the lumber. Using a pencil, mark the cuts on your lumber according to your design for the sides, top, bottom, back, and front door.
Step 2: Cutting the Lumber
- Cut the pieces. Use the table saw for straight cuts and the band saw for any curved cuts. Ensure all pieces are cut according to your measurements.
- Shape edges. If your design has curves or specific shapes, use the jig saw to refine these cuts.
Step 3: Sanding
- Sand all pieces. Before assembling, sand each piece of wood to remove any rough edges and surfaces. Start with a coarse grit sandpaper and finish with a fine grit for a smooth texture.
Step 4: Assembly
- Assemble the frame. Start by attaching the sides to the bottom piece. Apply wood glue to the joints, align the pieces, and secure them with Brad’s nails using the hammer. Use clamps to hold the pieces together while the glue dries.
- Attach the back. Glue and nail the back piece to the assembled sides and bottom.
- Install the top. The top can either be fixed or hinged, depending on your preference. For a fixed top, simply glue and nail it in place. For a hinged top, attach the hinges after finishing all painting or staining.
Step 5: Door Installation
- Create a door. If your breadbox has a front door, cut the door piece using accurate measurements to fit the opening. Use the router table to create a groove or decorative edges if desired.
- Attach the door. Install hinges to the door and frame, ensuring it opens and closes smoothly.
Step 6: Finishing Touches
- Apply stain. Use a brush or a cloth to apply stain evenly over the wood. Allow it to dry according to the stain manufacturer’s instructions.
- Apply wax. After the stain has dried, apply a coat of premium wax to protect the wood and give it a polished look. Use a clean canvas cloth to buff the wax into the wood.
Step 7: Final Assembly
- Check all parts. Ensure all parts are securely attached and the door functions properly. Make any adjustments if necessary.
- Final sanding and waxing. Do a final light sanding if needed and apply another layer of wax for extra shine and protection.
Step 8: Your Breadbox is Ready!
- Place it in your kitchen. Find the perfect spot in your kitchen to keep your bread fresh and accessible.
Click on any image to start the lightbox display. Use your Esc key to close the lightbox.

Building a breadbox is a relatively simple woodworking project that makes a great addition to your kitchen. This breadbox will keep your bread fresh and protected from pests. You can find the supplies for this project at your local hardware store.
Watch the video below for step-by-step instructions on how to build a breadbox.
Innovative Uses for Breadboxes Beyond Bread
Breadboxes are traditionally designed to keep bread fresh, but their utility doesn’t stop there. These versatile storage containers can be repurposed in several innovative ways to help organize and enhance other areas of your home.
Here are some creative uses for breadboxes beyond just storing bread:
Kitchen Tool Organizer
Repurpose a breadbox to organize kitchen tools and gadgets. It’s perfect for storing items that clutter countertops, like spatulas, whisks, and other cooking utensils. This keeps your tools handy but out of sight, making your kitchen look neater.
Charging Station
Turn a breadbox into a discreet charging station for your electronic devices. By drilling a few holes in the back for cables, you can keep all your chargers in one place and hide the mess of cords. This setup is not only functional but also keeps your devices safely tucked away while they charge.
Craft Supplies Storage
Use a breadbox to store craft supplies. Its compact size and lid make it ideal for items like sewing kits, scrapbooking materials, or children’s art supplies. Having a dedicated space for these items can help keep your crafting area organized and ready for your next project.
Snack Hub
Create a snack hub in a breadbox. Stock it with small packages of nuts, dried fruits, and other snacks. This is especially useful in family homes, as it allows kids to help themselves to healthy snacks without rummaging through the kitchen.
Bathroom Organizer
Organize bathroom essentials in a breadbox. It can be used to neatly store toiletries, such as toilet rolls, lotions, and other personal care products. This helps keep your bathroom tidy and ensures everything you need is within easy reach.
Plant Box
Convert a breadbox into a stylish plant box. If it’s a wooden breadbox, you can treat it to withstand moisture and use it to display a collection of small houseplants. This not only recycles the breadbox but also adds a touch of greenery to your home.
Exploring these innovative uses for breadboxes can give old items new life and add functional charm to your living space. Whether in the kitchen, bathroom, or living room, a breadbox can be more than just a place for bread—it can be a versatile storage solution.
Maintenance and Care Tips
Maintaining your wooden storage containers is crucial to ensure they last long and continue to look great in your home. Proper care prevents damage and preserves the beauty of the wood.
Here are some essential tips on how to maintain and care for your wooden containers:
Regular Cleaning
Clean regularly to prevent dust and grime buildup. Use a soft, dry cloth to dust the surface. For deeper cleaning, slightly dampen the cloth with water or a mild wood cleaner. Avoid using harsh chemicals or abrasive cleaners that can damage the wood’s finish.
Avoid Excessive Moisture
Protect wood from moisture. Excessive dampness can cause wood to warp, swell, or develop mold. If the wood does get wet, wipe it dry immediately. Consider using a dehumidifier in humid climates to prevent moisture-related issues.
Treat with Oil or Wax
Apply oil or wax to enhance protection. Treating the wood with a suitable oil or wax not only enriches its appearance but also adds a protective layer that repels water and dirt. Do this at least once a year or more frequently depending on usage and environmental conditions.
Avoid Direct Sunlight
Keep out of direct sunlight. Prolonged exposure to sunlight can fade and damage the wood. Place the container in a location where it will not be subjected to direct sunlight for extended periods, or use curtains and blinds to diffuse the light.
Handle with Care
Use gently to avoid scratches and dents. Always handle the wood carefully. Place items inside gently, and avoid dragging sharp or heavy objects across the surface, which could leave scratches or gouges.
Regular Inspections
Inspect regularly for signs of wear or damage. Regular checks can help you catch issues like loose joints or cracks early, allowing for timely repairs before the problem worsens. This extends the life of the container and ensures it remains functional and attractive.
By following these simple maintenance and care tips, you can keep your wooden containers in top condition, making them a lasting and cherished part of your home’s decor.
Conclusion
Crafting a breadbox yourself is a practical and rewarding project that adds a custom touch to your kitchen. With straightforward instructions and some basic tools, you can create a functional piece that not only keeps your bread fresh but also declutters your space. This DIY project blends practicality with personal style, making it a valuable addition to your home.
We have more ways to keep your kitchen organize. Check out our toe-kick drawer guide next!