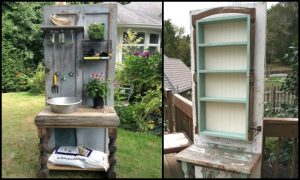
My parents had their house renovated a month ago and we went there last week to see the finished product. Although it looked way better than how it was before, I can’t help but focus on the mess on the lawn. They have tons of excess materials piling up, most of which are large chunks of wood and logs. It’s such an eyesore and it makes the whole house look unkempt.
I understand that they can’t just leave the materials lying around and that they need to be disposed of, but there has to be a better way to do it. Maybe they could hire a company to come and take care of it for them. Or, maybe they could find a use for some of the materials.
My husband suggested that we build something to make use of the excess stuff. My daughter suggested a swing and, since my parents can hardly say no to her, they agreed. We’re glad we could put the extra stuff to good use and make our daughter happy.
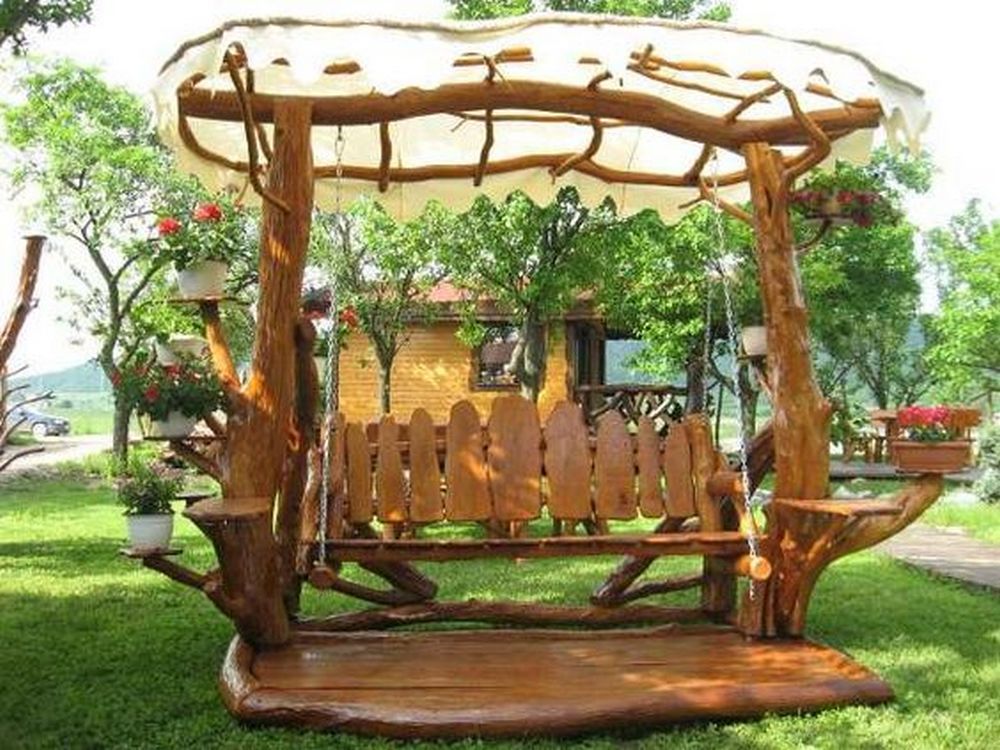
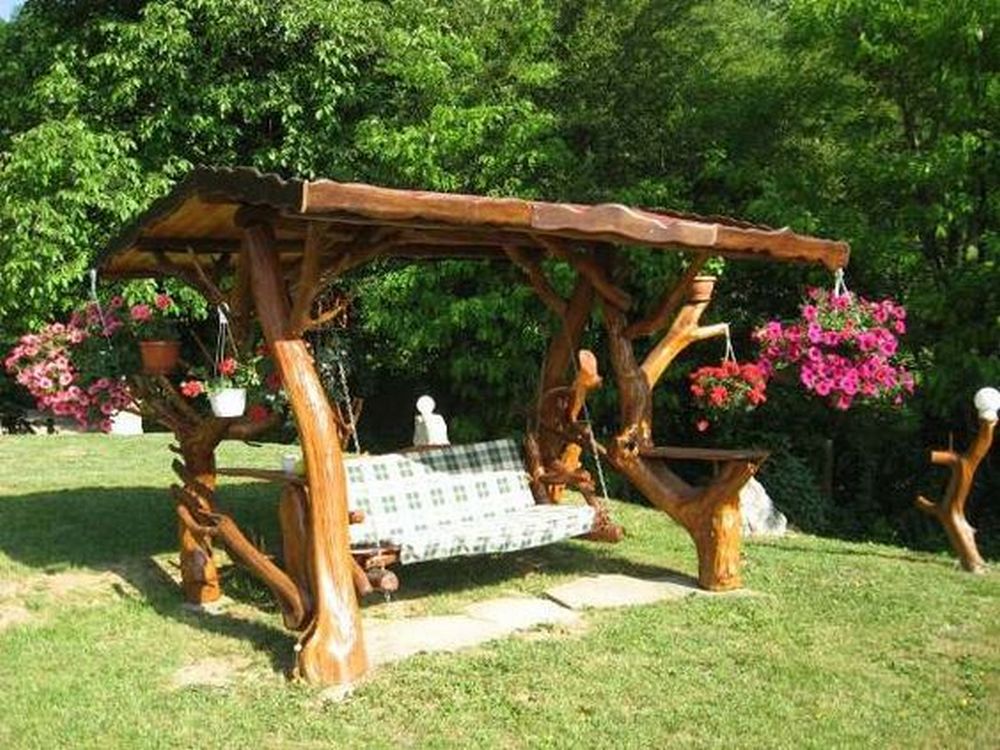
If you’re looking to add a touch of whimsy and style to your outdoor spaces, a well-styled swing chair is a perfect way to do it. These unique pieces can add a touch of fun and elegance to any yard or patio, and they’re sure to be a hit with family and guests alike.
Whether you opt for a traditional wooden swing or a more modern hanging chair, there’s no doubt that a swing chair is a great way to add a little something extra to your outdoor spaces. Build one in your backyard and swing to the summer breeze, or prop one up under a tree for a statement-making focal point. Aesthetics aside, there’s nothing more comforting than a gentle rocking motion in an outdoor environment.
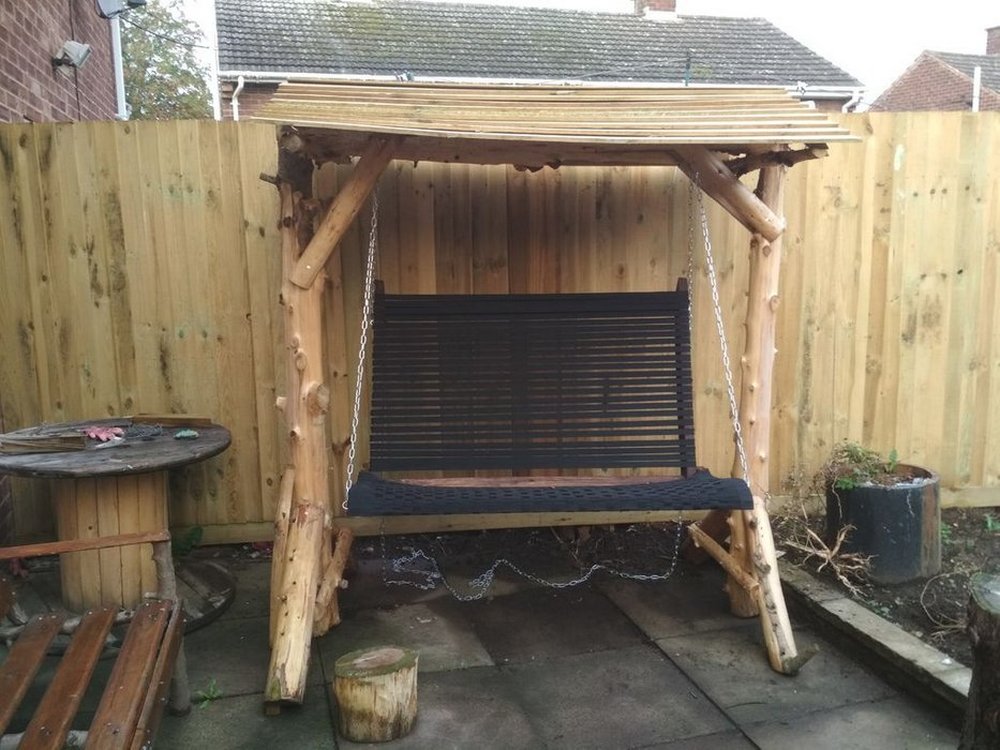
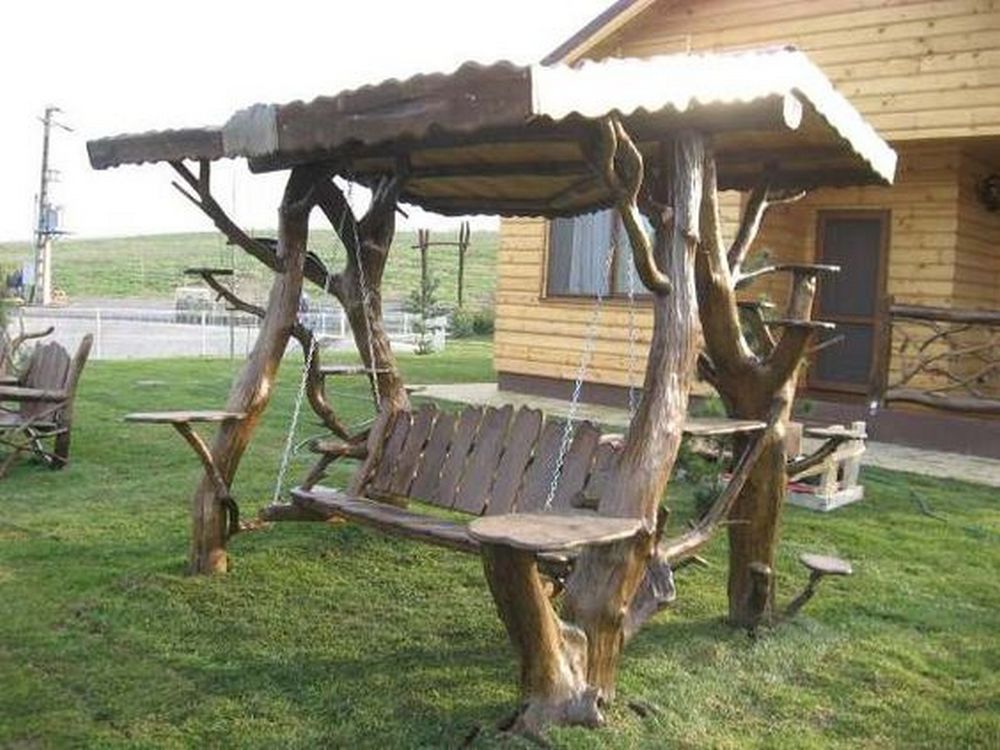
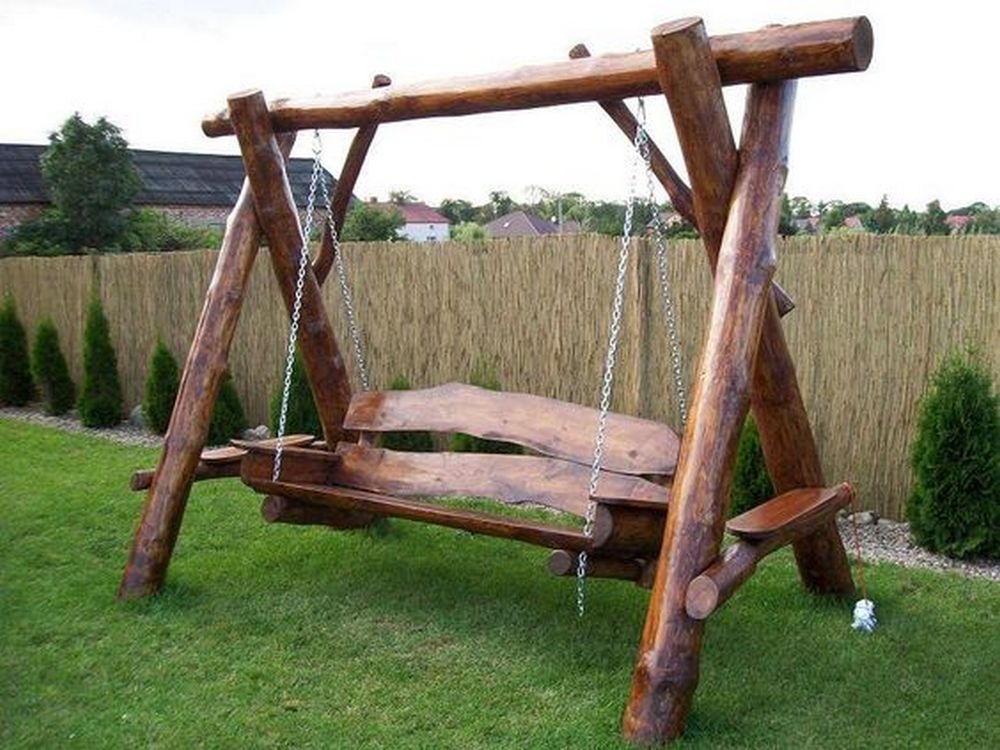
We were thrilled to come across a DIY project for a rustic wooden swing chair. The project was easy to follow and resulted in a beautiful piece that we can enjoy for years to come. This wooden swing chair is the perfect addition to any porch, and it was so easy to make! We would highly recommend this project to anyone looking for a fun and easy way to spruce up their outdoor space.
This wooden swing was perfect for my parents’ lawn. It was the perfect size for them and it was very sturdy. The swing was also very comfortable and they loved it.
Materials you will need to build a wooden swing:
- Trees – several required
- Webbing – 25mm wide around 85m
- 6ft feather edge boards
- Bright Steel Chain 4mm x 26mm x 10m
- Screws
- 6″ eye bolts
Tools:
- An axe
- Chainsaw
- Hammer
- Handsaw
- Stanley knife
- Cordless screwdriver
Steps:
The output of your wooden swing will depend on the materials that you will use. In our case, we will be using my parent’s scrap timber and wood. The materials won’t matter as long as the concept will be followed.
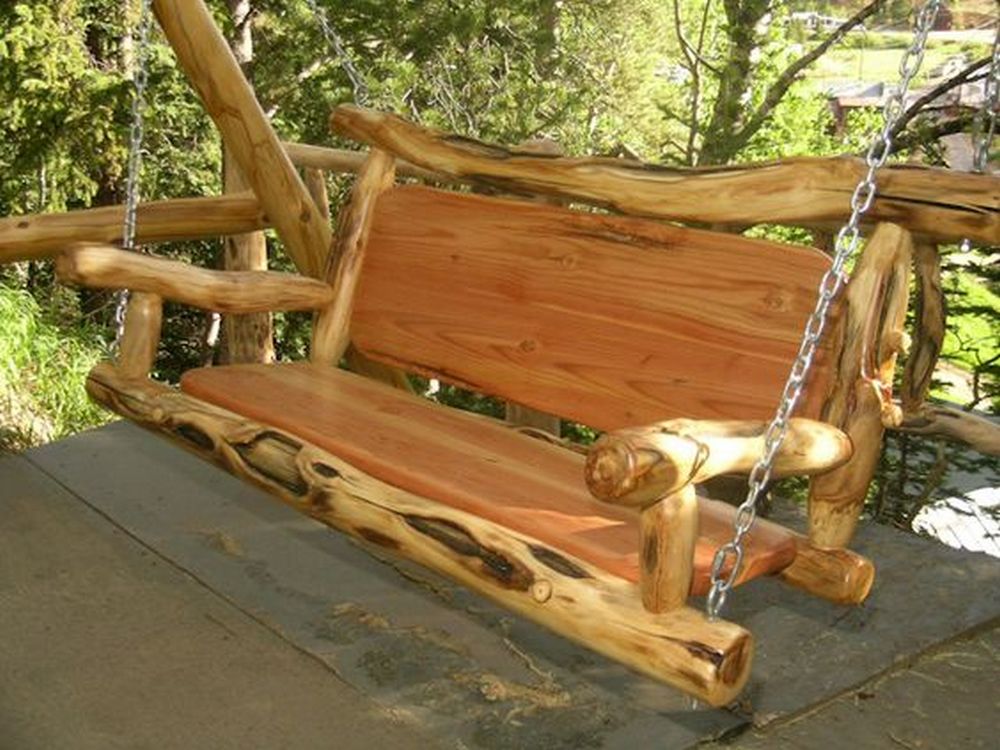
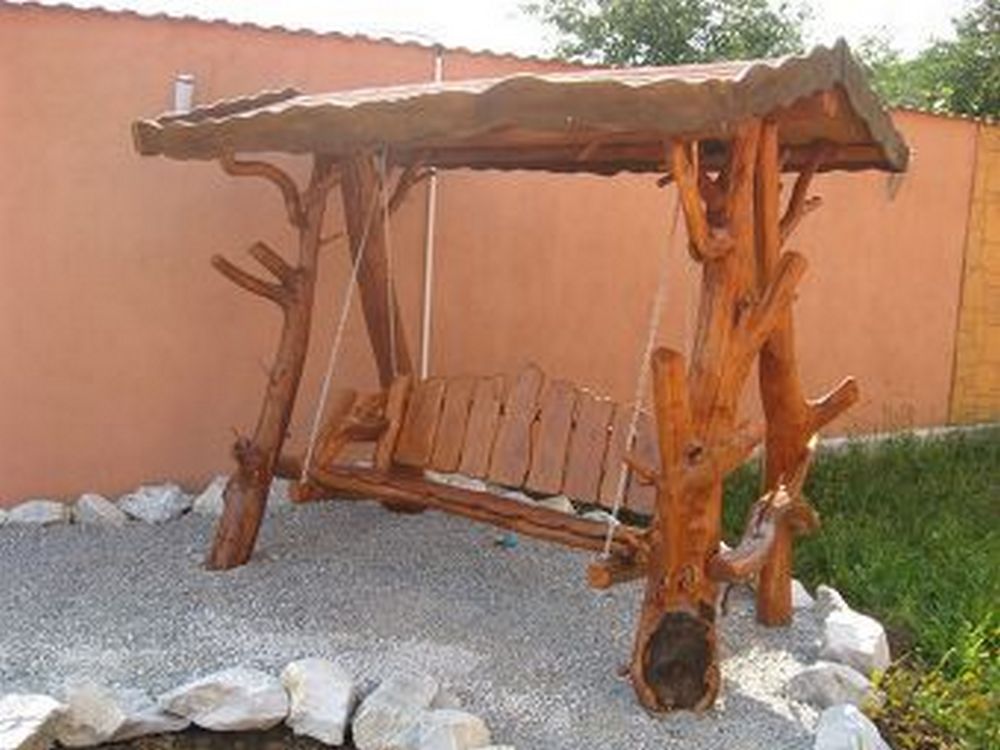
Let’s start with the frame of the swing. When it comes to choosing the wood or timber for your swing frames, it is important to select something that is both sturdy and durable. This will ensure that your swing will be able to withstand the weight of users and the elements over time.
Next, test the strength of your swing. It’s always a good feeling to know how stable a piece of furniture is, and that’s especially true for a wooden swing. There’s nothing worse than sitting on a swing and feeling like it might collapse at any moment. But with this swing, you can rest assured knowing that it’s built to last.

To build the chair, first cut the lumber to size according to the dimensions in the plans. Next, use a drill to make pilot holes in the seat and backrest, then attach the two pieces together using screws. Finally, use a drill to make holes in the armrests, then attach them to the seat and backrest using screws. To attach the chair to the swing, first measure the distance between the two points where the chair will be attached.
Cut a length of chain that is long enough to reach between these two points, plus extra few inches for each side. Next, use a drill to make two holes in the seat of the chair, one on each side. Thread the chain through these holes, making sure that the links of the chain are facing inwards. This will help to prevent the chain from getting caught on anything as you move the chair around.
Click on any image to start the lightbox display. Use your Esc key to close the lightbox.


Thanks to stephenpearson171 for this great project. You can get step-by-step instructions here…