The front door is the first thing that guests see when they arrive at your home, so it’s important to make a good impression. A beautiful, well-crafted door can leave a lasting impression on visitors.
But what’s even more important is the door knocker. This small detail can say a lot about the character of your home. Choose a knocker that reflects your style and personality, and you’re sure to make a great first impression.
No matter where you come from, chances are that your culture has its own unique traditions and variations on the humble door knocker. And in today’s modern world, consumers have more options than ever when it comes to expressing their own personal style. So whether you’re looking for a traditional or contemporary style, there’s sure to be a knocker out there that’s perfect for you.

And with so many different materials, finishes and colours to choose from, the possibilities are truly endless. So go ahead and explore the world of door knockers – you might be surprised at what you find! There are different kinds: cast iron, stainless, brass – and then there’s the DIY kind. With a do-it-yourself door knocker, you get to choose your design.
There are an endless amount of door knocker designs available to choose from, or you could even opt to create your own unique design. Door knockers come in all sorts of shapes and sizes, from elephants and angels to scorpions, frogs, elves, and more. The possibilities are truly endless.
One of the best things about making your own door knocker is that you can let your imagination run wild. There are no limits to what you can create. So go ahead and express your personality through your door knocker. Your guests will be sure to appreciate it.
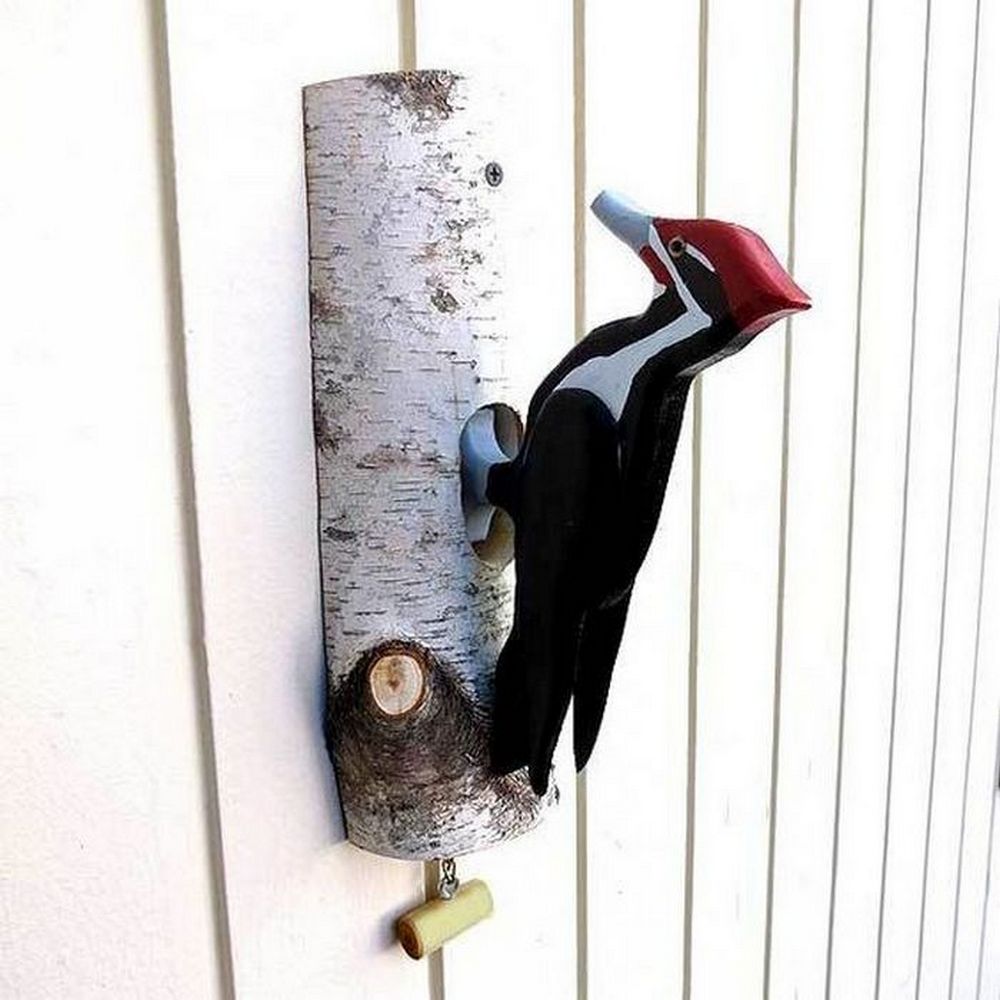
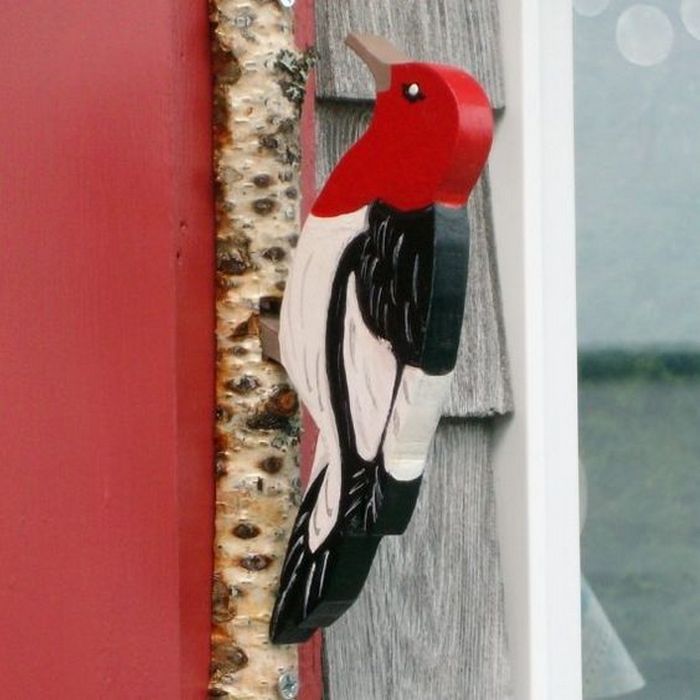
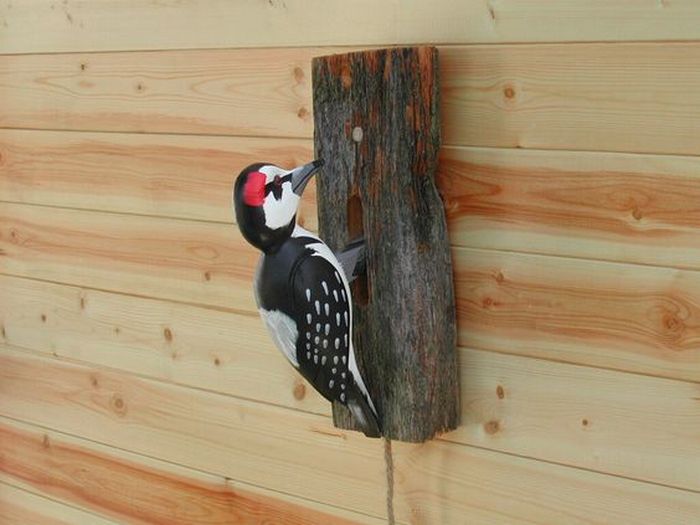
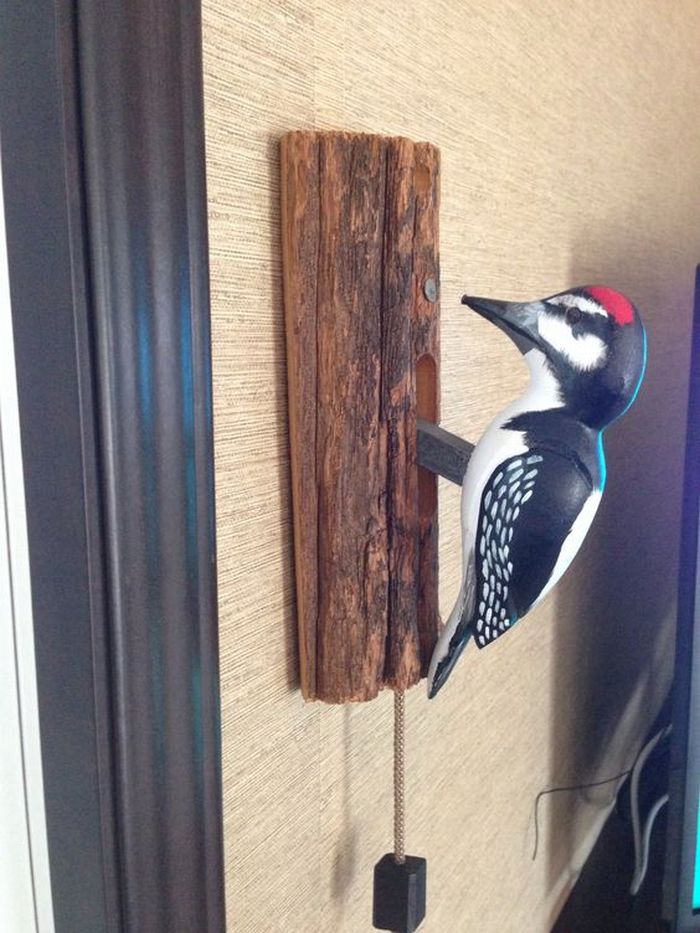
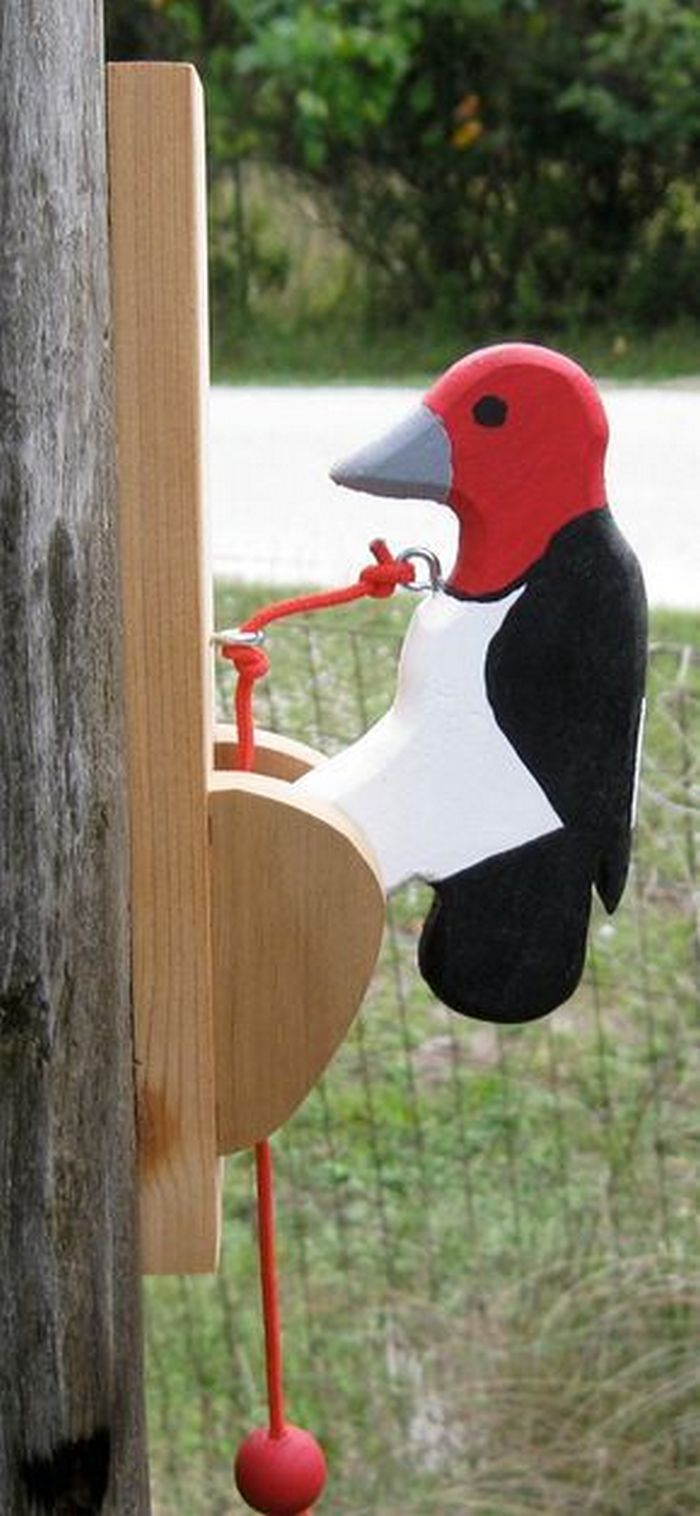
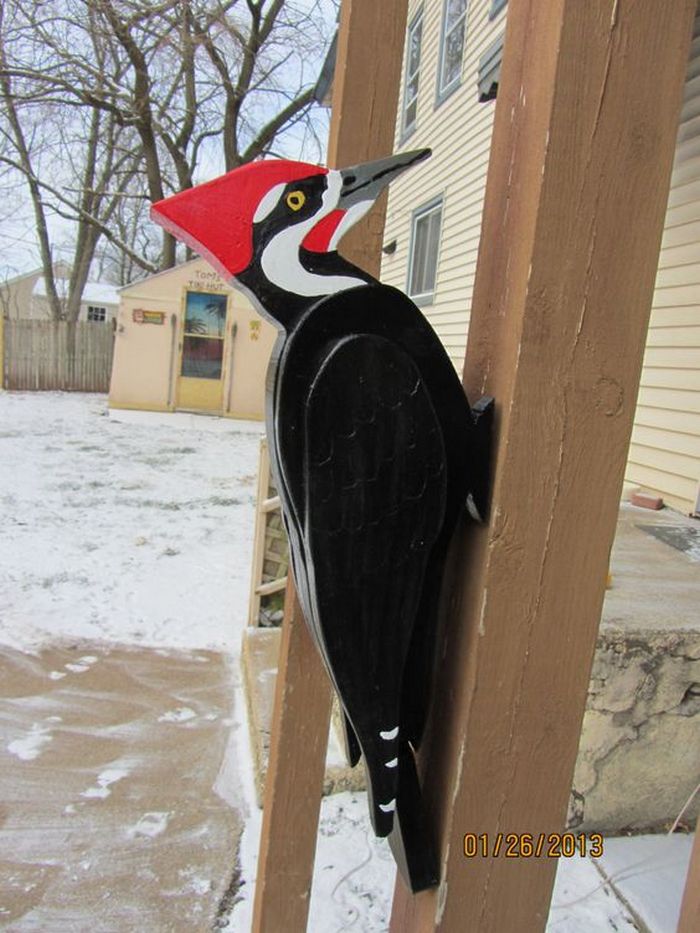
I came across a DIY woodpecker door knocker project from Gary Campbell and I thought it was adorable. I can imagine the little creatures drumming their heads fast on a piece of wood. With that image in mind, I think they’re well-suited as door knockers.
This fun project will add a whimsical touch to your door. These make great gifts too. Gather the needed tools and materials and get ready to unleash the artist in you.
Contents
Building a Woodpecker Door Knocker
Materials
- 3/4″ thick piece of wood at least 6″ wide.
- 2″ x 2″ 14″ long or a 14″ tree branch 3″ to 4″ in diameter split in half.
- 1/8″ eyebolt
- 16″ of 1/8″ twine or rope
- 1″ diameter wood bead with a hole in the centre
- paint (colours of your choice)
- staples big enough to go into the wood and over the twine
- long nail
Tools
- staple gun
- screw
- drill
- chisel
- hammer
Instructions
Step 1: Cut the Wood
- Start by cutting your 3/4″ thick piece of wood to a 6″ x 6″ square. This will serve as the backplate of the door knocker.
- Take the 2″ x 2″ x 14″ piece or the split branch and shape it into the form of a woodpecker using a chisel and hammer. Smooth out the rough edges.
Step 2: Drill and Attach the Eyebolt
- Drill a small hole at the top of your woodpecker shaped wood. Make sure it’s big enough for the eyebolt.
- Screw the eyebolt securely into the hole. This will be used to hang the knocker.
Step 3: Prepare the Striking Mechanism
- Drill a hole in the center of the wood bead. Ensure it’s large enough for the twine or rope to pass through.
- Cut a length of twine about 16 inches long. Thread the twine through the hole in the bead and tie a knot to secure the bead in place.
Step 4: Attach the Bead and Twine
- Staple one end of the twine to the back of the woodpecker shape, ensuring that the bead hangs at the right height to strike the backplate effectively.
- Use additional staples to secure the twine if necessary.
Step 5: Assemble the Door Knocker
- Attach the woodpecker shape to the center of the 6″ x 6″ square wood backplate using screws or nails. Ensure it’s firmly attached.
- Test the bead and twine to ensure they swing freely and strike the backplate with a satisfying sound.
Step 6: Paint and Finish
- Paint your woodpecker and backplate with colors of your choice. Allow the paint to dry completely.
- Once dry, you may apply a sealant to protect the paint and wood from weather elements, especially if it will be placed outdoors.
Step 7: Installation
- Use a long nail or screw to attach the backplate of the door knocker to your door. Ensure it is securely mounted and at an appropriate height.
Click on any image to start the lightbox display. Use your Esc key to close the lightbox.


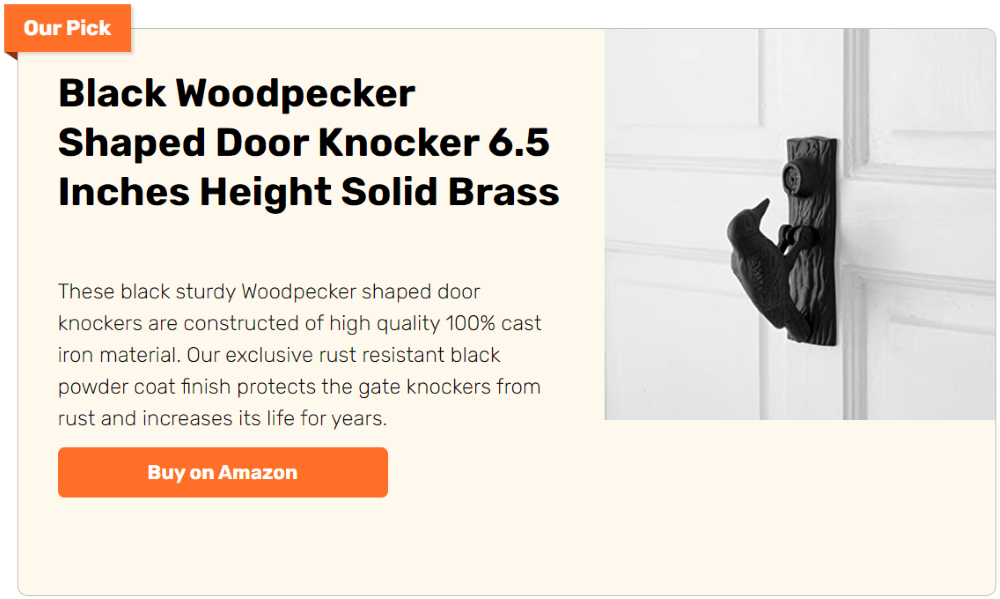
If you’re interested in purchasing a woodpecker door knocker, you can find them at Rustic Workbench. These beautiful pieces are handcrafted and make a great addition to any home.
If you’re interested in building your own, you can find step-by-step instructions here or you can choose to watch the video below. With careful planning and execution, you can have a professional-looking finished product that you can be proud of. Building your own piece of furniture can be a rewarding experience. Not only will you save money by not having to purchase a pre-made piece, but you’ll also get to customize it to fit your specific needs.
Here’s a quick video…
Customization Ideas for Personal Expression
Creating a unique woodpecker door knocker offers a fantastic opportunity to express your personal style and add a distinctive touch to your home’s entrance. Customizing your door knocker allows you to showcase your creativity and make your front door stand out.
Here are some customization ideas to help you personalize your woodpecker door knocker:
Choose Unique Colors
Paint your woodpecker door knocker in colors that reflect your personal taste or match your home’s exterior. Vibrant colors can make the woodpecker pop, while more subdued tones can offer a classic look. Consider using metallic paints to mimic the look of traditional metal knockers for a sophisticated twist.
Add Textural Details
Incorporate textural details into your woodpecker door knocker by using techniques such as carving, etching, or adding elements like metal feathers or glass eyes. These details can enhance the realism of the woodpecker or add an artistic flair that makes the piece uniquely yours.
Incorporate Symbolic Elements
Customize your woodpecker door knocker by adding symbols that have personal or cultural significance. This could include anything from family crests to motifs that represent your heritage or personal interests. These elements can make your door knocker not only a functional piece but also a conversation starter.
Personalize with Inscriptions
Engrave your woodpecker door knocker with your family name, a welcome message, or a meaningful quote. This not only personalizes your door knocker but also adds a warm, welcoming touch to your entryway.
Experiment with Different Materials
While traditional woodpecker door knockers are crafted from wood, you can experiment with other materials such as copper, brass, or ceramic for different parts of the knocker. Mixing materials can provide contrasting textures and colors, giving your door knocker a contemporary edge.
Functional Additions
Add functional elements to your woodpecker door knocker, such as a peephole or a small holder for a name tag or house number. These practical additions enhance the utility of your door knocker while keeping it stylish.
Thematic Designs
If you’re passionate about a particular theme, such as vintage styles or nature, incorporate these elements into your woodpecker door knocker design. For instance, a rustic finish can give it an antique look, or floral patterns can integrate it seamlessly into a cottage-style home.
By exploring these customization options, you can transform a simple woodpecker door knocker into a personal statement piece that enhances the charm and character of your home.
Installation Tips and Common Mistakes
Installing a woodpecker door knocker is a straightforward process, but attention to detail can make a significant difference in both appearance and functionality. Here’s how to ensure that your woodpecker door knocker is installed correctly, along with some common mistakes to avoid.
Location is Key
Choose a spot on your door that is not only aesthetically pleasing but also practical. The woodpecker door knocker should be placed at an average height—around 4.5 to 5.5 feet from the ground—to allow easy access for visitors of various heights.
Check Door Material
Before drilling, consider the material of your door. Wooden doors are ideal for installing a woodpecker door knocker, but metal or fiberglass doors might require specific screws or installation techniques. For non-wood doors, ensure you have the appropriate tools and hardware.
Mark Before You Drill
Carefully measure and mark the spot where the woodpecker door knocker will go. Use a level to ensure the knocker will be perfectly horizontal. This prevents the knocker from being installed crookedly, which can affect both the function and the form.
Pre-drill Holes
Pre-drilling holes for the screws is essential to prevent the wood from splitting. Use a drill bit that is slightly smaller than the screw size for the best results.
Secure Firmly, But Don’t Over-Tighten
When attaching the woodpecker door knocker, make sure the screws are tight enough to prevent any movement, but avoid over-tightening, which can strip the screws or damage the door and the knocker.
Ignoring Weather Conditions
If your entrance is exposed to the elements, consider the material and finish of the woodpecker door knocker. Some materials and paints may not be weather-resistant, leading to quicker deterioration if not properly treated or chosen.
Forgetting the Peephole
If your door has a peephole, make sure the placement of your woodpecker door knocker does not obstruct it. Plan the installation so that both elements are functional and well-integrated.
Using Inappropriate Tools
Using the wrong tools can damage both your door and the woodpecker door knocker. Ensure you have the correct drill bits, screws, and screwdrivers before starting the installation.
By following these tips and being mindful of common mistakes, you can successfully install your woodpecker door knocker, enhancing your home’s entrance with both style and personal touch.
Conclusion
Creating a woodpecker door knocker is a delightful project that allows you to showcase your craftsmanship and personalize your home’s entrance. With careful planning and attention to detail, you can design a piece that not only looks beautiful but also resonates with personal significance. This DIY venture offers a rewarding way to enhance your door’s appeal and make a lasting impression on visitors.
We have more fun projects. Check out our tailgate wall bench project!