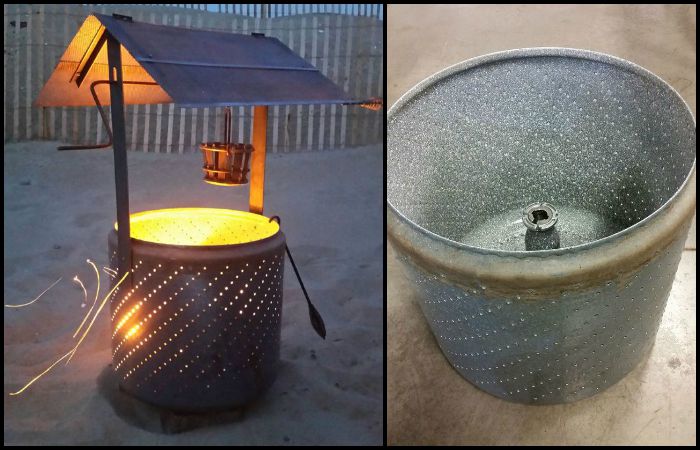
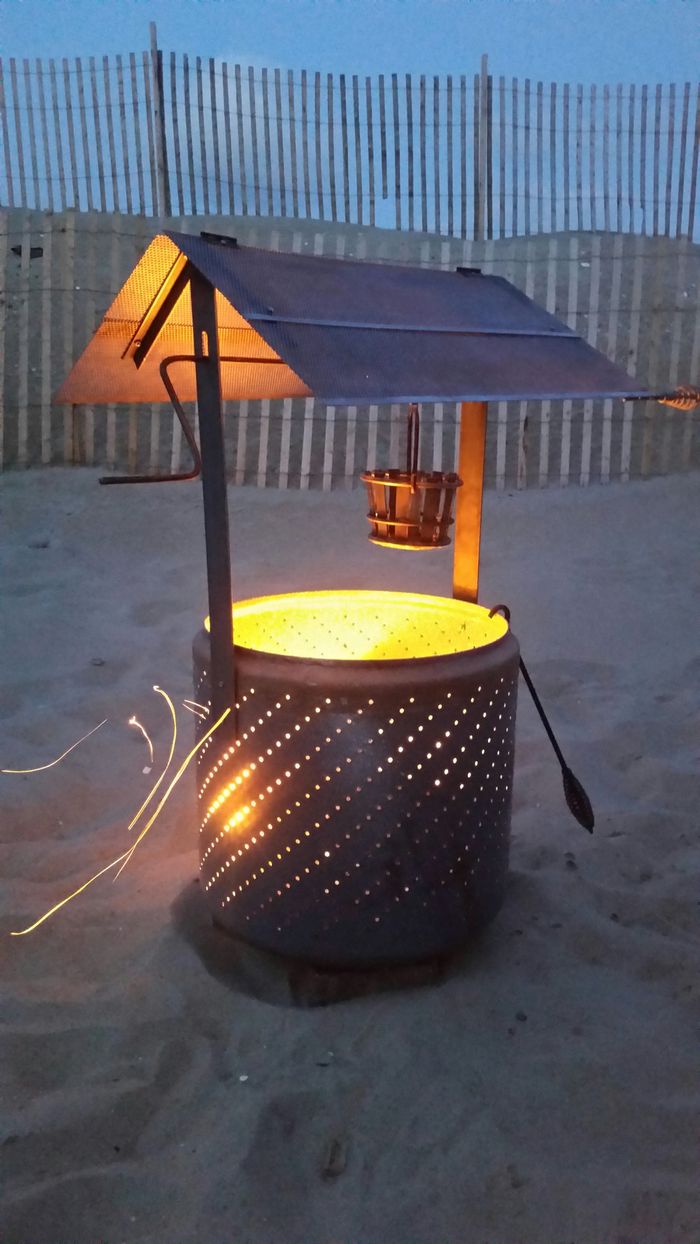
But why buy an expensive, decorative fire pit for your yard when you can have something as impressive by upcycling an old (cheap) washing machine drum? Take a look at this wishing well burn barrel.
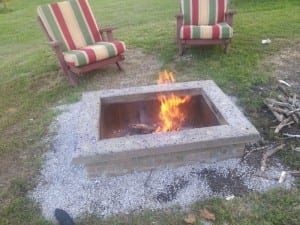
There are few things better than gathering around a bonfire with friends and family, drinking wine, telling stories, and cozying up in front of a warm, crackling fire. People have been enjoying these little pleasures for thousands of years!
This DIY burn barrel is another example of creativity, function, and beauty. And what’s great about it is that it is also simple, making it easy to make, assemble and use!
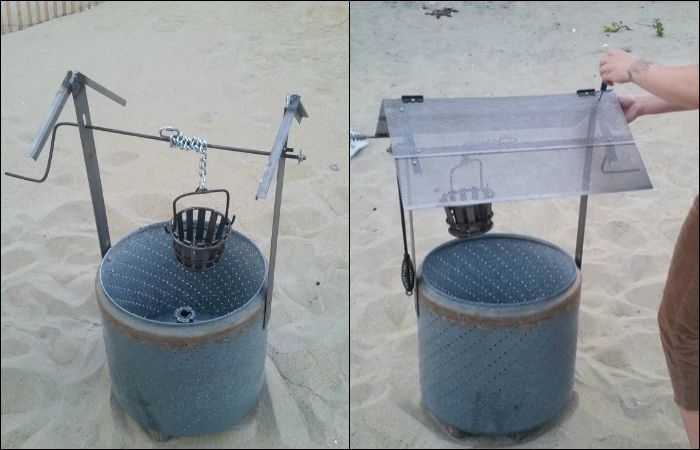
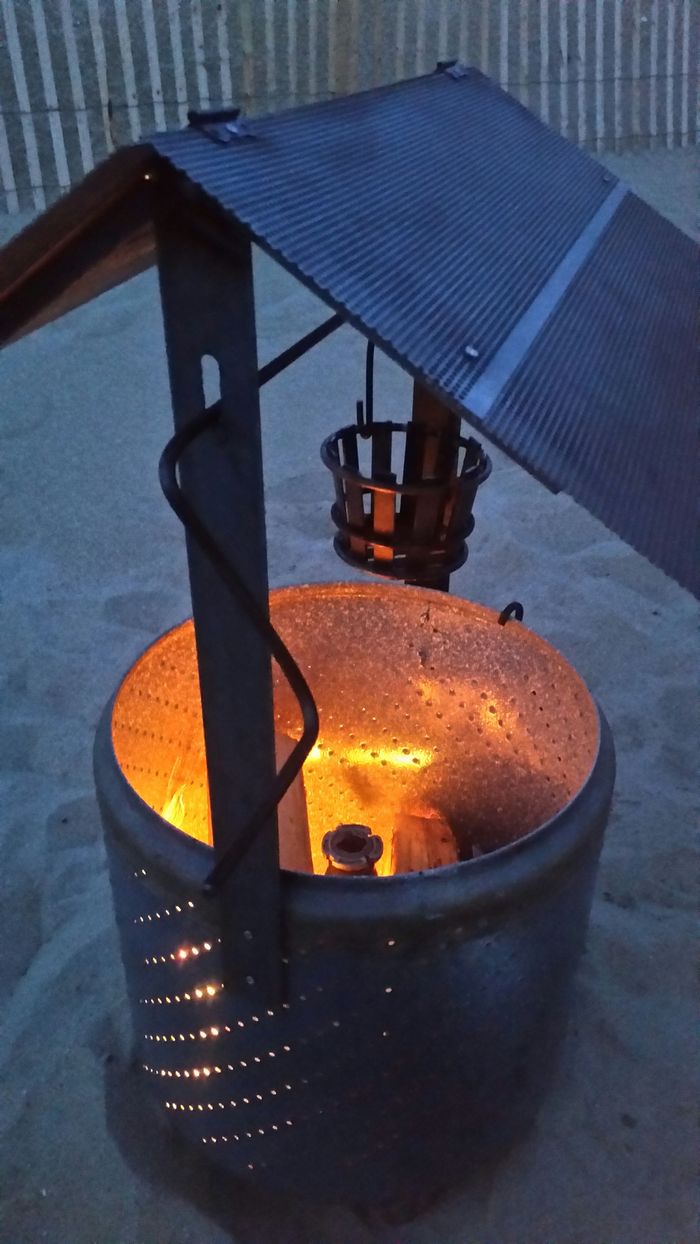
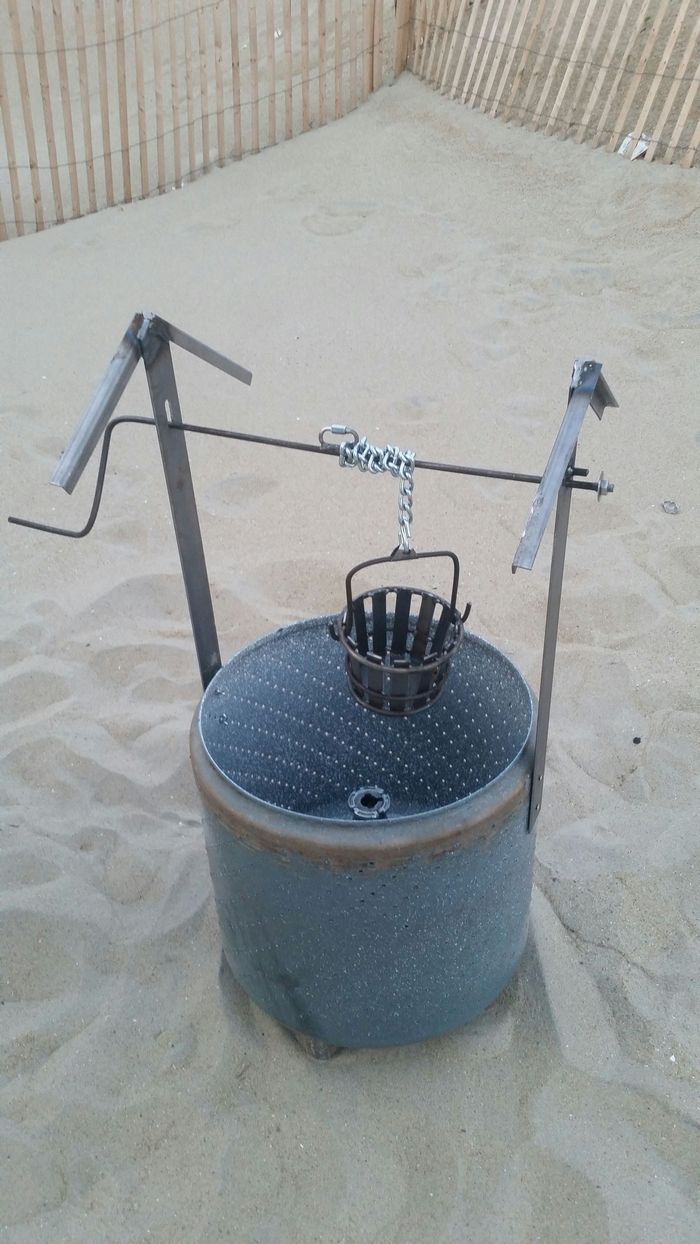
The wishing well design does not only provide good fire, you can also conveniently use it to cook or heat foil-packed food like vegetables and meat. Just put your meal inside the metal bucket, lower it down and crank it up again when it’s done! If you want to boil water, you can replace the bucket with a camping kettle.
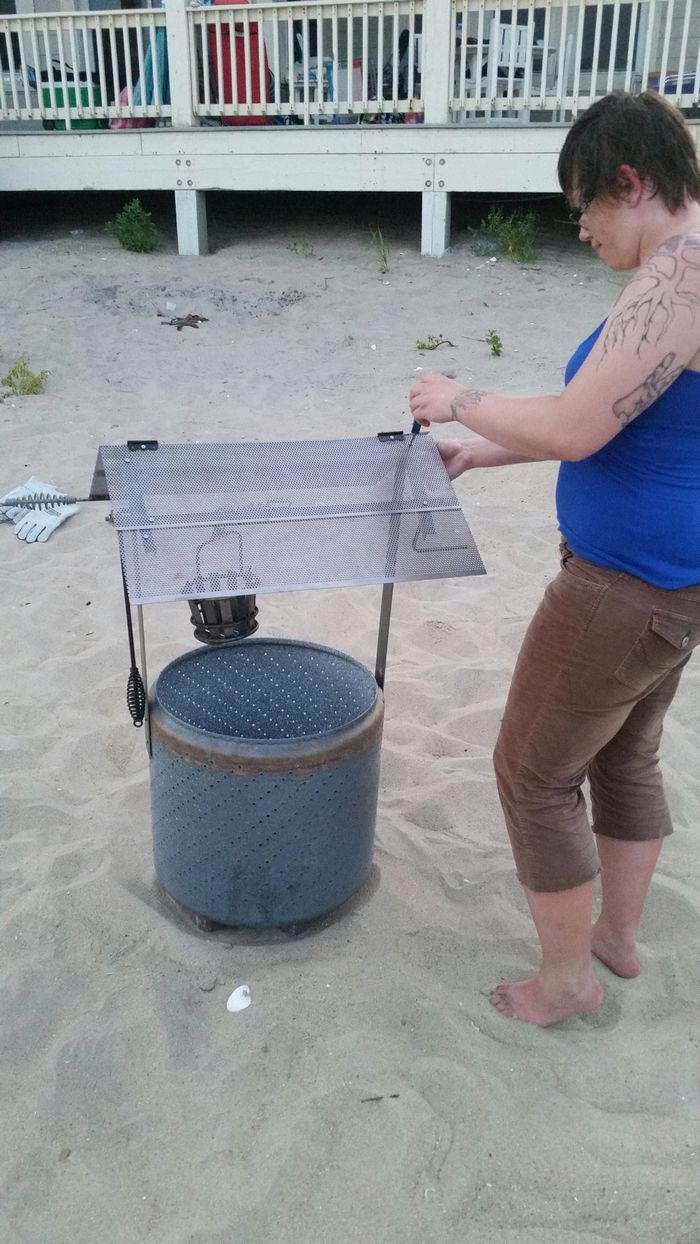
As mentioned, this creative burn barrel is very easy to assemble. You only need 8 bolts and 10 minutes, and you’ll be ready to enjoy some outdoor unwinding! Want to use this burn barrel in your backyard, or bring it to the beach or for camping? Why not? All of its parts fit inside the washing machine drum, so you can easily transport it anywhere you wish. 🙂
Got access to an old washing machine drum? Read on to see what else you’ll need to make your own version of this wishing well burn barrel!
Click on any image to start the lightbox display. Use your Esc key to close the lightbox. 😎
You’ll need these materials:
- Old Washing Machine Drum
- 4 sheets of 24in x 6.5in Perforated Steel
- 5 ft long of 3/8in Mild Steel Rod
- 12 pieces of 1in x 4in x 1/8in Bar Stock Metal
- 2 pieces of 2in x 24in x 1/8in Bar Stock Metal
- 4 pieces of 9in long, 1in Angle Iron
- Permanent Marker
- Paper
- Hinges
- Steel Chain
- Threaded Quick Link
- #6 and #8 Bolts with Nuts
And these tools:
- Power Drill with bits for metal drilling
- Welding Machine
- Tape Measure
- Metal/Steel Cutter
- Clamps
- Vice Grip

Steps in transforming your old washing machine into a wishing well burn barrel
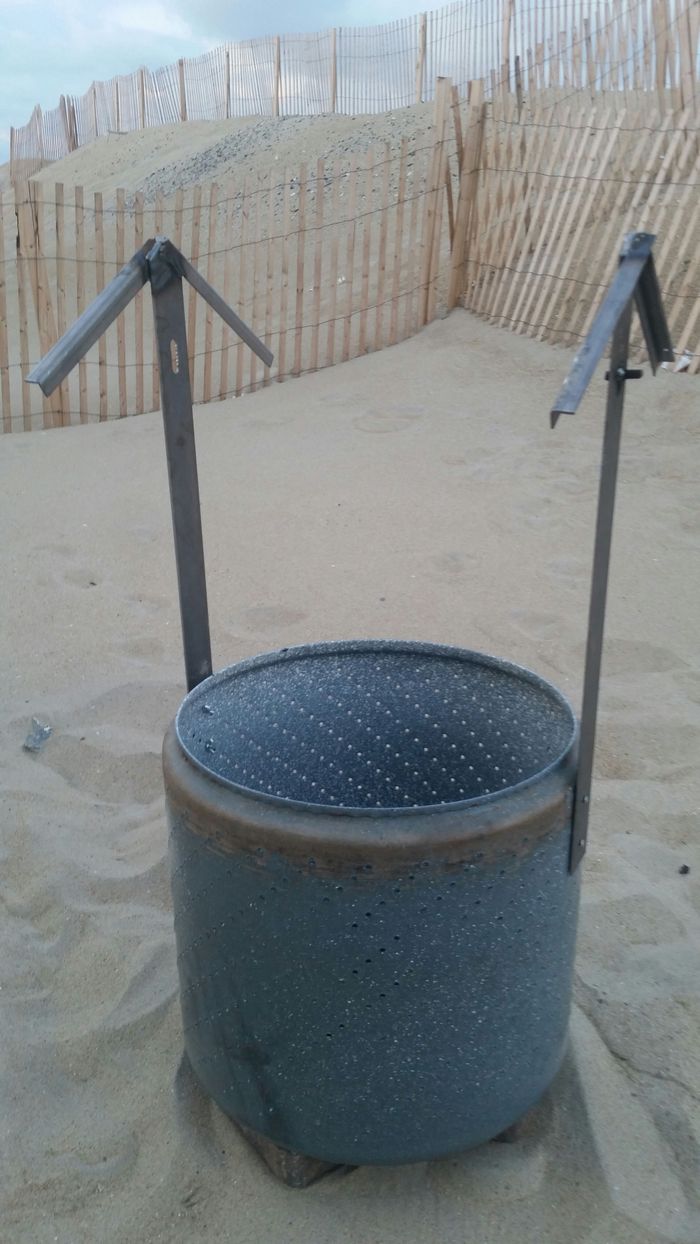
First things first, you need a barrel!
Washing machine drums are easy to come by if you look for abandoned machines out on curbs or scrap yards, or you might be looking to find a use for your own worn-out washing machine.
Be prepared to get a little dirty wrestling it out but it’s worth the fight when you finally get to see your wishing well burn barrel. You will probably end up smelling a bit like laundry soap by the end.

I used some perforated steel for the roof. The holes will make it light, prevent it from trapping heat, and allows you to watch the fire from the top of your burn barrel.
The sheets I used were scrap from the shop so I’m not sure of the gauge of the metal but it was a total of 4 sheets that were 24in x 6.5in.

I overlapped the metal sheets a bit to make it look like traditional wood slats and screwed them together. 2 screws per roof half was enough to hold it together well. #6 bolts can be found at any hardware store and they fit the holes perfectly.

I chose a set of decorative hinges and screwed those in with the same #6 bolts. I used hinges so the roof of the burn barrel can be lifted out of the way with a handle I welded on. That way you can have easy access to add wood, poke the fire, and handle the bucket without struggling.

For the hot handle, I cut apart a chipping hammer, sandblasted it, and spot welded it onto the roof of the burn barrel that will lift (opposite side of the turn handle so they don’t collide). Tah Dah!
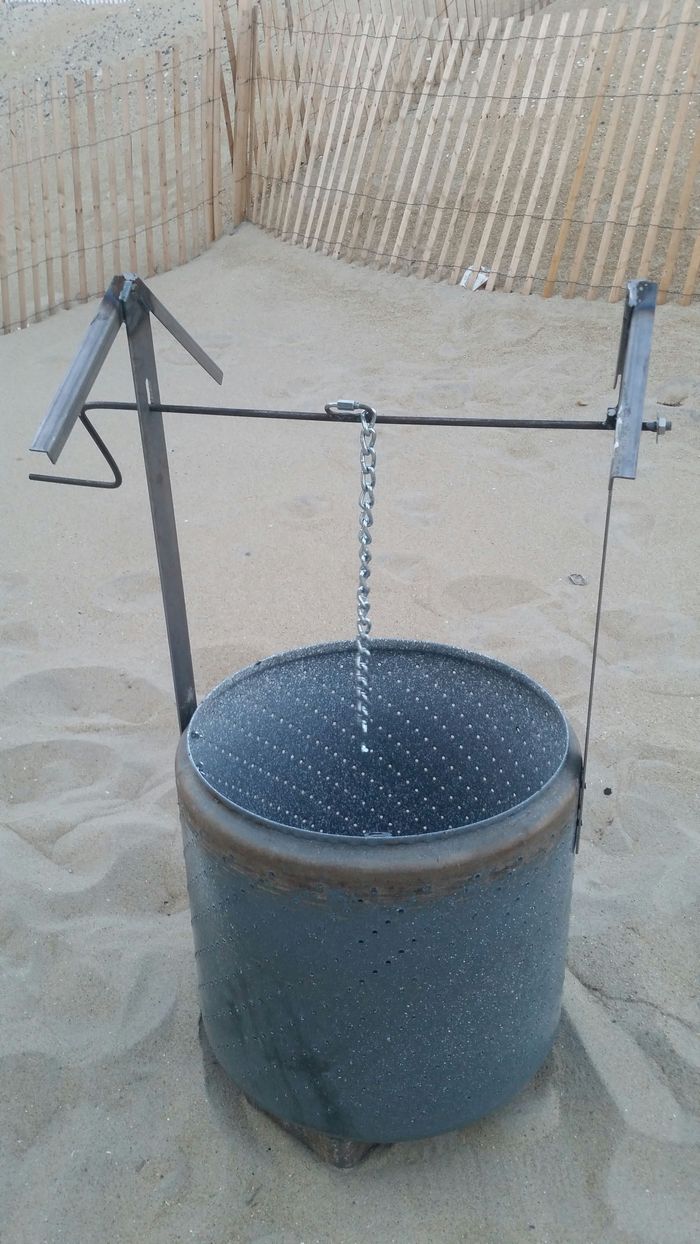
Now let’s build the crank for the bucket…

For the bucket turn crank, I used a 3ft length of 3/8in mild steel rod that can be found at any large hardware store.

The handle is made by making 2 bends on one end of the rod. I’m not one for accuracy or precision so I set it up in a vice and bent away. It is best to do the handle bend first and then the bend to complete the 90-degree angle. You can use the length of the rod to help you bend it or use a mallet for a sharper bend.
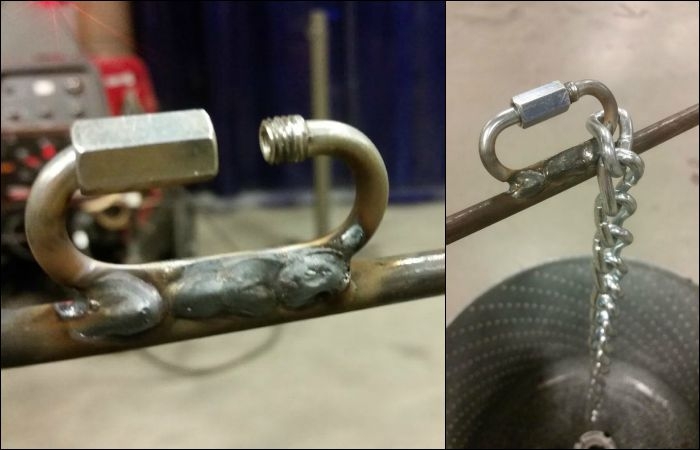
The next step is welding on a threaded quick link so you can add the chain and take it off again. This allows the rod to be installed and removed quickly.

I also welded a little nubbin that was cut off the back end of the rod. This will create a stop as it is held in place by another nubbin so you can lock in the height you want for the bucket.
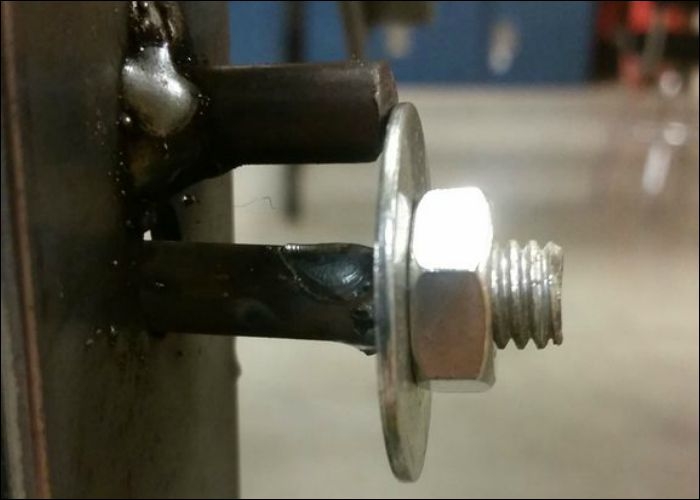
Finally, I cut down some 3/8th all thread, welded it onto the end of the rod that is not the handle, and added a washer and nut. This prevents the bucket crank from getting pulled out and your meal ending up in the fire.
Continued Page 2…