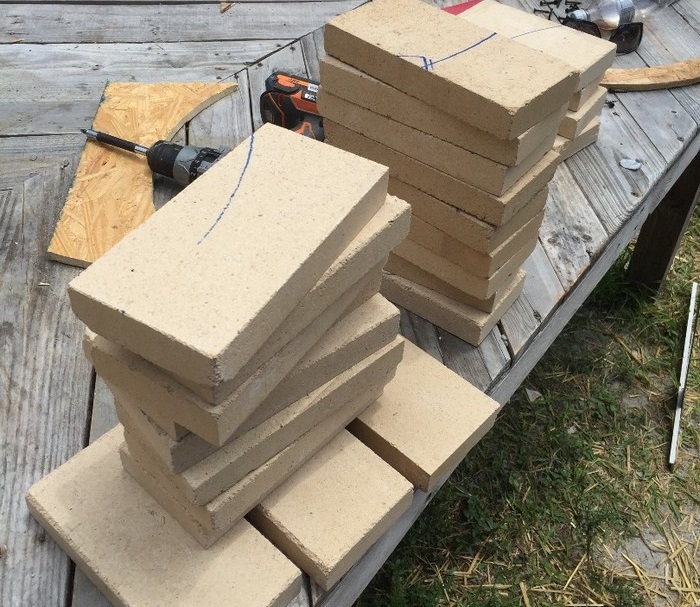
My fire bricks are 8.25 L x 4.125 W x 1.25 thick.
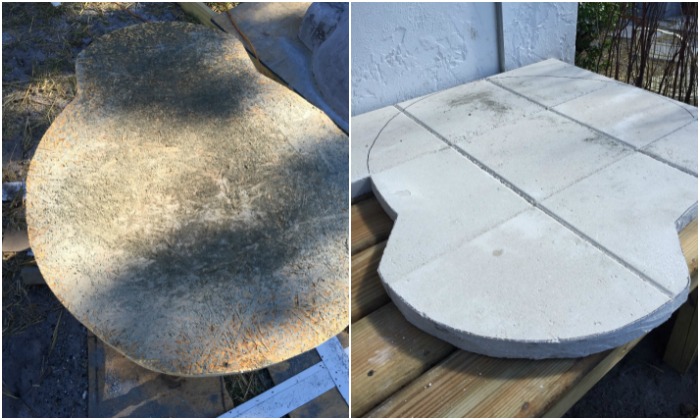
I wanted a total overall thickness of 2.25 for my floor. So the outside tracing I did of the (footprint) of the dome was by the bottom of my exercise ball pizza oven. I attached 2.75″ (2.25 for a total thickness of the floor, and .5″ so I could screw it to the edge of the plywood template) tall trim pieces of Formica around the entire edge, stapling, and screwing.
Then I took my inside circle and the inside of the door template and put a couple of pieces of wood to hold the inside circle in place at 1″ higher than the floor… Confused?
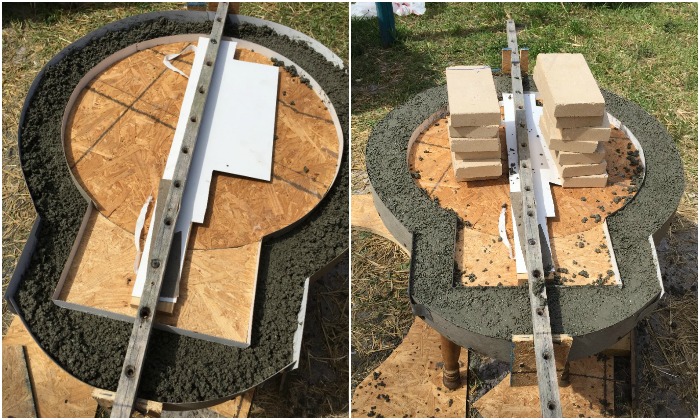
So the idea was that the main bottom template of my exercise ball pizza oven would get concrete up to 1 inch high/thick, then I would insert my inner mould in the entry and that would represent the space where the fire bricks would later go, and fill concrete the rest of the way, so the bricks would later be even with the rest of the floor concrete…
*Please don’t forget to put in the SS needles as I did. It seems to be a little brittle around a few edges because of that.
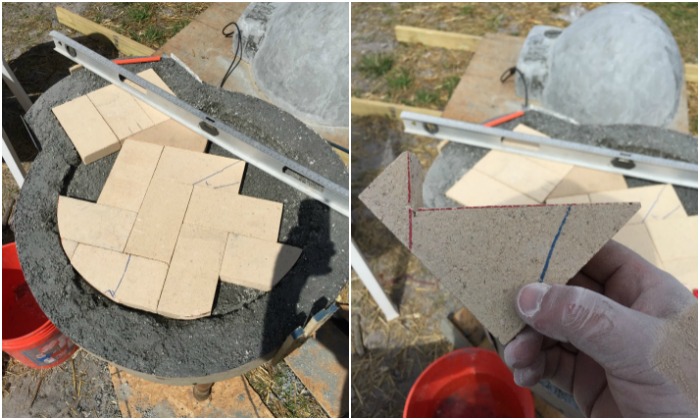
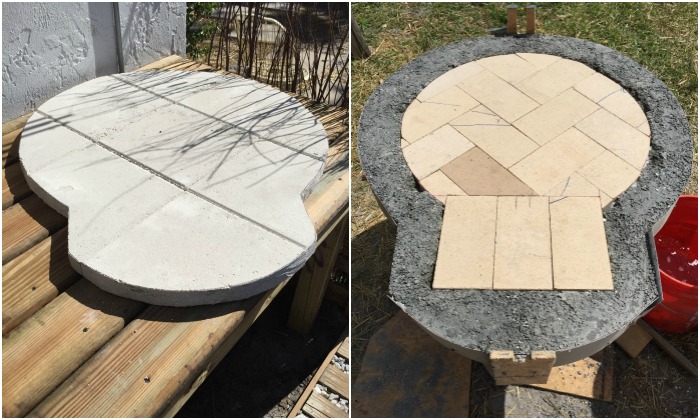
Fire brick floor of my exercise ball pizza oven: I wanted to lay out the floor in a herringbone, so that way it would not catch any edges putting in or out pizzas. I wanted to start with 3 full-sized pieces at the entrance. Peel can easily clear the first set. I didn’t want to have any crazy cuts but I ended up having 2.
I have laid tile in the past so I did have a little experience here, but the great part is that you can basically lay the tile on top and make a few marks on the tile and do the cut.
I started with a few rows down the middle of my exercise ball pizza oven and worked my way out from there. All in all, you want a tight fit and you’ll find a few bricks cut darn close and shoved in will kind of lock it all into place. Don’t over force it or it can break or damage something.

Bottom floor detail: So I later removed the bricks and did some fixing (brittle chucks lost due to not having any SS needles, so I think anyway) and skimmed the edge to give it a cleaner look. So once I skimmed the edges I came back later and smoothed and cleaned it.
(I previously forgot to mention this step due to not having any pics of it.)
I traced an outline of the footprint of the bottom section of the oven onto the cement board. Cut it out and mix up some Portland cement and used it as glue to put the bottom section of the oven onto the cement backer…
I then added the skim coat to the walls and the cement backer edge… making it all look like one uniform section…
Stand and pavers base: We had our spot picked out for some time. I tap-con(d) the heck out of some pressure-treated wood and sunk some 4×4 into the ground in the front of the table and used 2 x 4 to make a platform.
Overbuild this. My exercise ball pizza oven is only a few hundred pounds but I figured better safe than sorry. I think my platform was 45 inches long and 36 inches deep. We ran supports 12-15 inches and used 2-inch thick decking that a neighbour was throwing out.
You see from the pics that we do have it slightly turned. We have a vegetable garden right there and it looked better that way anyhow.
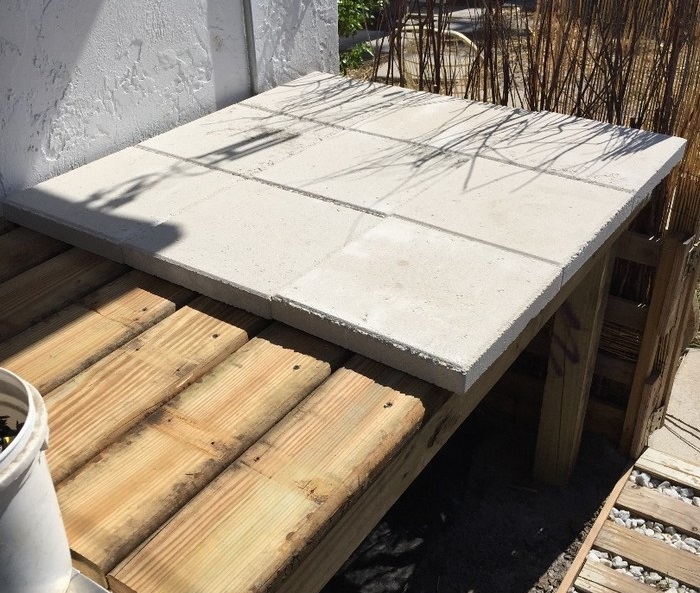
We also added some pavers for the oven to sit on. It seemed some opinions varied on the amount of space but you basically want at least 3″ of concrete or insulation if you have it on a wooden platform. I have seen people use less and more but 3″ seem to be the common number.
So we laid down pavers and I used my bottom section of the oven wood template to make my mark and cut to size. Look good no?
I didn’t take any pics of it, but we put a strap around the pavers so they wouldn’t move around and brought the base over and laid it on. Then we put 1 brick/ pavers (need to be slightly higher than the floor) at each corner (4 total, 2 at rear and 2 at front) and laid around the pipe or a wooden dowel.
I then mixed up a small batch of Portland cement and SS needles and troweled on a thin coat on the floor base. I basically used it as a “glue” for the two pieces.
(I did not take any pics of this process, but I added a pic with the firebrick floor so I could explain it. It is the perimeter surface around the fire bricks – not the front door entry curve – that 3-inch border.)
We then brought over the top and carefully put on the dowels or supports that you’re using spanning to the bricks. We then aligned it and lifted the rear, slid out the dowel, and carefully lowered it. then did it in the front.
Holy CRUD, they are together!
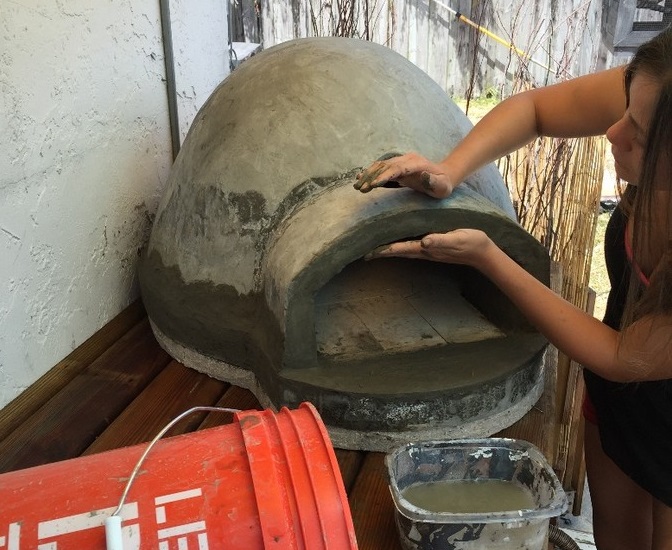
Just a few more details… Once they are aligned it was just a skim coat around the outside to seal the seam and my wife did all the detail work in the front.
I never would’ve had the patience my wife had to really make it look fantastic. If there weren’t the pics to prove otherwise floating around with family I would have claimed to have done it myself. But really I was taking pics and drinking a cold beer.
Obviously, it has not been fired up yet, I think we are going to wait about 3 weeks to make sure that we are good and cured. Just stick your face in the door and smell. If it smells damp or wet give it a few more days.
To fire cure, it, START SMALL. Do not put a roaring fire in there right away…
After 3 weeks we plan to do a small fire (2-3 twigs) let them burn completely and die out.
Then repeat the next day with a medium fire (3-4 twigs) burn and die out.
Then another medium fire… but add to it to keep it at medium fire for an hour or so
Then another medium to larger fire, burn for an hour…
Then you should be ready for a nice roaring fire.
Any cracks that occur you can fill later once the oven is broken in with the Portland SS mix…
When you get your fancy new exercise ball pizza oven equipment be sure to get a thermometer to keep an eye on temps.
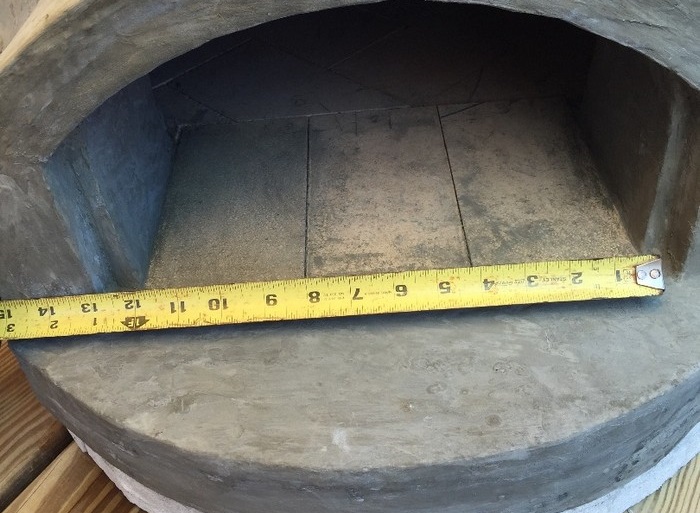
Few additional photos I thought worth looking at: Took some additional photos that I thought were kind of important. The door opening is about 12.5 inches wide. I absolutely feel that is plenty.. like I had mentioned before, with 90 second cooking times one pizza at a time is perfect.
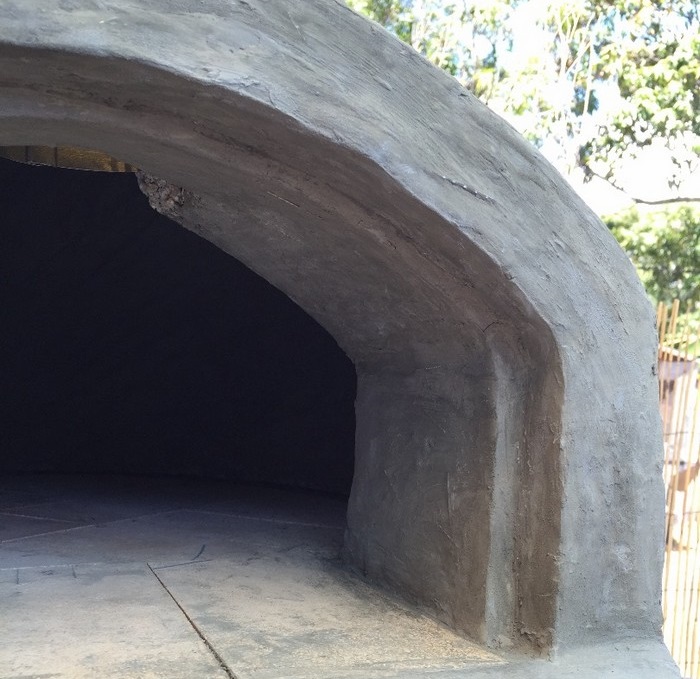
Also, I wanted to show the inside lip (where I get my 12.5″ inside measurement), the reason for the lip is that is what my door will rest against. The door will eventually be made so I have a few weeks to get that done.
I will be doing the door in the next few days. I will try to take some really detailed pic of the process and I noticed that I can do a video as well so I might attempt that.
All in all, after a few firings, I have indeed cooked a few things, pizza, wings, and so on, but forgot to take photos. I would like to see any improved versions that you guys can conjure up!
If you love this, you will also love our DIY cob oven project.
Thanks to William Stark for this great project!