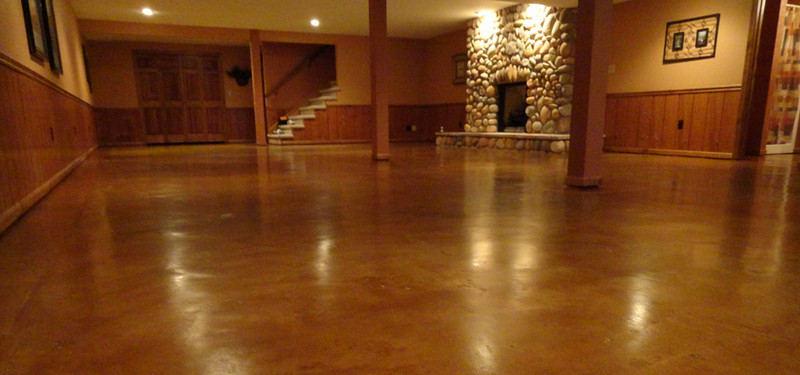
Stained and polished concrete floors are not a new idea. But they have had a huge renaissance in recent years, largely because of the improvement of and access to finishing materials.
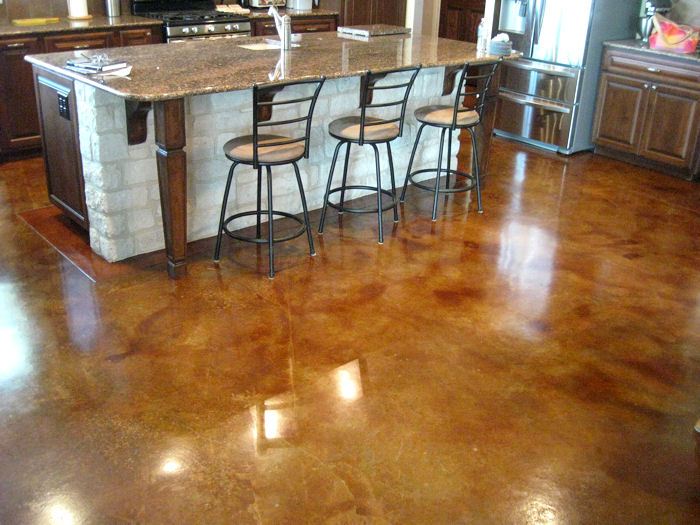
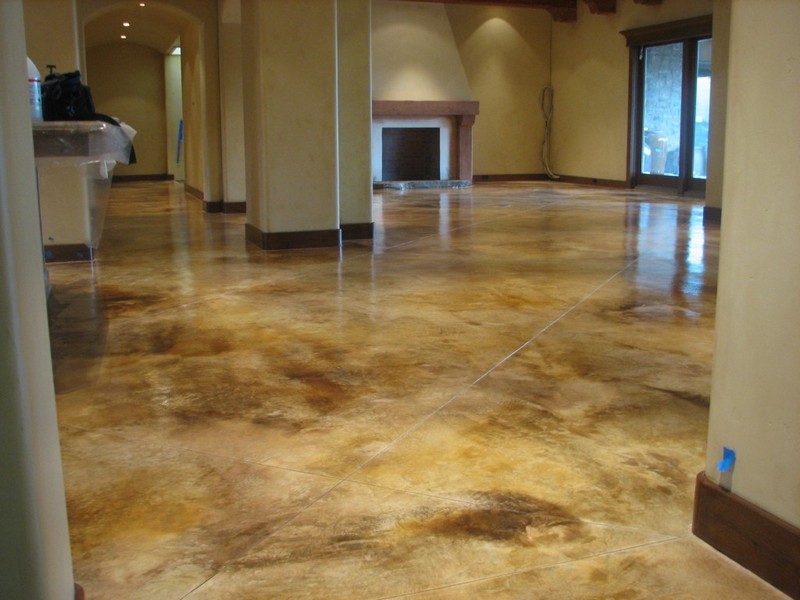
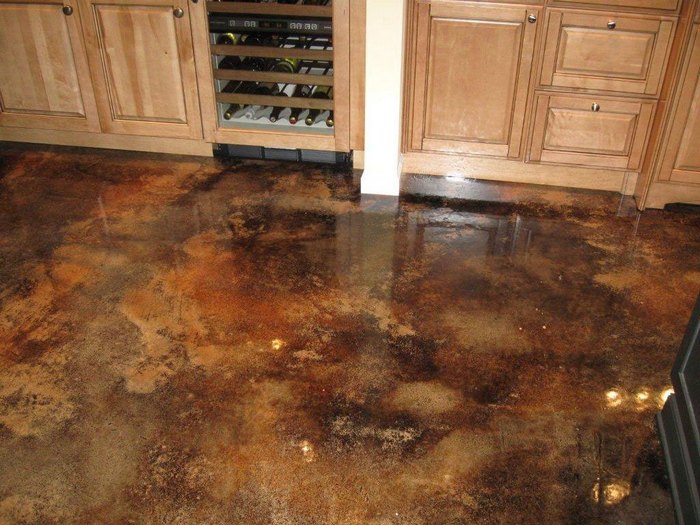
Many new homeowners are deciding to not put down floor coverings such as tiles or carpets and instead opting for a stained and polished concrete finish.

Many homeowners have already discovered that staining their concrete floor is a great way to give the surface a more interesting, finished look. And the good news is that it’s not a very difficult or time-consuming project.
It’s a project that you can DIY but, if you’re at all uncertain as to your abilities, we recommend you work with an experienced professional.
Click on any image to start the lightbox display. Use your Esc key to close the lightbox.![]()
Let’s get started staining that concrete floor…

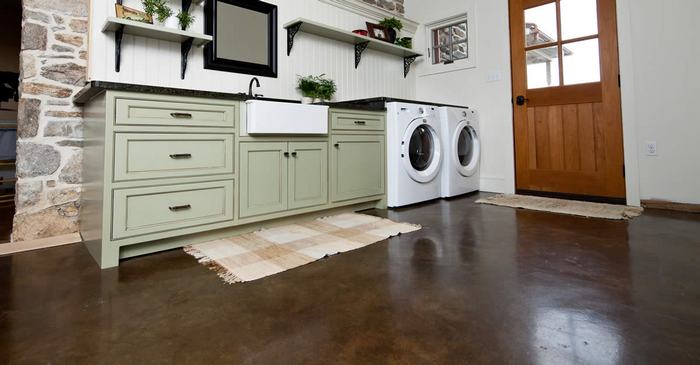
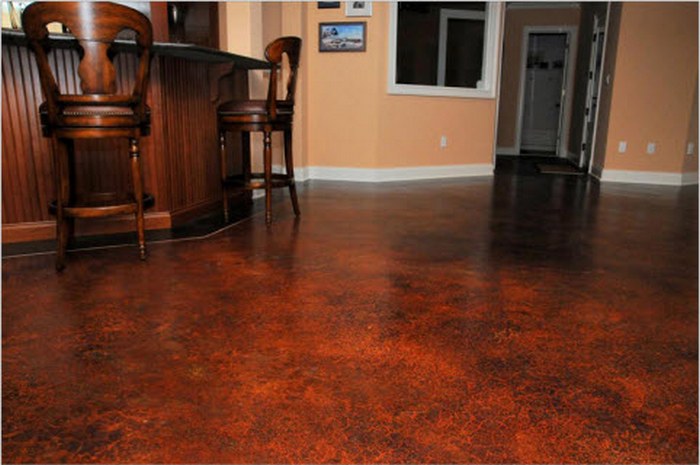
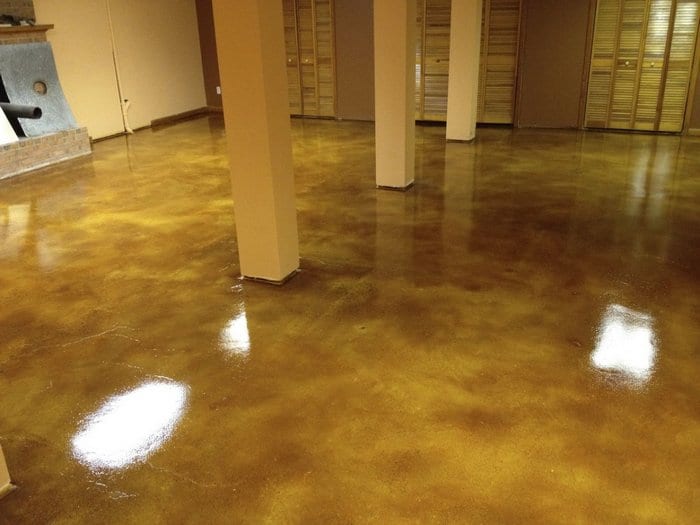
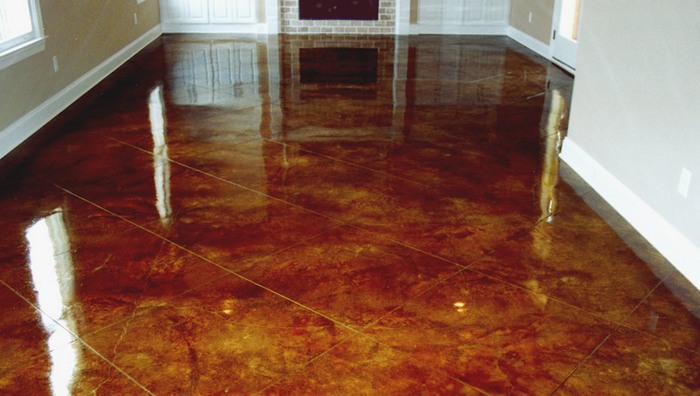
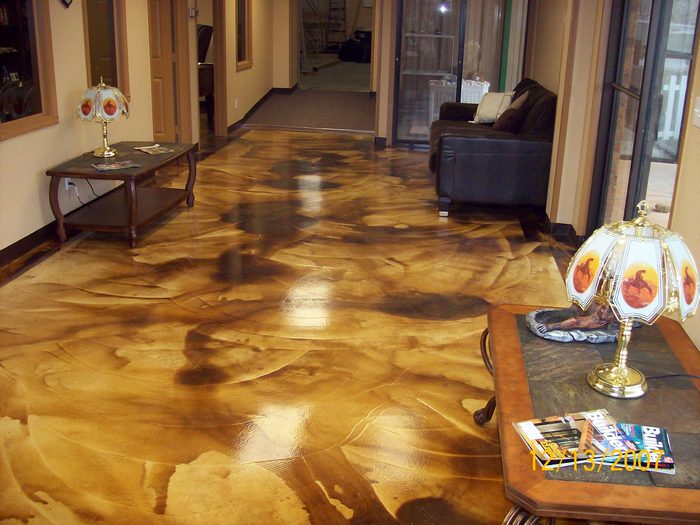
A stained concrete floor is a great option anywhere – inside your home or out. Raw concrete is rarely attractive. When new, it’s bright and harsh. If it’s outside the glare can be considerable. Inside, the dull grey finish is boring to look at and untreated, it’s unpleasant underfoot.
Step 2: Choose and test your stain

Once you’ve selected the type of stain and one or more colours, you’ll want to test the stain on a small, out-of-the-way patch of the concrete floor.
Why? Stains always look different when applied to a surface than they do in their original can or container, so you need to make sure you like the colour before it’s covering the entire floor. Once again, if you are unsure, rely on an experienced contractor.
Step 3: Prepare your surface
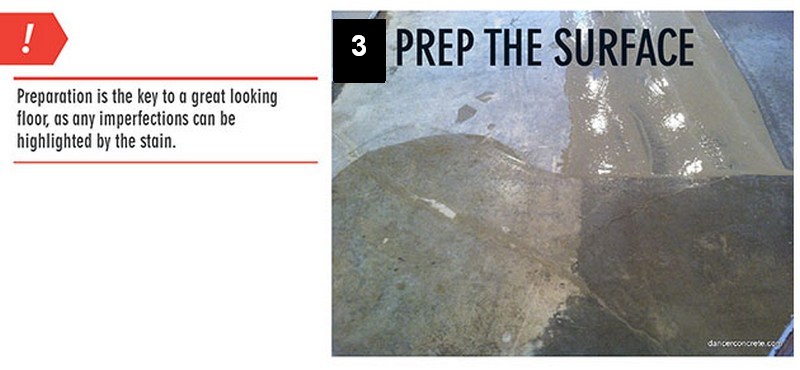
Before you or your contractor can stain your concrete floor, you’ll need to clean it using a concrete degreaser to ensure that there is no residue or debris that will affect the stain. This is also a good opportunity for you to check for any cracks or discoloured patches, which can also affect how the stain looks. Some larger cracks may need to be filled in unless you want to leave them to add character.
Step 4: Apply the stain to the entire surface.
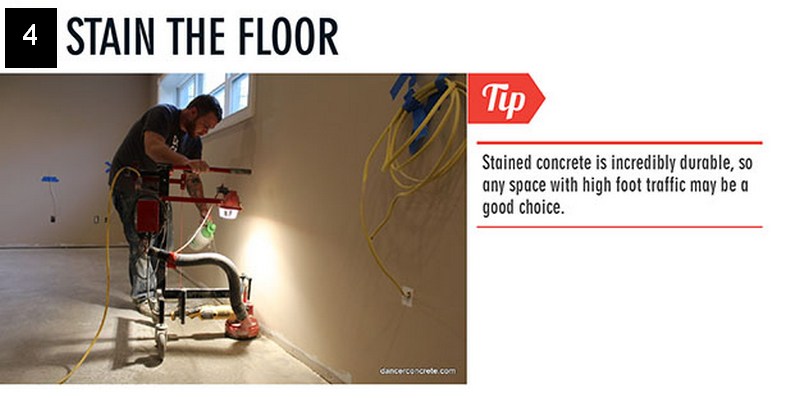
Apply the stain to the entire surface of your concrete floor. Use a plastic spray pump and a mop, a roller brush, or squeegees to apply the stain to the entire floor. Move the mop or roller brush in natural swirling patterns to avoid leaving obvious marks or lines on the surface.
Step 5: Neutralise the stain
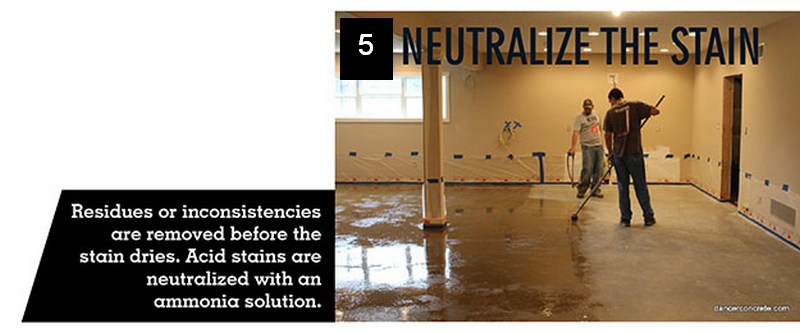
If you’ve used an acid stain, it must be neutralized before going any further. Because acid stains require a chemical reaction, it’s essential that you or your contractor neutralize an acid-stained floor using a mixture of one part ammonia, and four parts water.
This mixture can be applied using a clean plastic pump sprayer and will need to dry before you can do anything else. A professional will most likely vacuum up any remaining water and then use a wet cloth to remove any prints or splotches before sealing the floor. If you don’t have a wet vacuum system, it will probably be a hands and knees job for you.
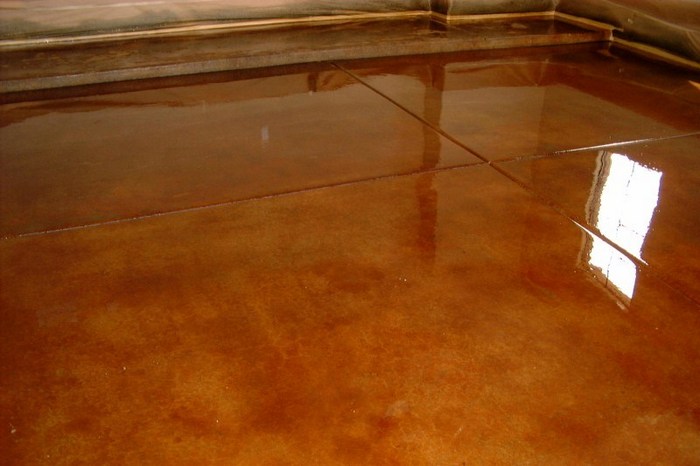
Step 6: Sealing the stain
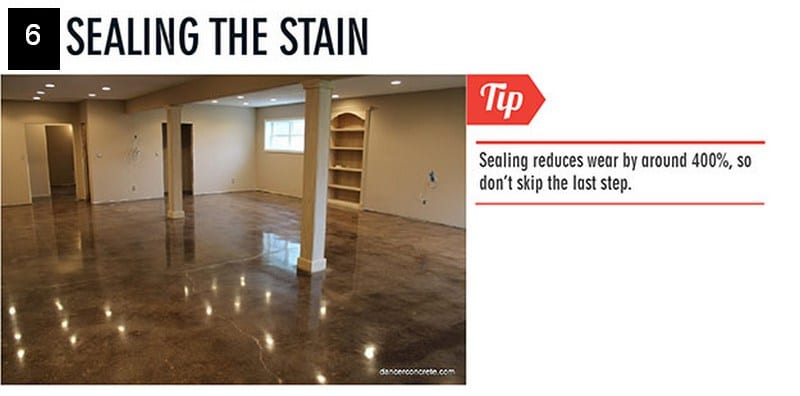
This last step is incredibly important because it’s going to help prevent the stained concrete floor from showing wear and tear. The contractor will first use a concrete densifier to penetrate the floor, making the surface less permeable and more abrasion-resistant.
He or she will then apply a stain guard to give the floor stain protection and extra shine. This will leave you with a visually-appealing floor that requires little maintenance and will hold up to just about anything.
So that’s it! You can now sit back, put your feet up and admire your new look floor! You can find a lot more information on concrete staining here…
Don’t forget to leave your love, questions or suggestions via the comment box below.
About the Author
Matt Zajechowski writes for Kitchen Suppliers, Inc. (KSI), a leading home design and remodelling firm that specializes in kitchens and baths. Our team of professional designers and certified installers located in seven showrooms throughout Michigan and Ohio are ready to serve you.
Learn from them how our offering of kitchen and bathroom cabinets, vanities, hardware, countertops, flooring, tile and plumbing can complete any remodelling project in your home.