Assembling the first piece: The best way to assemble the pieces of the Tetris bookshelf is in order of difficulty. We will start with the easiest piece first (the square) and gradually work our way to the most difficult, so that we are not overwhelmed.
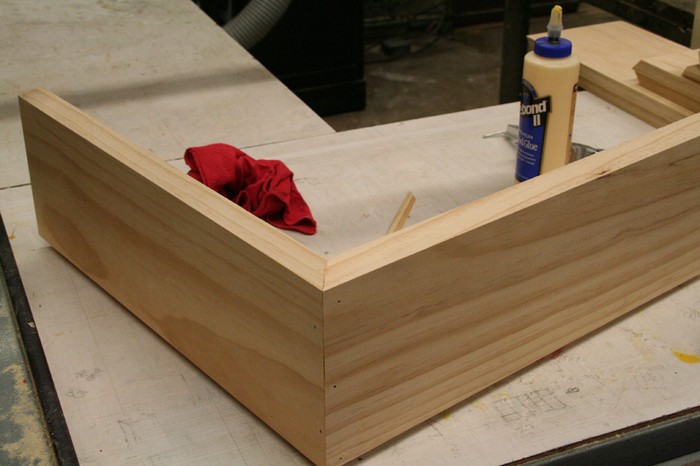
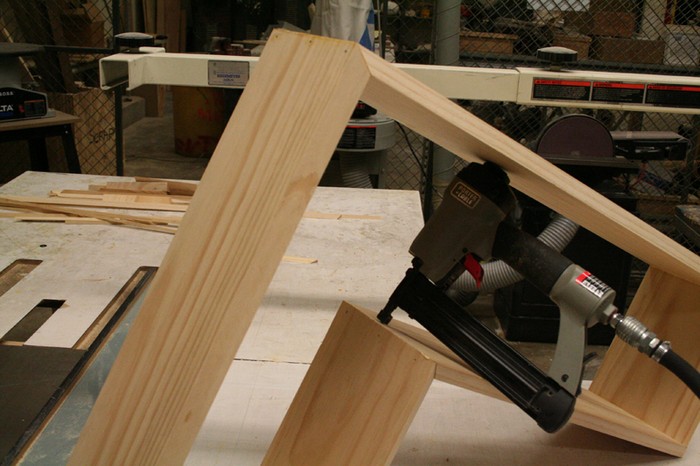
The first pieces are always the hardest. There are a few tricks you can try to ensure you get a 90-degree angle. The best and easiest way to do it is to set the edges that are going to become the outside corners right up next to each other.
Apply masking tape to these edges so you create sort of a hinge. From there, apply wood glue to both sides of the pieces being stuck together, and close them up. Make sure your nail gun has nails and the pressure is on the air compressor and it’s ready to go. Make sure that the edges line up and that everything looks square and shoot your first holes.
The nails’ only purpose is to hold the boards together while the glue dries. We will cover the holes these create later. I like to nail three on one edge of the board, then switch to the other edge and do two nails in between the others (as shown).
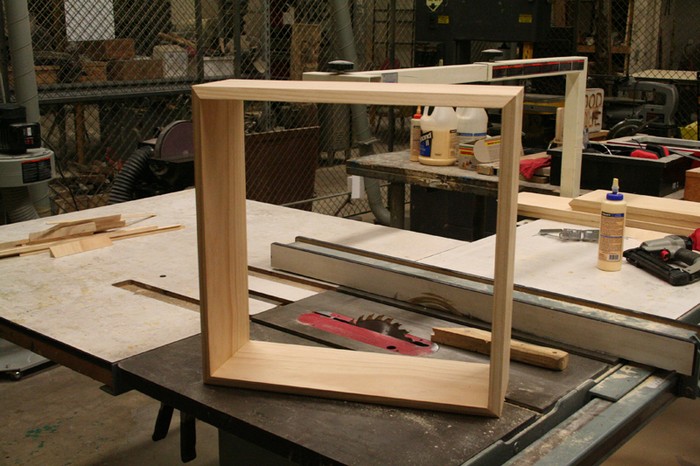
After the first two pieces are together, just repeat the same process. It gets easier now that you have some leverage from the other pieces. On the final piece, you can either do both edges at the same time or just one at a time. The reason I say this is because for the 20″ board, you have enough room to move the last edge to apply the glue. This is not the case with 10″ boards.
And now you officially have your first Tetris piece for your Tetris bookshelf done.
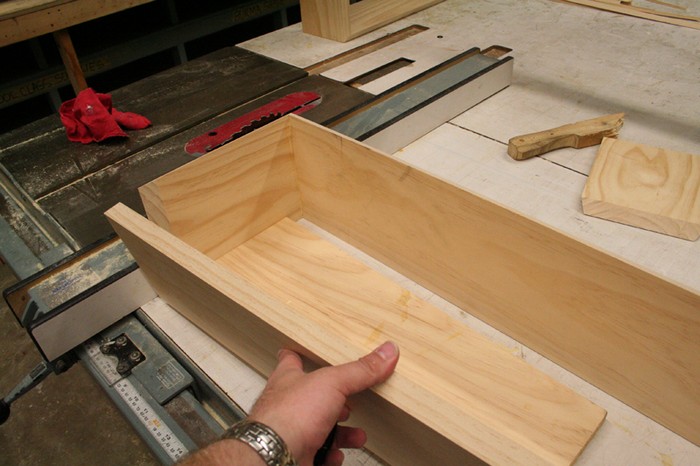
The rectangle: Next up is the rectangle. You will need two 10″ perpendicular boards and two 40″ boards. This piece is the same process as the Square, the only difference being, that the 40″ length is going to make it slightly awkward to work with because it is so long.
You can see I used a scrap piece of board to hold against the back of the small piece to get the other 40″ board to square up with it. It is important to do both 40″ sides before the last 10″ side because it will be a LOT easier to assemble the last piece.
When you get to the last 10″ board, apply glue to both edges of that board and both edges of the 40″ board. Assemble it and nail both sides at the same time. It is kind of funny that the easiest parts to assemble are the ones that require twice as many nails.
And you now have your square and your rectangle. Always wipe the excess glue that drips off the boards, but don’t worry too much because it will come off in the sanding stage.
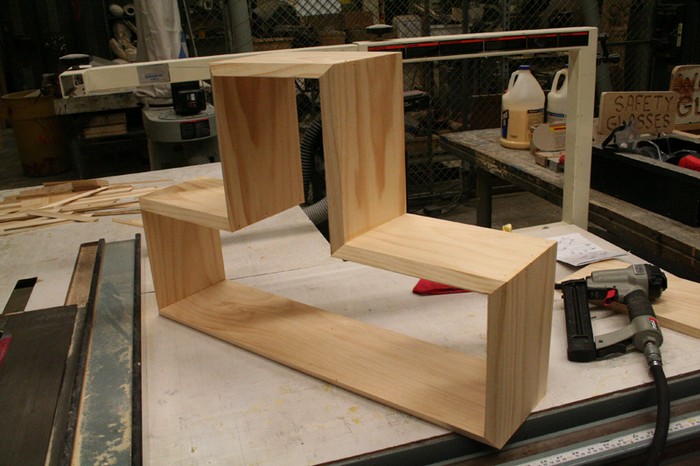
The L: The next board we want to work on for this Tetris bookshelf is the L-shaped one. This is where it begins to get tricky, as we use our first parallel 10″ piece (and our only 20″ parallel piece, for that matter). So the pieces you will need for this one: are one 10″ parallel, two 10″ perpendicular, one 20″ parallel, one 20″ perpendicular, and one 30″ piece, as shown below.
Start by connecting the 10″ perpendicular piece to the 20″ perpendicular piece, and work your way around the L clockwise. It might be a good idea for you to assemble the two parallel pieces (the interior corner of the L) in a different piece from the rest because those are the hardest to nail in place (see picture).
My nail gun only barely fit, and I didn’t think to assemble that part of the Tetris bookshelf before the rest until after I was done with the whole Tetris bookshelf project (isn’t that always how it works out…). But once you do that, just continue assembling as normal and voila! finished L.
Three down, two to go for the Tetris bookshelf project…
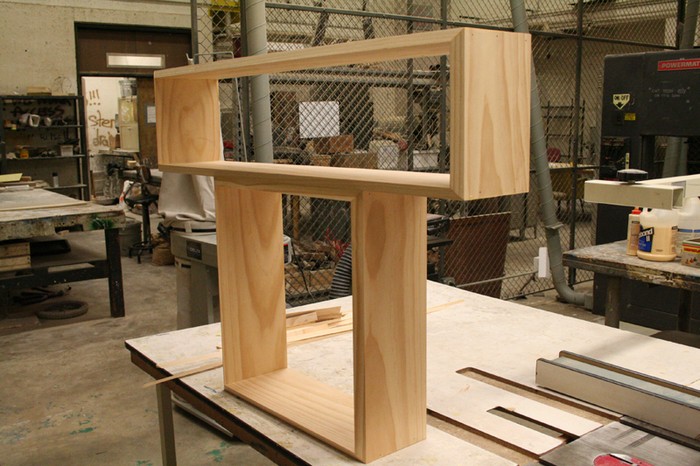
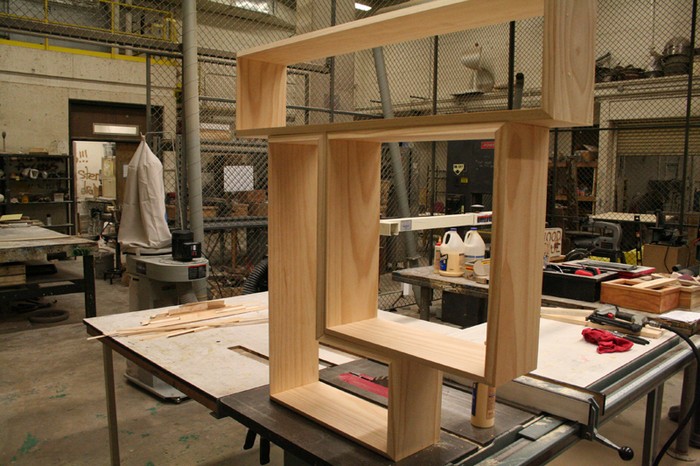
The T: is probably my favourite Tetris piece on this Tetris bookshelf (it’s not too nerdy to have a favourite Tetris piece, is it?) although it is one of the hardest to assemble. This one required the largest number of pieces: three 10″ perpendiculars, four 10″ parallels, and one 30″ piece.
Using the picture as shown (as an upside-down T), the order of assembly that I recommend you use is this: construct the bottom three pieces first. Then separately do both of your interior corner pieces the same way we did the L shape, and connect both of those to the bottom section.
At this point, you just plop the 10″ perpendicular on top and assemble it as normal. This is the coolest piece, so I felt the most pride when I put it together.
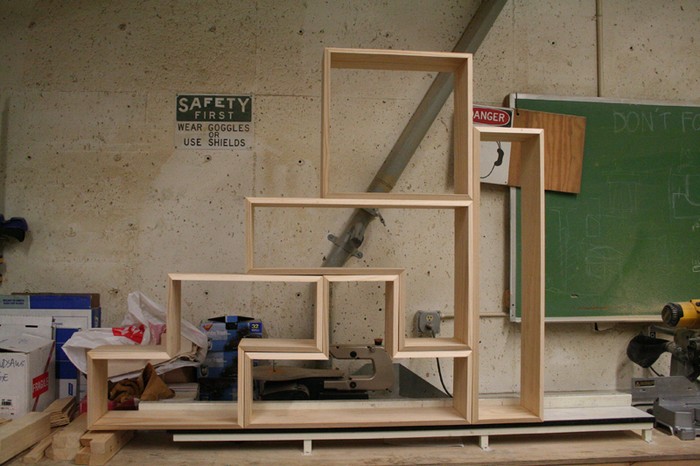
Our assembled Tetris bookshelf is finally starting to take shape!
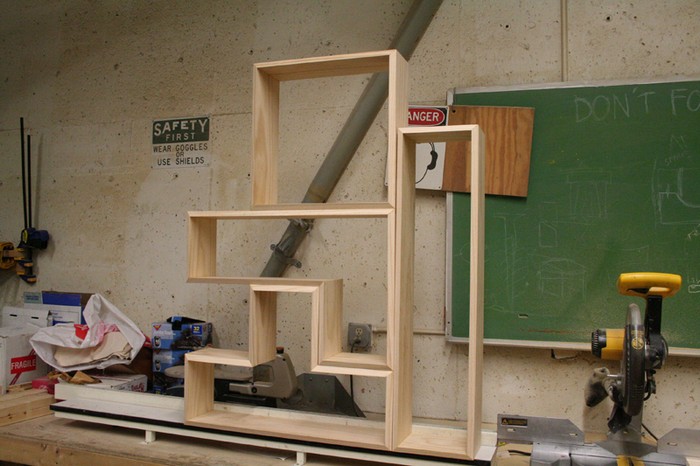
The dreaded S: Now we are on to the last piece of the Tetris bookshelf which is the most difficult one to assemble, but really it’s not a lot more difficult than the last piece if you do it the way we have been in the tutorial. but if you do each piece individually as I did, then it becomes a bit of a pain.
A lot of a pain, if you want me to be completely honest with you. Since this is the last piece, we should be using each of the remaining pieces we have left. But in case you don’t have all of those pieces, you will need to fix that.
Assemble this one any way you like. I did it the wrong way though, I will tell you that much. Assembling the interior pieces and then the 20″ pieces followed by the 10″ outside pieces seems to be the way to go. You may be able to tell from this photo, but one of my pieces was about 1/4″ too long, and as a result, the top part of the S is tilted.
The reason this happened is that I miscounted when I originally cut the pieces, and I was missing one 10″ piece. So I lined it up to the old line as best I could and cut, but it was still just ever so slightly off.
This will stress the importance of cutting all the pieces at the same time. Normally on woodworking projects, you cut pieces as you go, but it is so important that these pieces be exactly the same that you pretty much have to cut everything at once.
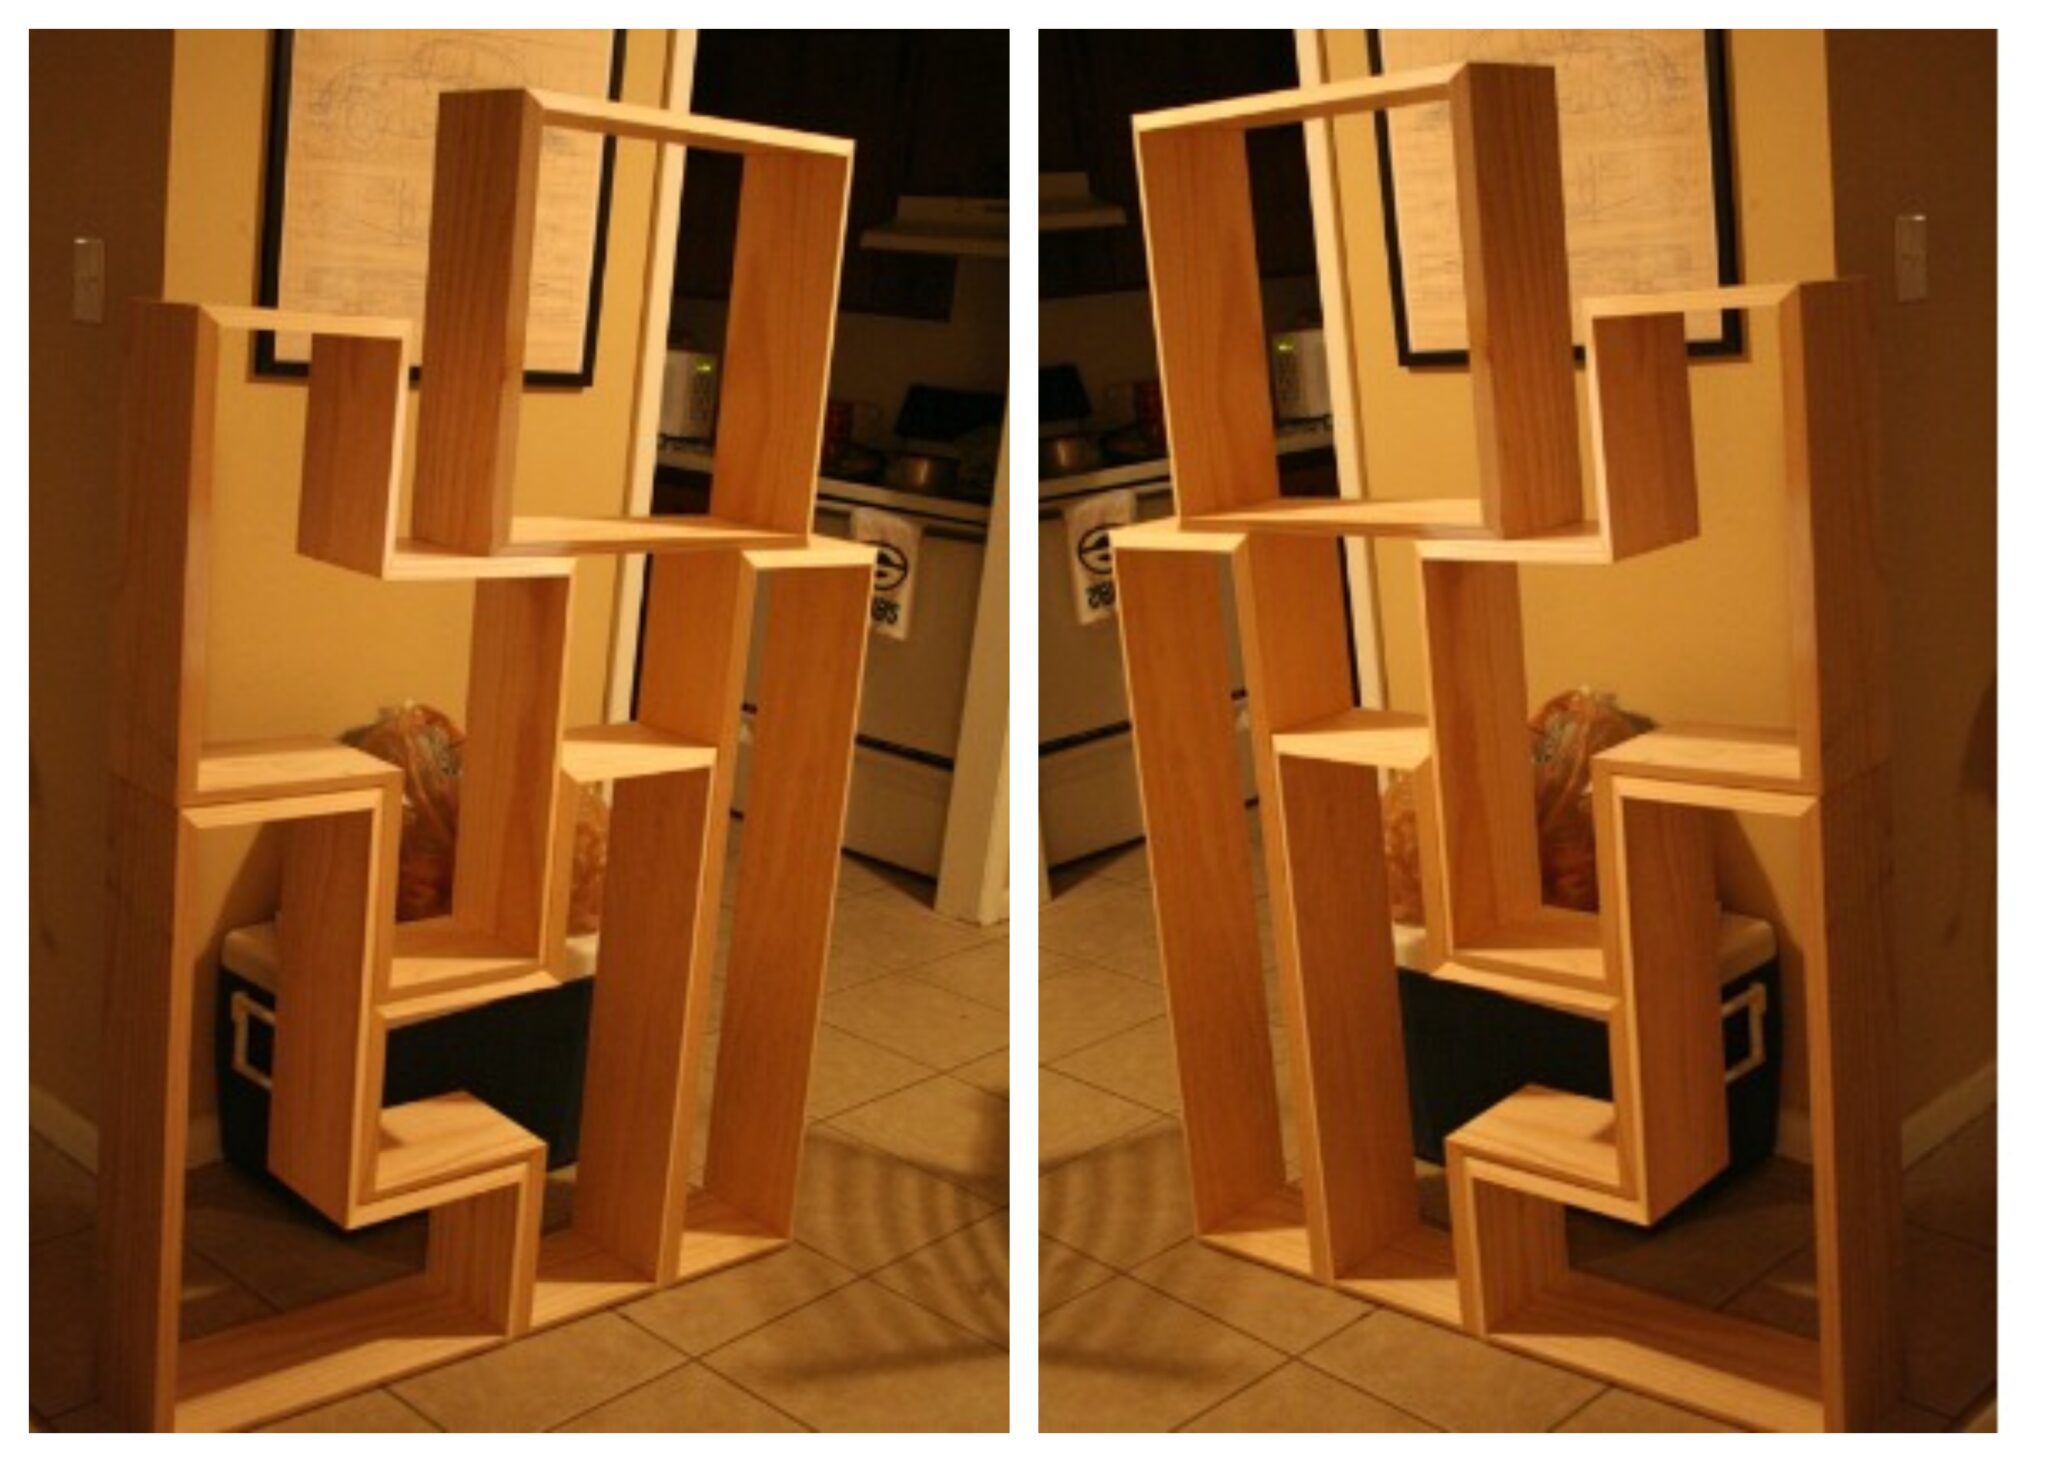
In any case, they all more or less fit (the S fits perfectly if you flip it around and use the other side) and we are now officially done with the Tetris bookshelf building phase.
Filling and sanding: Now that we’ve finished assembling all the pieces of our Tetris bookshelf, we need to give them a nice finish. The first thing to do, though, is to fill all those nail holes you created. Get out your wood filler and a good putty knife, or even a plastic knife will work fine.
This part isn’t rocket science. Take the wood filler (and mix it, if it requires mixing. Different brands have different instructions, so make sure you pay attention to those), and fill each nail hole, overfilling only slightly. Do this to each of the 100+ holes on each of the pieces.
Chances are you will have one or two nails that didn’t go quite the whole way. Just get a fine screwdriver and place it on top of the nail and hammer it in very carefully, then continue filling as normal. Once you have all of the holes filled, let them dry for an hour or two or ten or however many it says on your package.
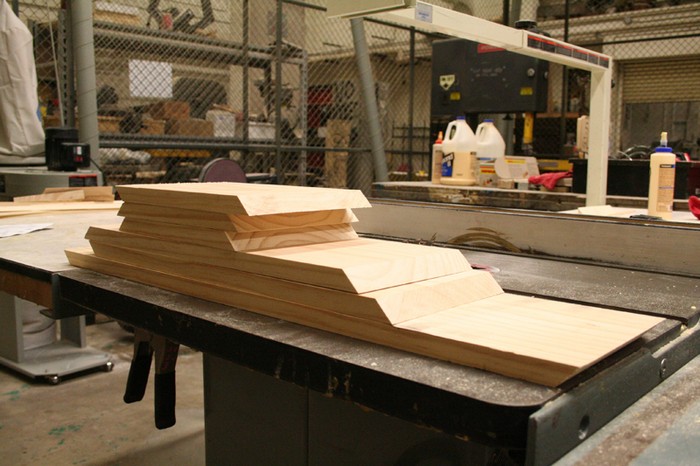
After everything has completely dried, you are ready to sand your Tetris bookshelf pieces. Woohoo! You can use whatever kind of sander you want, or you can strap a piece of sandpaper to a block of wood for all I care.
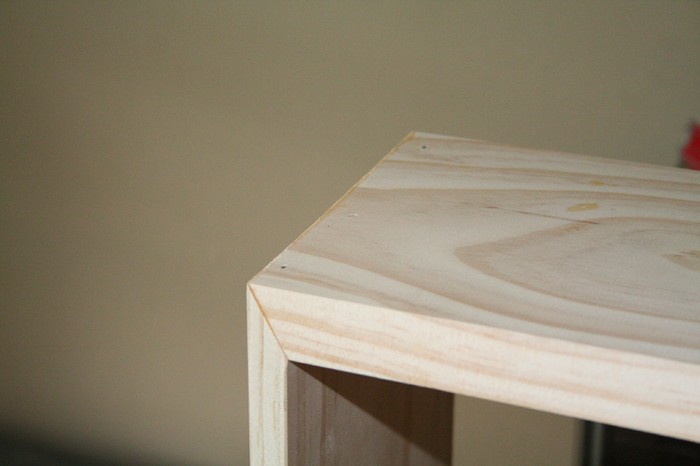
Take the 220 grit sandpaper and put it on the sander of your choice. Sand each surface smooth going back and forth with the grain of the wood, rather than side to side. You can also smooth out the corners slightly and the edges that meet up on the bevel.
Unless you are a very good woodworker (and I’m sure some of you are), these edges will need a little refining. Don’t get too ridiculous though, you still want to have nice crisp corners for your Tetris bookshelf. Do this to each piece of the Tetris bookshelf until you are satisfied with the finish.
Make sure you sand the entire surface. The point is not to smooth it out (the planks are already pretty smooth from the initial planning phase these boards go through), but rather to roughen each surface to an equal texture, so that stain or paint can be applied to it easily.
After you have sanded all of the pieces of the Tetris bookshelf inside and out, you should probably go have a drink or something. Speaking of which, you should be doing this Tetris bookshelf project outside or in a wood shop, but I hope you figured that out already.
The last step in this process is to clean clean clean each piece of the Tetris bookshelf, making sure there aren’t any stray particles or dust specks floating around. This can ruin your finish if it is not cleaned completely.
Staining and finishing: Unfortunately, at this point, I no longer had access to a camera, so I can’t show you the finished stained shelf, however, I would still like to discuss it a bit.
You can use whichever finish you like, with a stain and polyurethane topcoat or just paint the Tetris bookshelf pieces, or if you want to be really creative, slap on a few coats of gesso and get out the oil paints and make them into works of art!
If you plan on using stain for your Tetris bookshelf, the outcome will be tremendous when applied to rosewood, cherry, or oak. The result is mixed with pine and other softer woods. Pine is incredibly absorbent to stain, and as a result, can appear very blotchy in some areas.
There is no telling where this will happen, but the fact of the matter is that it does, so just be aware of this. There are products on the market now that supposedly eliminate this problem, but I have never tried it out. I encourage you to do so though and report back to me with your results. It can still turn out wonderfully, though.
But, if you are nervous about it, and even if you’re not, it would be a good idea to test the stain out first to make sure you like it. Remember those several large pieces of scrapwood we had? Now is the time to use them. sand one surface of it down just the same as the other boards, and try out the stain. if you’re happy with it, then continue on.
To apply the stain on the pieces of your Tetris bookshelf, make sure all of your surfaces are clean of debris and dust particles, etc, as I mentioned in the last step. Then taking a sponge brush, brush the stain directly onto the surface, again going with the grain of the wood. (Don’t get too crazy with the stain, you want to apply it very lightly.
This is the one case where you would rather have not enough than too much. You can always add another coat.) And just about as soon as you brush stain on the surface, you wipe it off with a clean rag. Repeat, repeat, and repeat. Then allow the proper time to dry, and apply the topcoat.
Throw on some DVD and voila! You’re done! Sit back and enjoy your handy work. Not only does your shelf look classy, but it is also a throwback to your childhood of playing Nintendo. Can you smell awesome?
Thanks for checking out this how-to build a Tetris bookshelf! If you like this Tetris bookshelf, please share it with your friends.
Godspeed, and don’t forget your goggles.
Thanks to odecom5 for this great Tetris bookshelf project!