Has the weather become unbearably hot in your place? As if the climate-change debate weren’t heated enough, it now also seems that as global temperatures rise, so do tempers!
In fact, a University of California in Berkeley researcher has gathered data from social media that links warmer weather and crankiness in people!
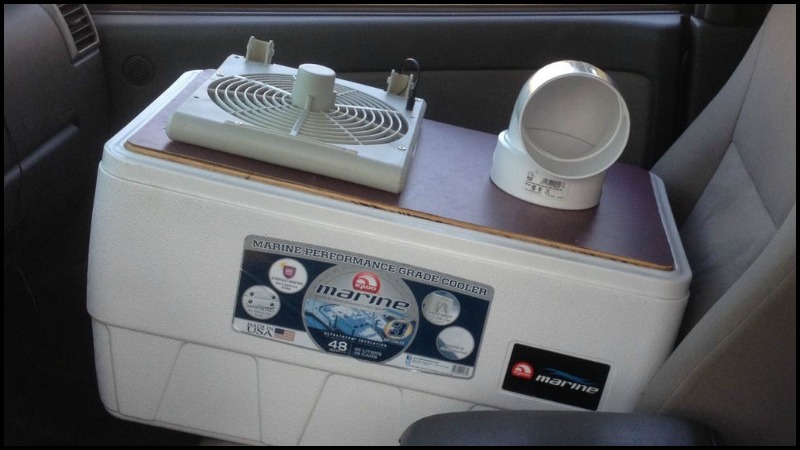
You can turn on the air conditioner, sure, but having it run the entire day is not a good option for most of us. If you spend most of your days at home, here’s a clever DIY solution to stay cool.
Now, this kind of air conditioner is simply intended for small personal applications – it cannot work for an entire room like the air conditioners we have mounted on our walls. That’s just impossible! This is most especially recommended if you are usually left alone at home all day. Why cool down the whole room when all you need is a cool breeze for yourself?
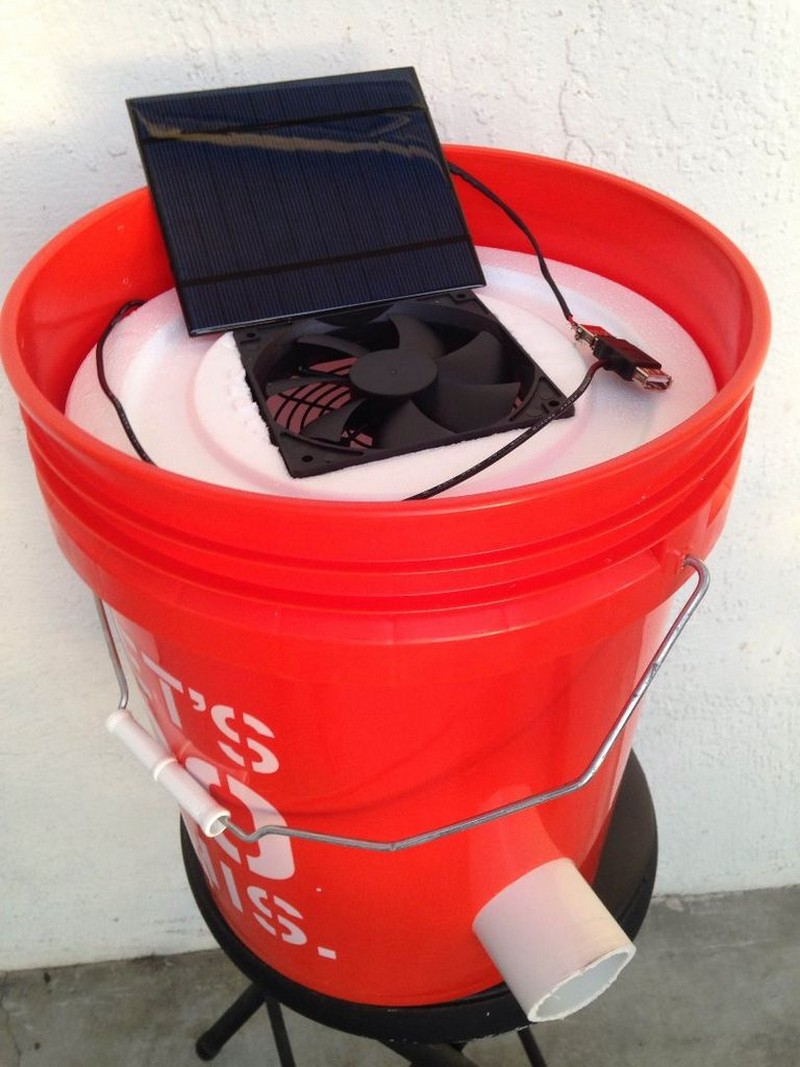
This DIY bucket air conditioner is a great idea to survive the summer heat while keeping electricity bills low. You can even use solar panels, if you know how to install them, for an even more efficient energy use outdoors.
Click on any image to start the lightbox display. Use your Esc key to close the lightbox. ?
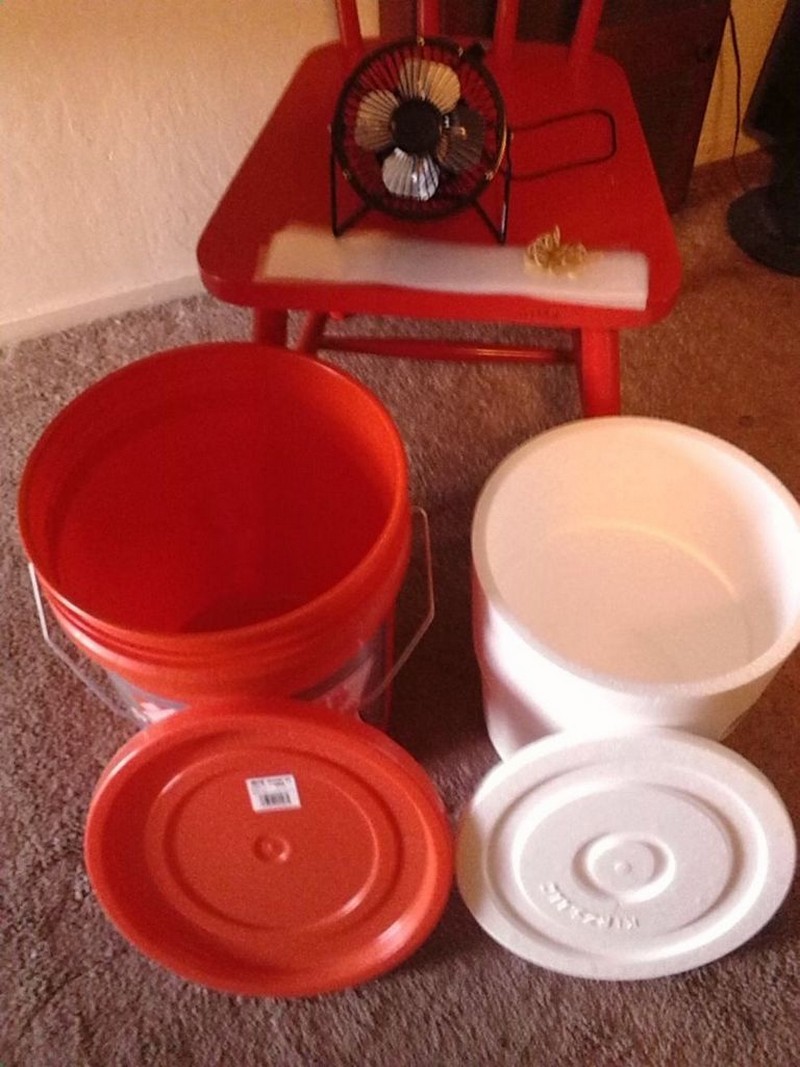
You’ll need these materials:
- 5-Gallon Bucket
- 5-Gallon Bucket Styrofoam Liner
- 2 1/2″ long 2″ PVC Pipe
- Small Fan (5v USB powered fan*)
- Large Plastic Popsicle Sleeves
- 1-Gallon Jug
And these tools:
- Cordless Drill
- 2 3/8″ Hole Saw
- Knife
- Hacksaw / PVC Cutter
*Mini desktop fans with plastic blades are a bit strong. Fans with metal blades push air the fastest.
Steps to build a 5-Gallon Bucket Air Conditioner
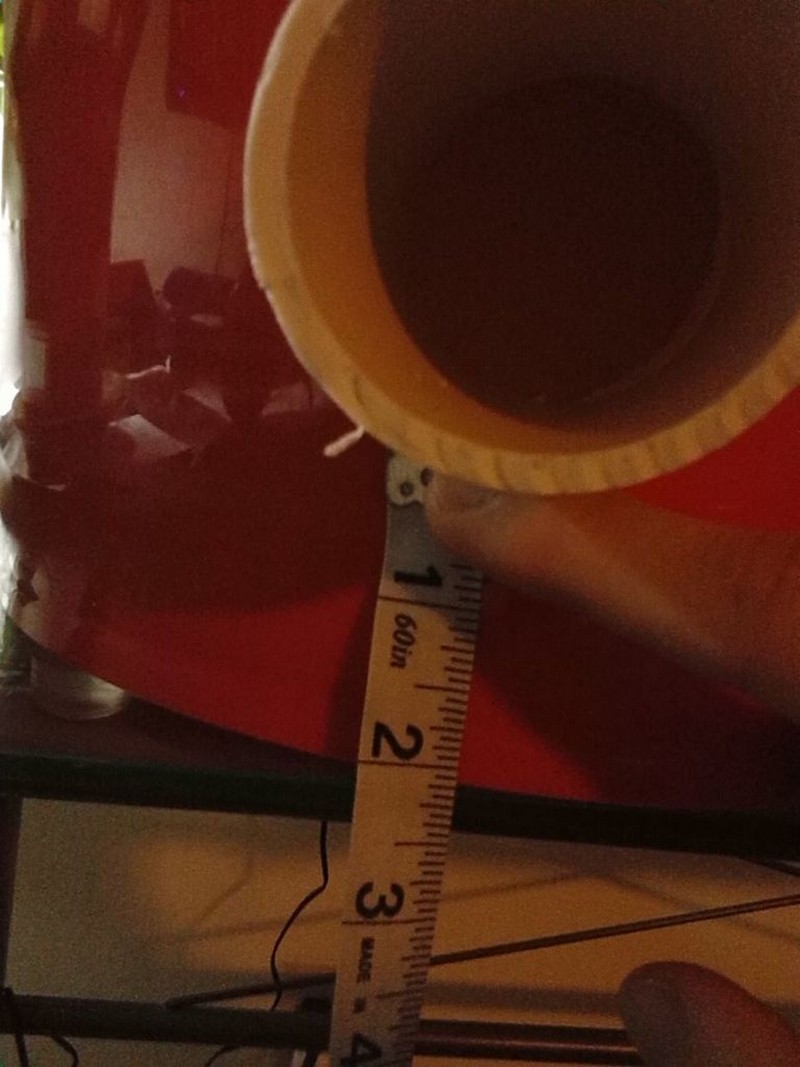
Hole placement on your bucket is one of the crucial factors in getting it to blow cold air. You want to get the hole as close to the bottom as you can but leave some room for perspiration build-up that will occur on your popsicles.
The bottom of your hole should be between 2″ – 2 1/2″ from the bottom of the bucket. Shave off the hairy plastic with your knife.
After that, insert your foam bucket liner and centre it inside your 5-gallon bucket. With your off hand, stabilize the inside of the bucket by pressing down in the centre. Then, stick your hole saw through the hole you just drilled and drill another hole through your foam bucket liner.
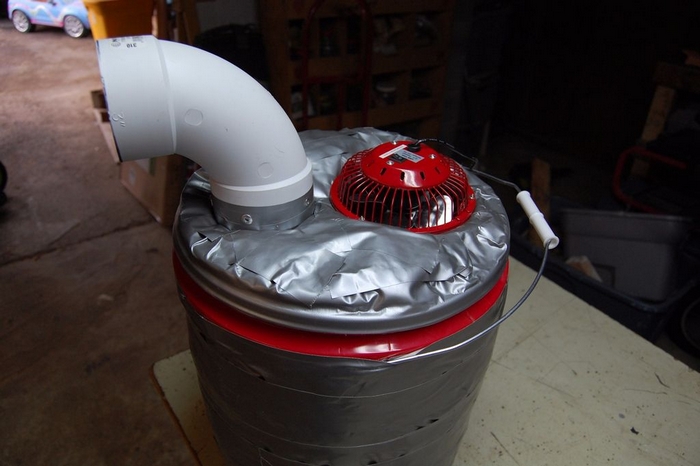
Lastly, insert your PVC pipe into the holes you just drilled. It should be airtight and you may need to rotate your pipe back and forth to get it in. Don’t put it in too deep though. If you want the PVC pipe to be flush with the inside of your foam bucket liner, otherwise you will create an airflow problem.
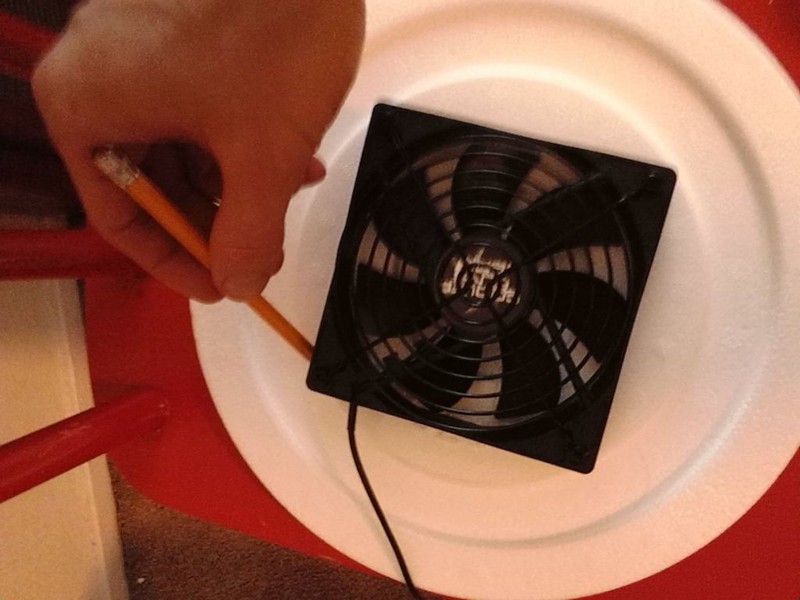
Now we are going to be mounting our fan to the top of our foam bucket lid. This depends on the design of your fan so this step might be a little different from person to person. If you are using a desktop fan, you’re going to want to first take it out of its mount. Typically this process usually just involves a screwdriver and two screws on either side.
Next, place your fan on top of your foam bucket liner lid. If you are using a desktop fan for your DIY air conditioner you’re going to be resting your fan on top of the foam bucket lid so draw an outline of your fan and then compensate inwards about a quarter of an inch so that the blades will be able to sink into the bucket and the lip of the fan will rest on top. If you are using a square CPU fan simply draw an outline and then cut.
Lastly, make the cut. It’s best to play it safe and cut a little short at first since foam is very easy to cut. Use a sawing motion with your knife and whatever you do, don’t break the lid (no pressure). Replacement lids aren’t readily available so be careful.
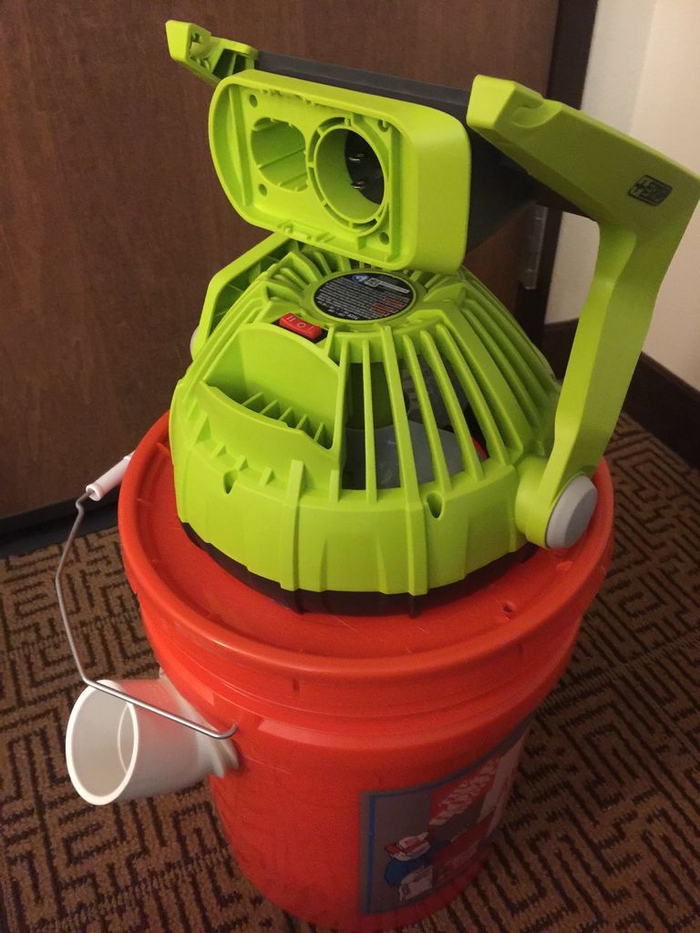
Set your fan on or inside your lid and you’re done with the construction of your 5-gallon bucket air conditioner.
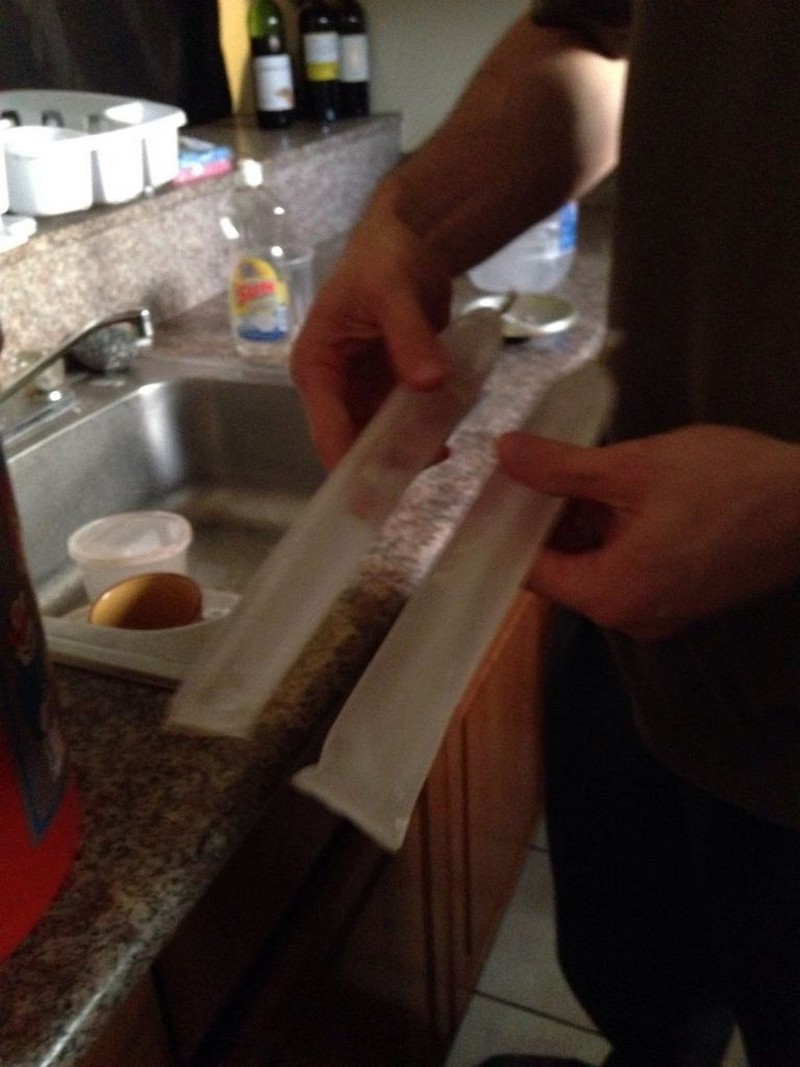
Now it’s time to get over to the sink and start filling up the popsicle bags full of water.
Something to note: popsicle bags have the problem of losing their upright integrity as they melt. A hypothesis I have that I haven’t been able to test yet is putting thick plastic straws inside the popsicle bags to keep them upright and stable.

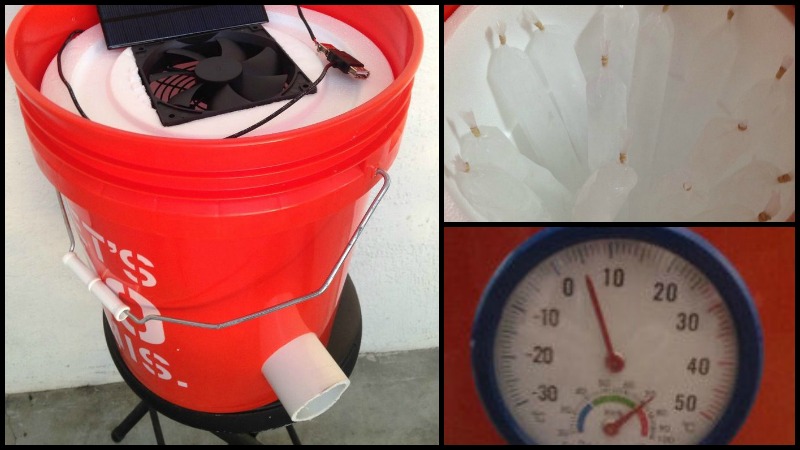
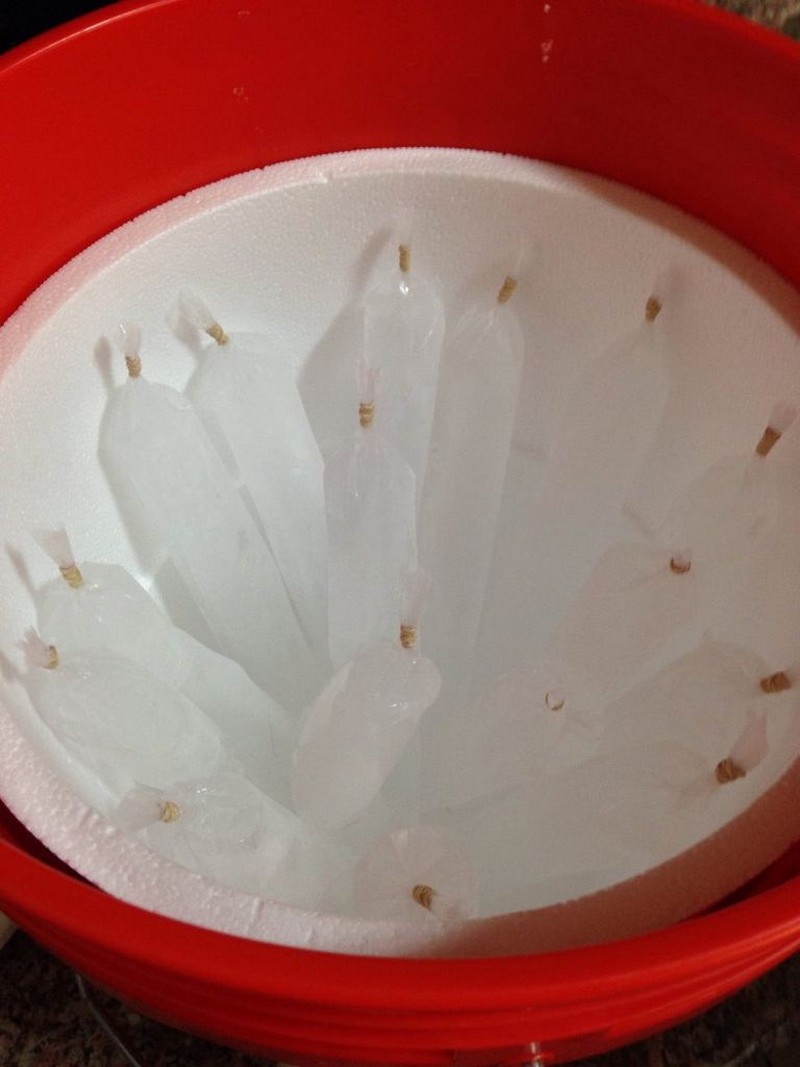
After you’ve frozen your popsicles it’s time to place them inside the bucket. Because of the nature of thermodynamics, you’re going to want to try and maximize the amount of surface area you get from your popsicles.
The best way I’ve found so far is to place the base of each popsicle stick towards the centre of the bucket and have them lean on their edge against the outer interior wall of the foam bucket liner. That way only 2 small points of the popsicles are covered and the rest is open and available for air to pass through.
After that, plug your 5v DC-powered fan into anywhere you’ve got a USB socket and let her rip!
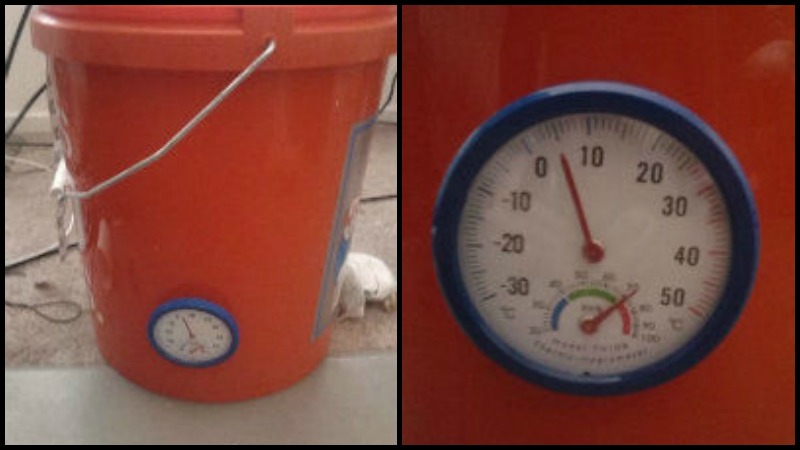
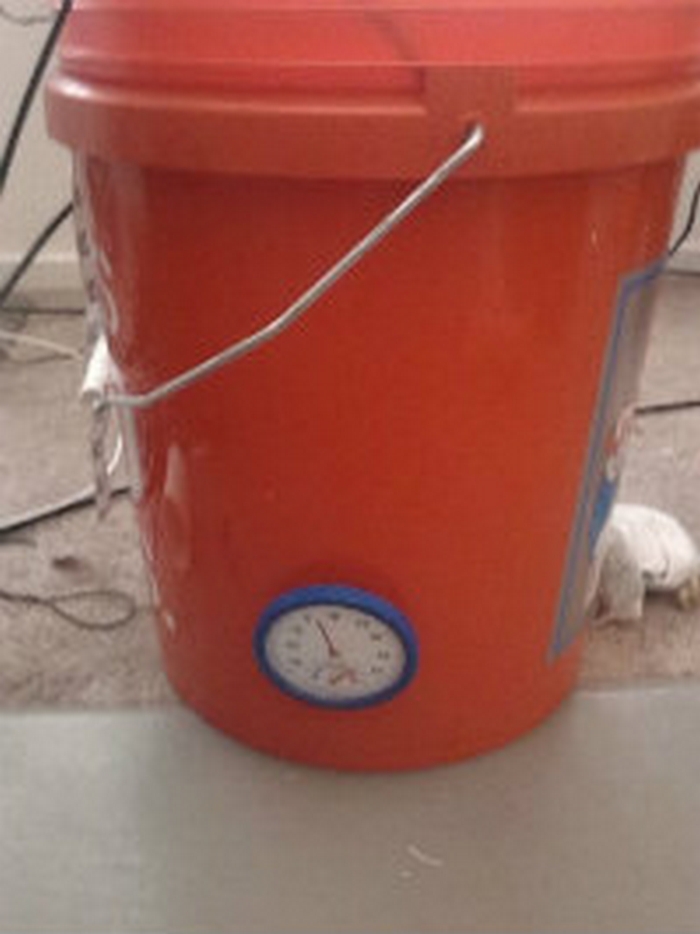
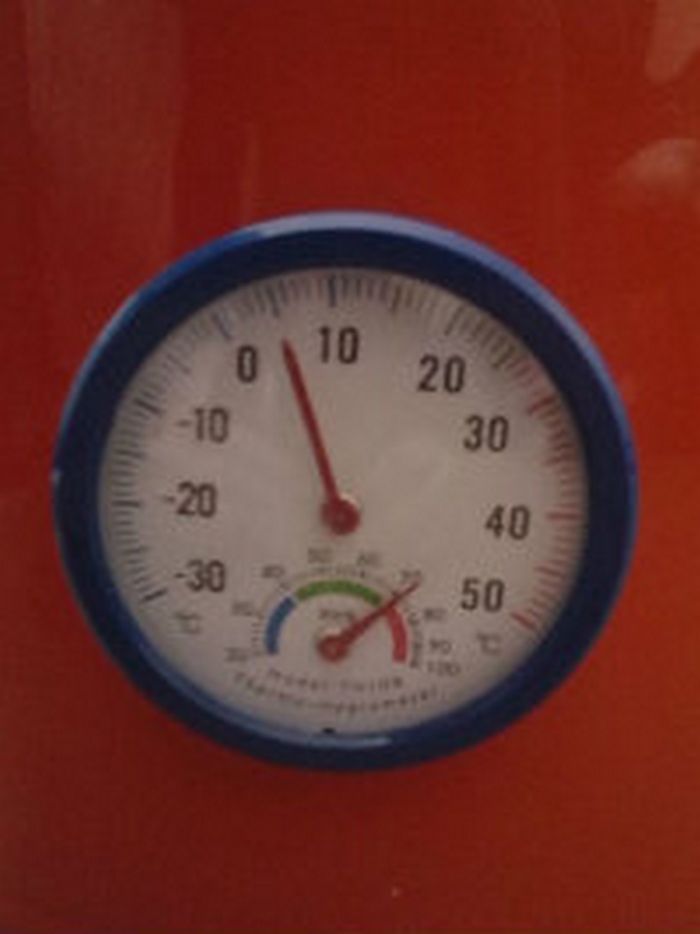
If you did everything right, you should be outputting anywhere from 5-10°C (My thermometer is in Celsius, 41-50°F) depending on how much salt you used in your popsicle sticks and your freezer settings. For longer-lasting results, I recommend using the gallon jug with salt water along with 6 popsicles near the output of the bucket and rotating out the popsicles as they melt.
Thanks to
Here’s another DIY air conditioner you might like…