By Paul Corsetti
The world loves pizza. In the United States, people eat 350 slices every second. Some 40 percent of Americans eat pizza at least once a week.
There’s a reason for all this. Humans are drawn to foods that are sweet, rich, and complex. Pizza usually has all of these components in abundance.
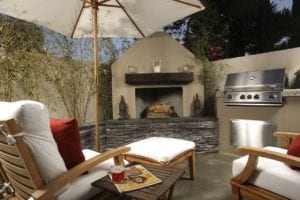
Of course, the very best pizzas are lovingly cooked in wood-fired pizza ovens.
Yes, you’ve seen them on TV and at your local hardware store! But people have been using pizza ovens for centuries to prepare all types of foods.
When pizza was invented in Naples, ovens were not just for pizza. People used the same ovens for bread and other food long before they started making pizza.
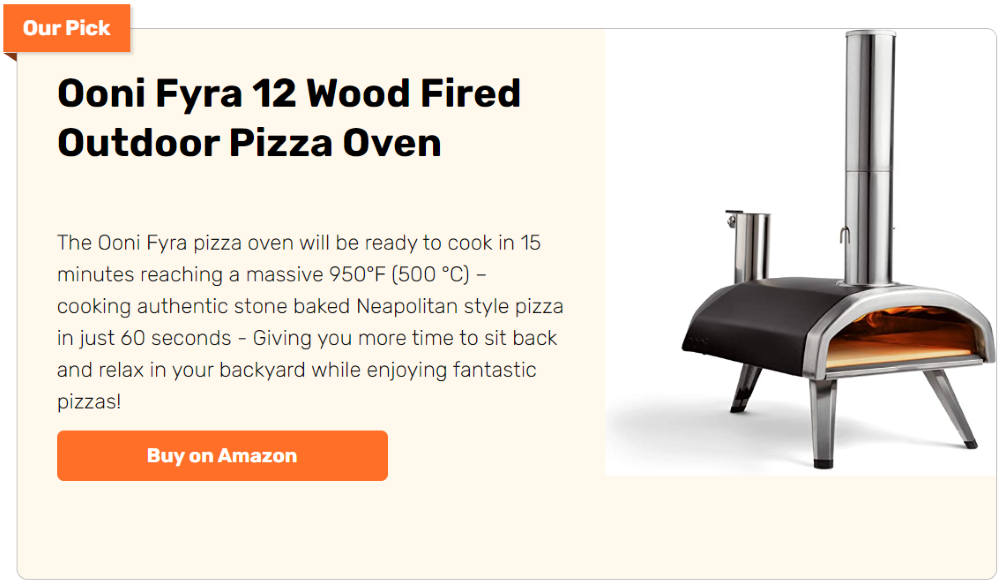
That makes the promise of wood-fired pizza, bread, vegetables, and meats doubly tempting, but then… there’s the price.
Having just made an inquiry into one model, I lost interest when quoted a $3,500 component price for the smallest model. Looking at the unit I figure about two days to assemble, render, and then a few more days before I can use it. Ouch! So how about a real wood-fired pizza oven you can build in a few hours for as little a couple of hundred dollars?
Click on any image to start the lightbox display. Use your Esc key to close the lightbox. ![]()
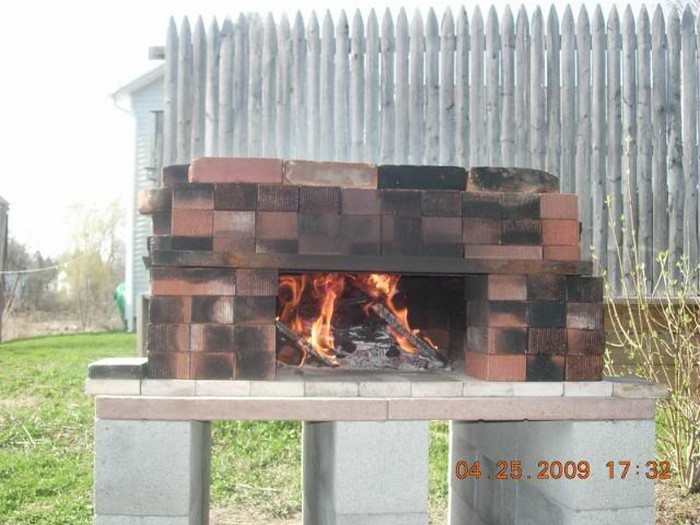
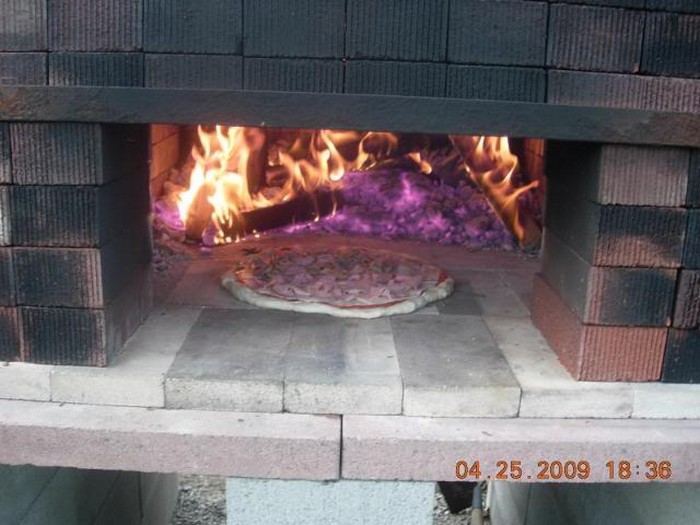
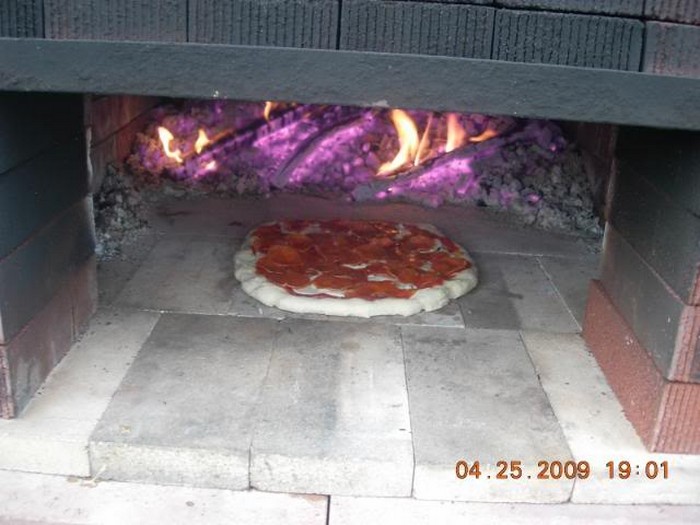
The secret to great pizza is heat! That’s why it is so hard to create a true Italian-style pizza in your home oven. Most ovens top out at about 225C (430F) while a good pizza oven starts at about 275C (525F)! If you want the t the texture and taste your local pizzeria creates, you need to be able to cook your pizza quickly. in fact, in less than five minutes.
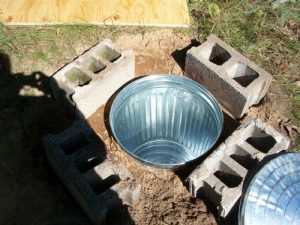
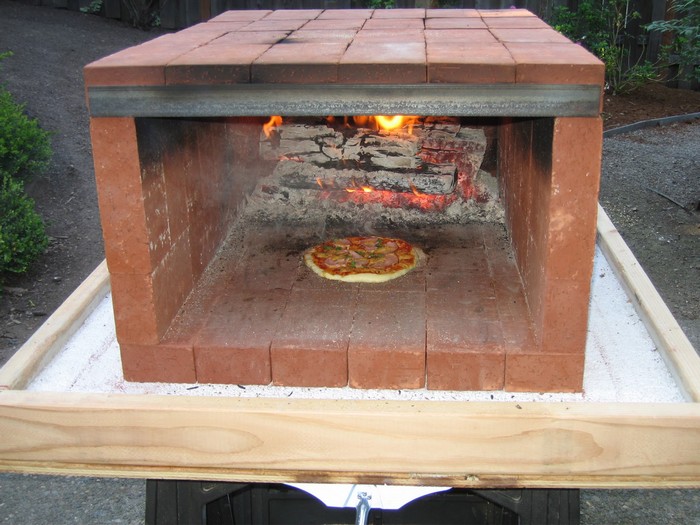
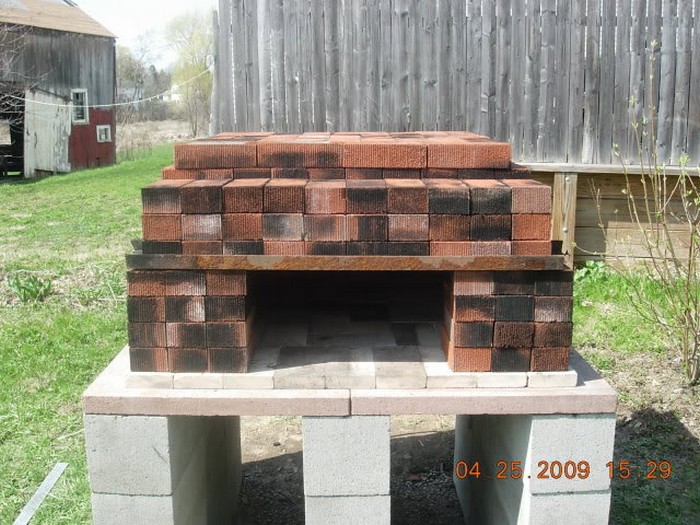
The concept of a wood-fired oven is simple and has been used for millennia. Traditionally, clay and concrete-like binders are used to form an oven chamber. That chamber is designed to retain the heat from a wood fire. The flat oven base of the chamber is both the floor for the fire and the cooking surface.
Materials and process:
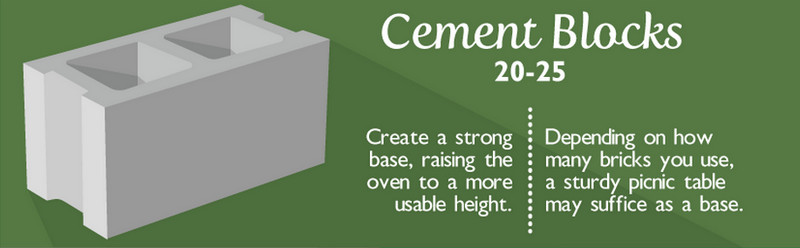
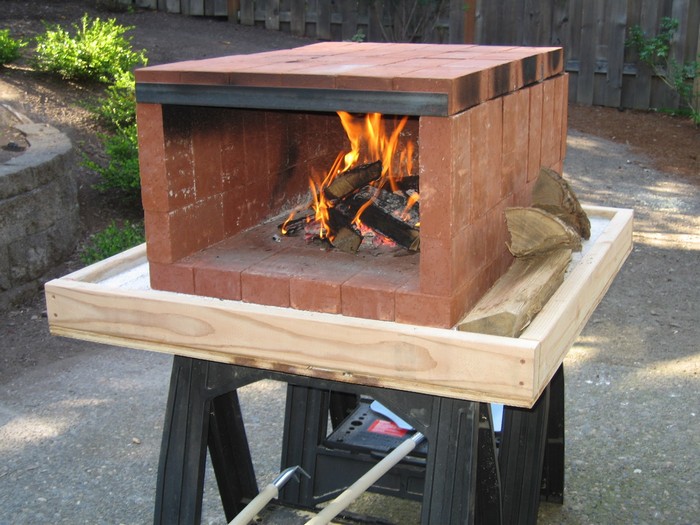
Depending on the height you want, you will need 20 – 25 good-quality concrete blocks. These are going to support a lot of weight so avoid any blocks that have cracks or chips.
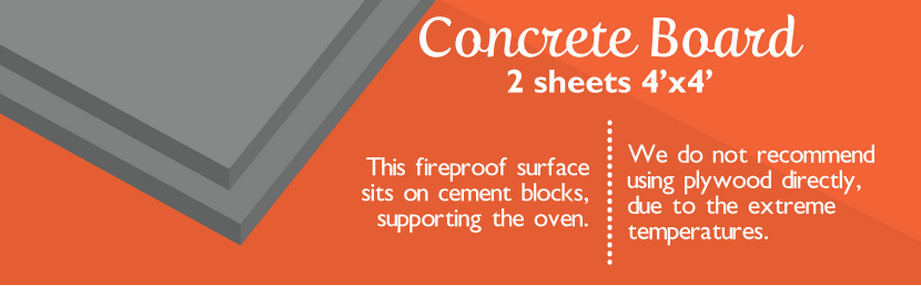
Compressed cement sheeting is immensely strong but also very heavy, dense and difficult to cut. Try to get two sheets of the right size rather than a standard 2400×1200 (8×4) sheet. Here in Australia, sheets are 15mm (5/8″) thick. By using two thicknesses, you end up with an extremely strong floor.
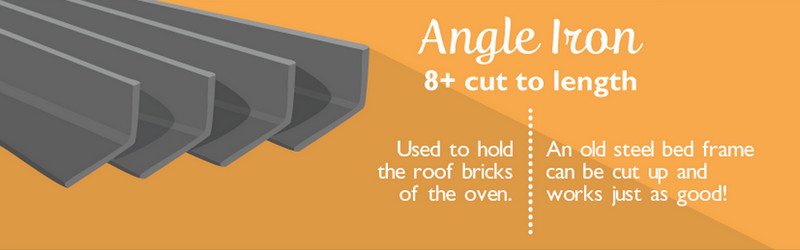
The angle iron will be used to support the brick roof of your pizza oven. As an alternative, consider stacking your roof on compressed cement sheeting. You may still need to use an angle iron across the front to prevent your roof from sagging.

Clay bricks will give a much better result than concrete-based bricks. Concrete bricks can absorb water and may crack under the high temperatures the oven can produce. While clay bricks can also degrade with constant heating and cooling, they are still much more durable.
The best bricks to use are ‘fire bricks’. These bricks are manufactured for us in fireplaces and while a bit more expensive, should last many years.