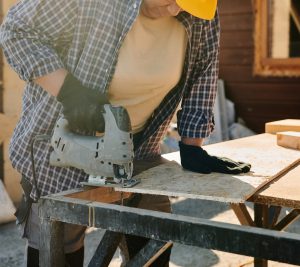
I made several other screwups on this DIY backyard kitchen project that I’m glossing over (tenons on the slats were cut imprecisely, I failed to account for a design change and ended up with a piece of wood 1″ too narrow, filling gaps ended up discolouring parts of the surrounding wood, etc.).
The point is, trying to complete a DIY backyard kitchen project without a screwup is nearly impossible, especially on the first try. It’s been useful for me to practice recovering from screwups, and to use them as opportunities to learn how to improve my skills and practice new techniques.
Above all, screwups are opportunities to learn to love work that isn’t perfect, because it never will be.
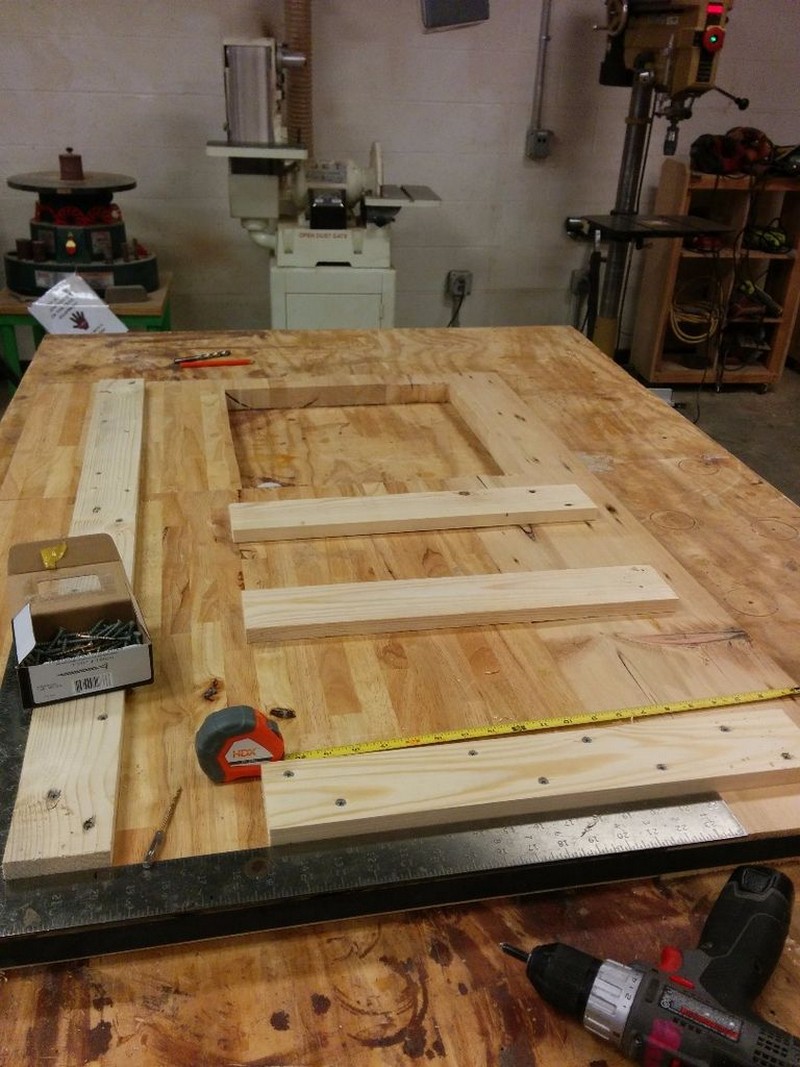
This step of the DIY backyard kitchen project is probably the most useless for anyone attempting to create their own version since the prep unit top is made entirely of irregular pieces.
For anyone planning on creating their own outdoor kitchen, the most important thing to remember is to ensure any supports that run below your prep top are set at least 2″ in from the edge so that they clear the crossbars and the top will sit flush against the carcass.
After laying out the dimensions of the sink on the butcher block and cutting the hole for the sink, I lay the unit out upside down, glued the components together and then ran a ratcheting strap around the edge to compress the joints; I then used some 3/4″x3″ stock to create supports along the bottom, screwing the supports to link the three pieces of the top together to form a single component.
I drilled holes through the underside of the crossbars on one unit and screwed up into the underside of the prep top to secure the top to the carcass.

I didn’t have enough stock in the correct thickness to create the face boards (which sit above the table tops when folded) and the table legs. To create these components, I had to laminate smaller pieces together with glue.

For the face boards, I took several pieces of 1/2″x3″ hardwood stock and laminated them together to create 1″ thick pieces. I then joined these pieces on both their long and short sides and ripped them to width, creating a 1″x5″x47″ component created from 8 smaller pieces (for each unit).
The legs were comparatively simpler; I already had several pieces of appropriate length (28″), so I just laminated the 1″x3″x28″ hardwood stock together, then ripped to width, creating eight 2″x2″x28″ table legs.

In planning for this DIY backyard kitchen project, I intentionally gave myself about two weeks for sanding and finishing. I knew that if I didn’t, I’d be tempted to rush through the final elements of the build and end up letting the project go outside without appropriate protection from the elements.
After talking with several other woodworkers, I chose to sand the carcasses to 150 grit and the tabletops and face boards to 220; the slightly rougher sand would be on areas of the project that would be mostly hidden or expected to get a little roughed-up.
I also chose to coat the units in spar-urethane. I debated this for a long time (going for a more natural finish vs. something that would stand up better to the weather) and eventually opted for the polyurethane. After spending so much time on the DIY backyard kitchen project already, the prospect of re-finishing the units once or twice a year was unappealing.
I chose spar-urethane mostly as a matter of convenience (it was the most robust finish carried at the Home Depot near my house) but the product was well-reviewed so I felt pretty good about going ahead with it.
After completing the sanding, I transported the units home and spent a weekend finishing them; initially, I used a 3-inch brush for the finishing, but after a while opted for using a rag and wiping the poly on – I found this gave me more control and let me get into some of the narrower parts better with less dripping.
I gave the units two coats over about 48 hours; everything but the butcher block received a complete coating. Since the butcher block will come into direct contact with food, I’ll treat it regularly with food-grade mineral oil to keep it protected.

I went with a super-simple plumbing set-up, mostly for convenience. I don’t own my house, and the Backyard Kitchen isn’t designed to stay at this place permanently, so creating a sophisticated plumbing system was out of scope.
Instead, I created a simple cold water sink by running a hose from an outdoor spigot to a brass splitter, and then connecting the split hose ends to the faucet via female hose mending couplings and two garden hose adaptors.
I could have simply connected a single know to the hose, but I wanted both to operate to make the sink more convenient to use. Since the sink is exclusively cold water, I plan on having a light bleach solution on-hand for sterilizing hands and countertops that may come in contact with raw meat.

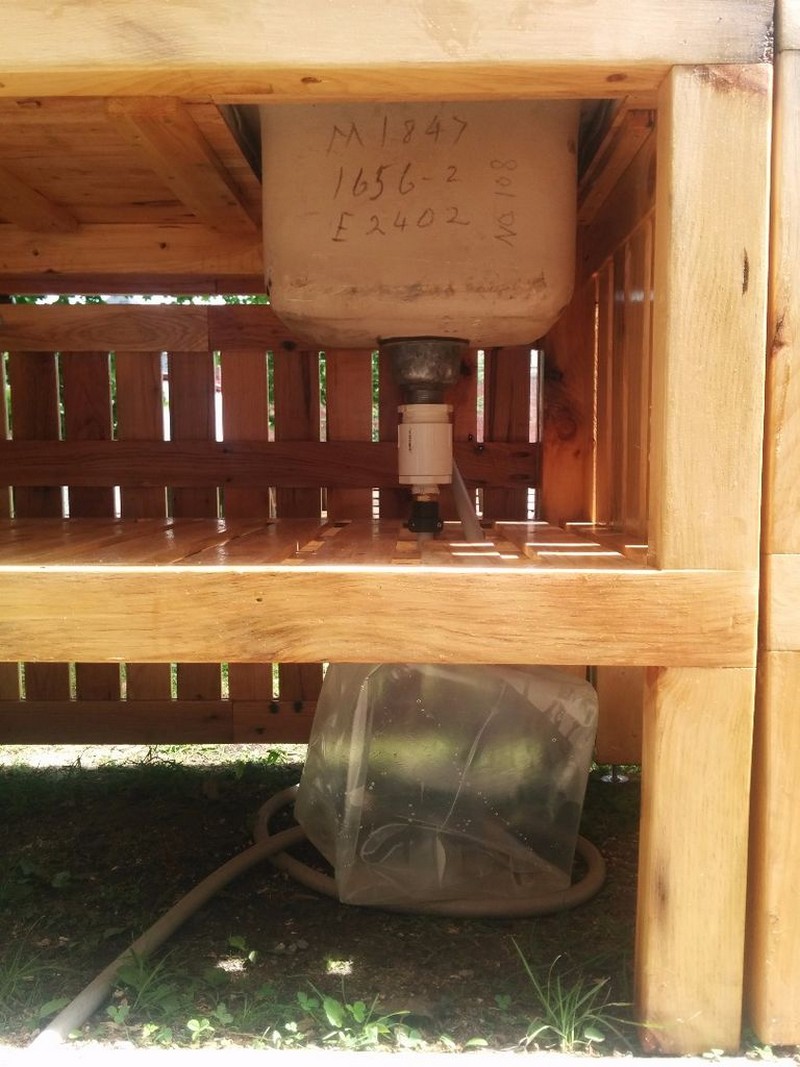
The sink of the DIY backyard kitchen drains to a flexible plastic basin below, which holds about 5 gallons (more than enough for a single evening). The photos show a flexible drainpipe; eventually, I switched to a series of PVC couplings and another length of hose to make it easier to remove and replace the basin when it needed to be emptied.

I didn’t seal (caulk) the sink DIY backyard kitchen to the countertop; I want it to be easily removable in the event I want to make some changes to the units. This sink has fittings for small bolt clamps below; I may decide to use them to make the sink slightly more permanent later in the summer.

The table legs and hinges are attached to the table tops using 1/4″ T-nuts. After drilling and countersinking the holes for the legs, I applied some JB Weld epoxy and drove the T-nuts into the legs with a small hammer.
(This is not an ideal setup for the legs, because the stress from tightening the screws wants to pull the T-nut out of the legs, rather than deeper in. I went this route after my initial attempt at mortising a square peg for the legs failed, and probably should have spent a little more time considering how to address it. A better solution would have been to use a combo wood/machine screw driven into the table leg, and then a nut on top of the table to hold it in place.)

I used T-nuts driven in from the backside of the faceboard and the underside of the tabletop to match the holes in the hinges. Bolts are driven in from the face of the hinge, sandwiching the wood and the hinge between the T-nut and the bolt – a much stronger union, because the direction of stress wants to pull the T-nut in deeper.


With the T-nuts set and epoxied, I clamped the face boards to the carcass and drove screws in from the backside of the crossbeam to secure it to the DIY backyard kitchen, then filled any gaps between the face board and carcass with wood filler. Once the face boards were installed I hung the tabletops from the hinges to create the fronts of the units.

Lastly, I cut my grill legs to the appropriate height and mounted them to the hot unit shelf using a few pieces of 1″x3″ scrap hardwood, with holes drilled for the grill legs. The blocks were attached to the DIY backyard kitchen unit with screws from the underside of the shelf.
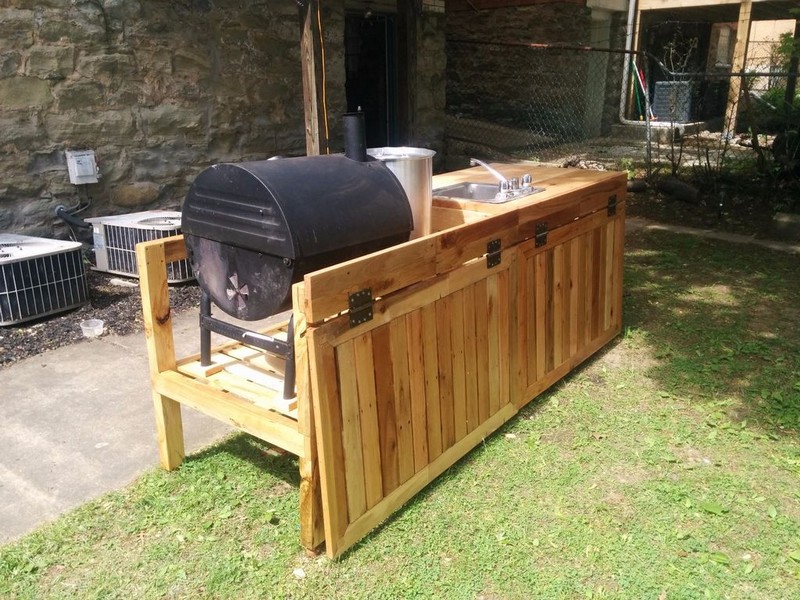
Because the backyard isn’t level, I needed to make a couple of adjustments to the DIY backyard kitchen unit before it could be used regularly. I made some small levelling feet for the DIY backyard kitchen out of some 1″x2″ circular pieces of wood cut with a hole saw, with bolts running up the middle and epoxied to the feet.
I added T-nuts on the bottoms of the table legs and the carcass uprights to accept the levelling feet and then used a level to get the units as close as possible to level.
Because of the way the hinges are set and the slight angle of the yard, the tabletops of the DIY backyard kitchen have a tendency to flare out when they’re folded down. I fixed this by installing small neodymium magnets in the corners to keep the face flush.

I had a leftover piece of plywood from an earlier project, which was just big enough for me to create an extra-large lazy susan for the prep unit shelf of the DIY backyard kitchen. I used a ShopBot CNC router to cut out the lazy susan, a slightly smaller base, and a 1″ lip that would run around the edge of the lazy susan to serve as a grip and to help keep items from slipping out.
Before: A nice yard, some decent lawn chairs, and a few quick sawhorse tables and benches for enjoying dinner outdoors. Not bad, but could be better.
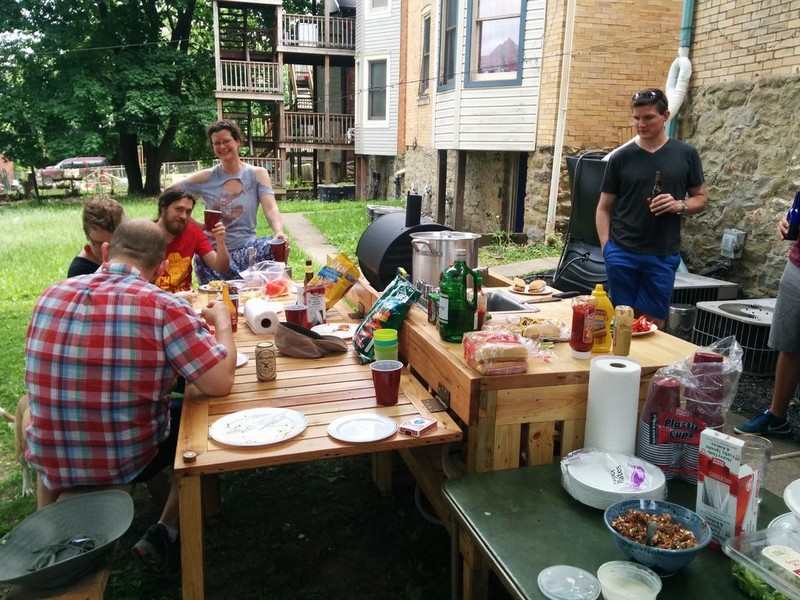
After: A Backyard Kitchen designed to bring people together to share food, drinks, conversation, and the delights of summer. I hope you have the opportunity to build something similar for your friends and family.