There aren’t many homes that can’t use some additional storage space. If you have a large family and a small home, you’ll know just how hard it is to find that extra storage space.
You might find what you’re looking for underneath the stairs in your home. There lies a void that you can turn into a clever storage system – a DIY under-the-staircase cabinet!
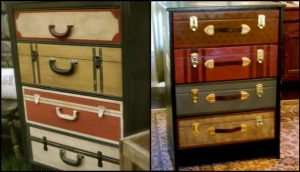
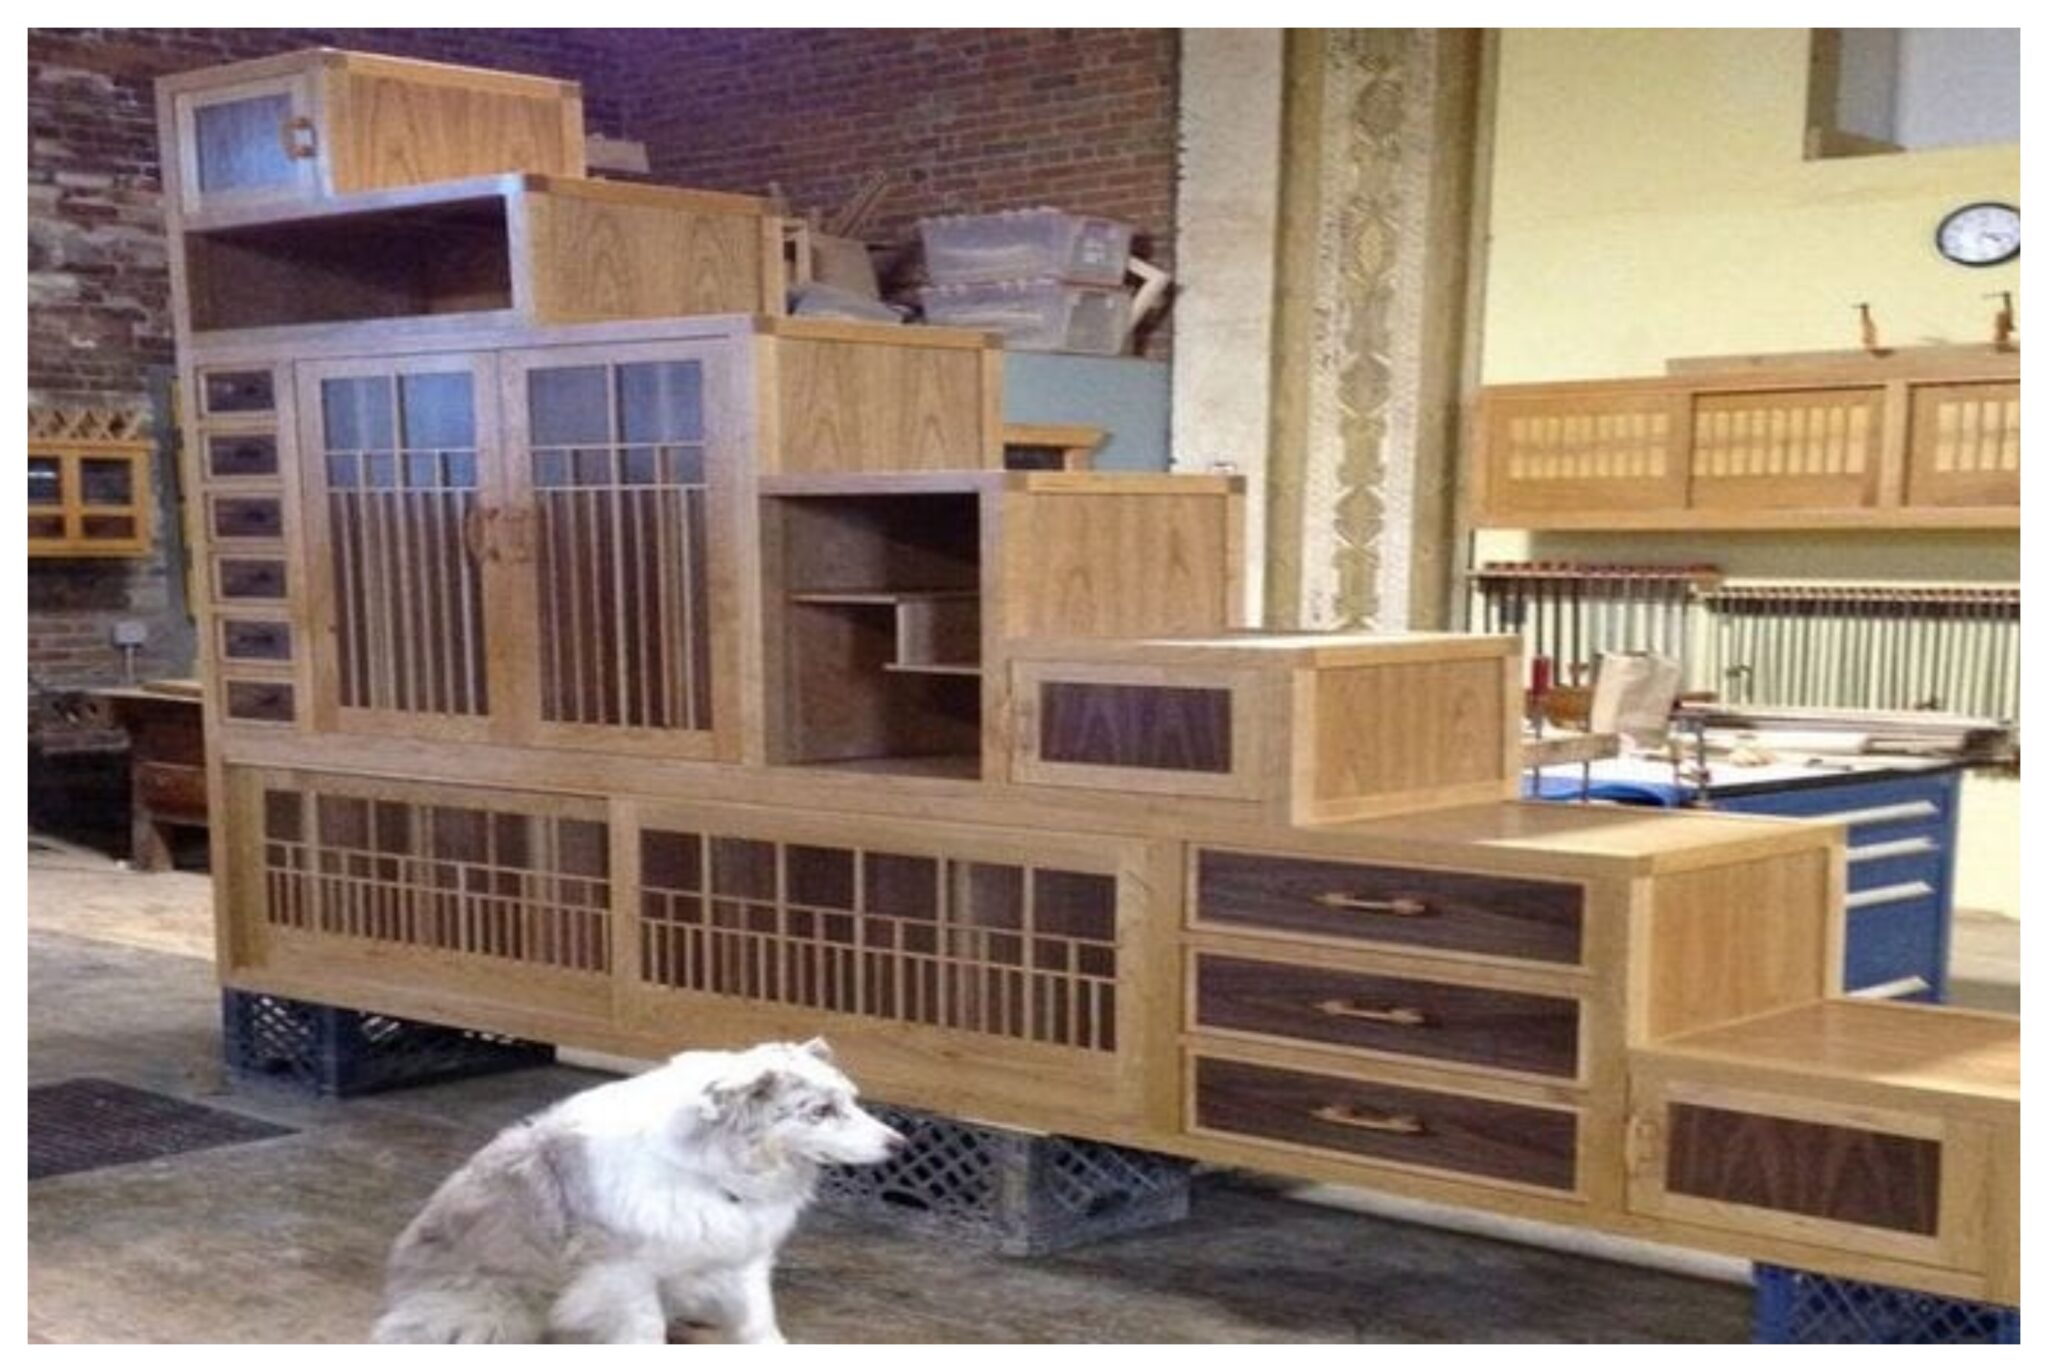
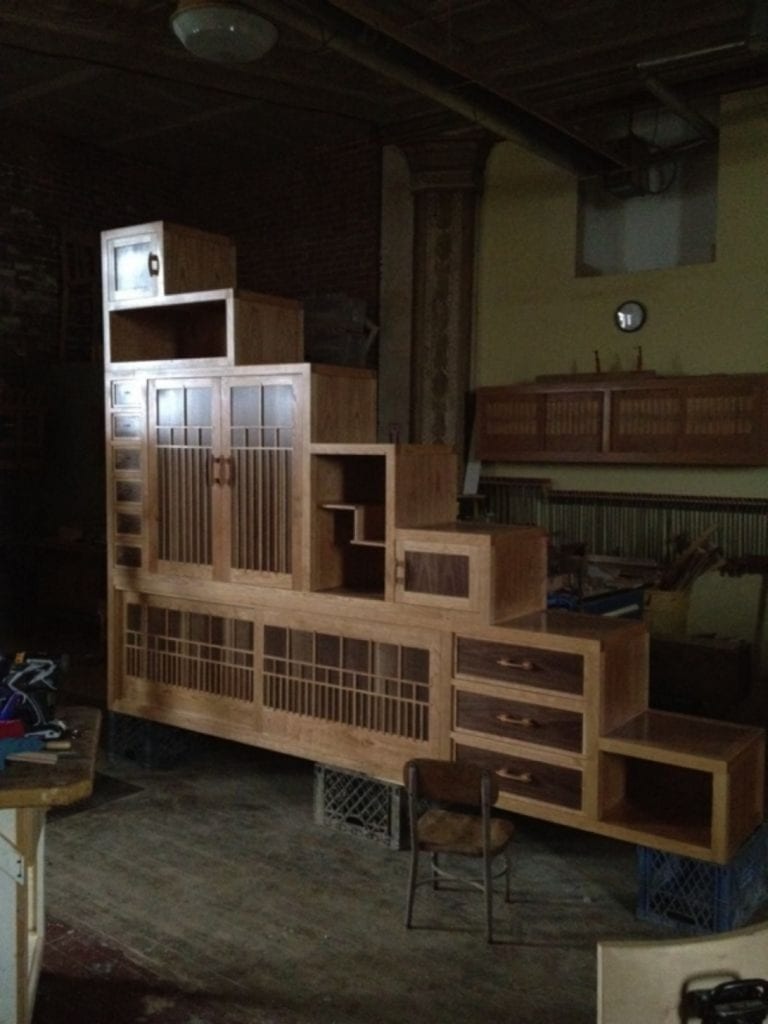
This under-the-staircase cabinet combines beauty and functionality for that under-used space under the stairway. Although the under-the-staircase cabinet featured here is definitely the work of a skilled craftsman, you can still get the same result if you build it yourself by extracting ideas from his work.
After all, you’ll need to customize the staircase cabinet to fit your space. And even if you’re living in a one-storey home you can still use this as a fabulous wall unit.
Materials for DIY under-the-staircase cabinet:
- 5 pieces of 12′, 2″ thick Black Cherry boards
- 1/16″ Veneer Panels
- 1/2″ ultra-light MDF
- Pencil
- Masking Tape
- Yellow Glue
- Foam Roller
- Vacuum Bag
- Rags
- 32mm Cup Hinges
- Oil or Spray Finish
Tools:
- Table Saw
- Belt Sander
- Orbit Sander
- Horizontal Mortiser
- Jointer Set
- Cabinet Scraper
- Miter Gauge
- Clamps
- Chisel
- Milling Machine
Steps:
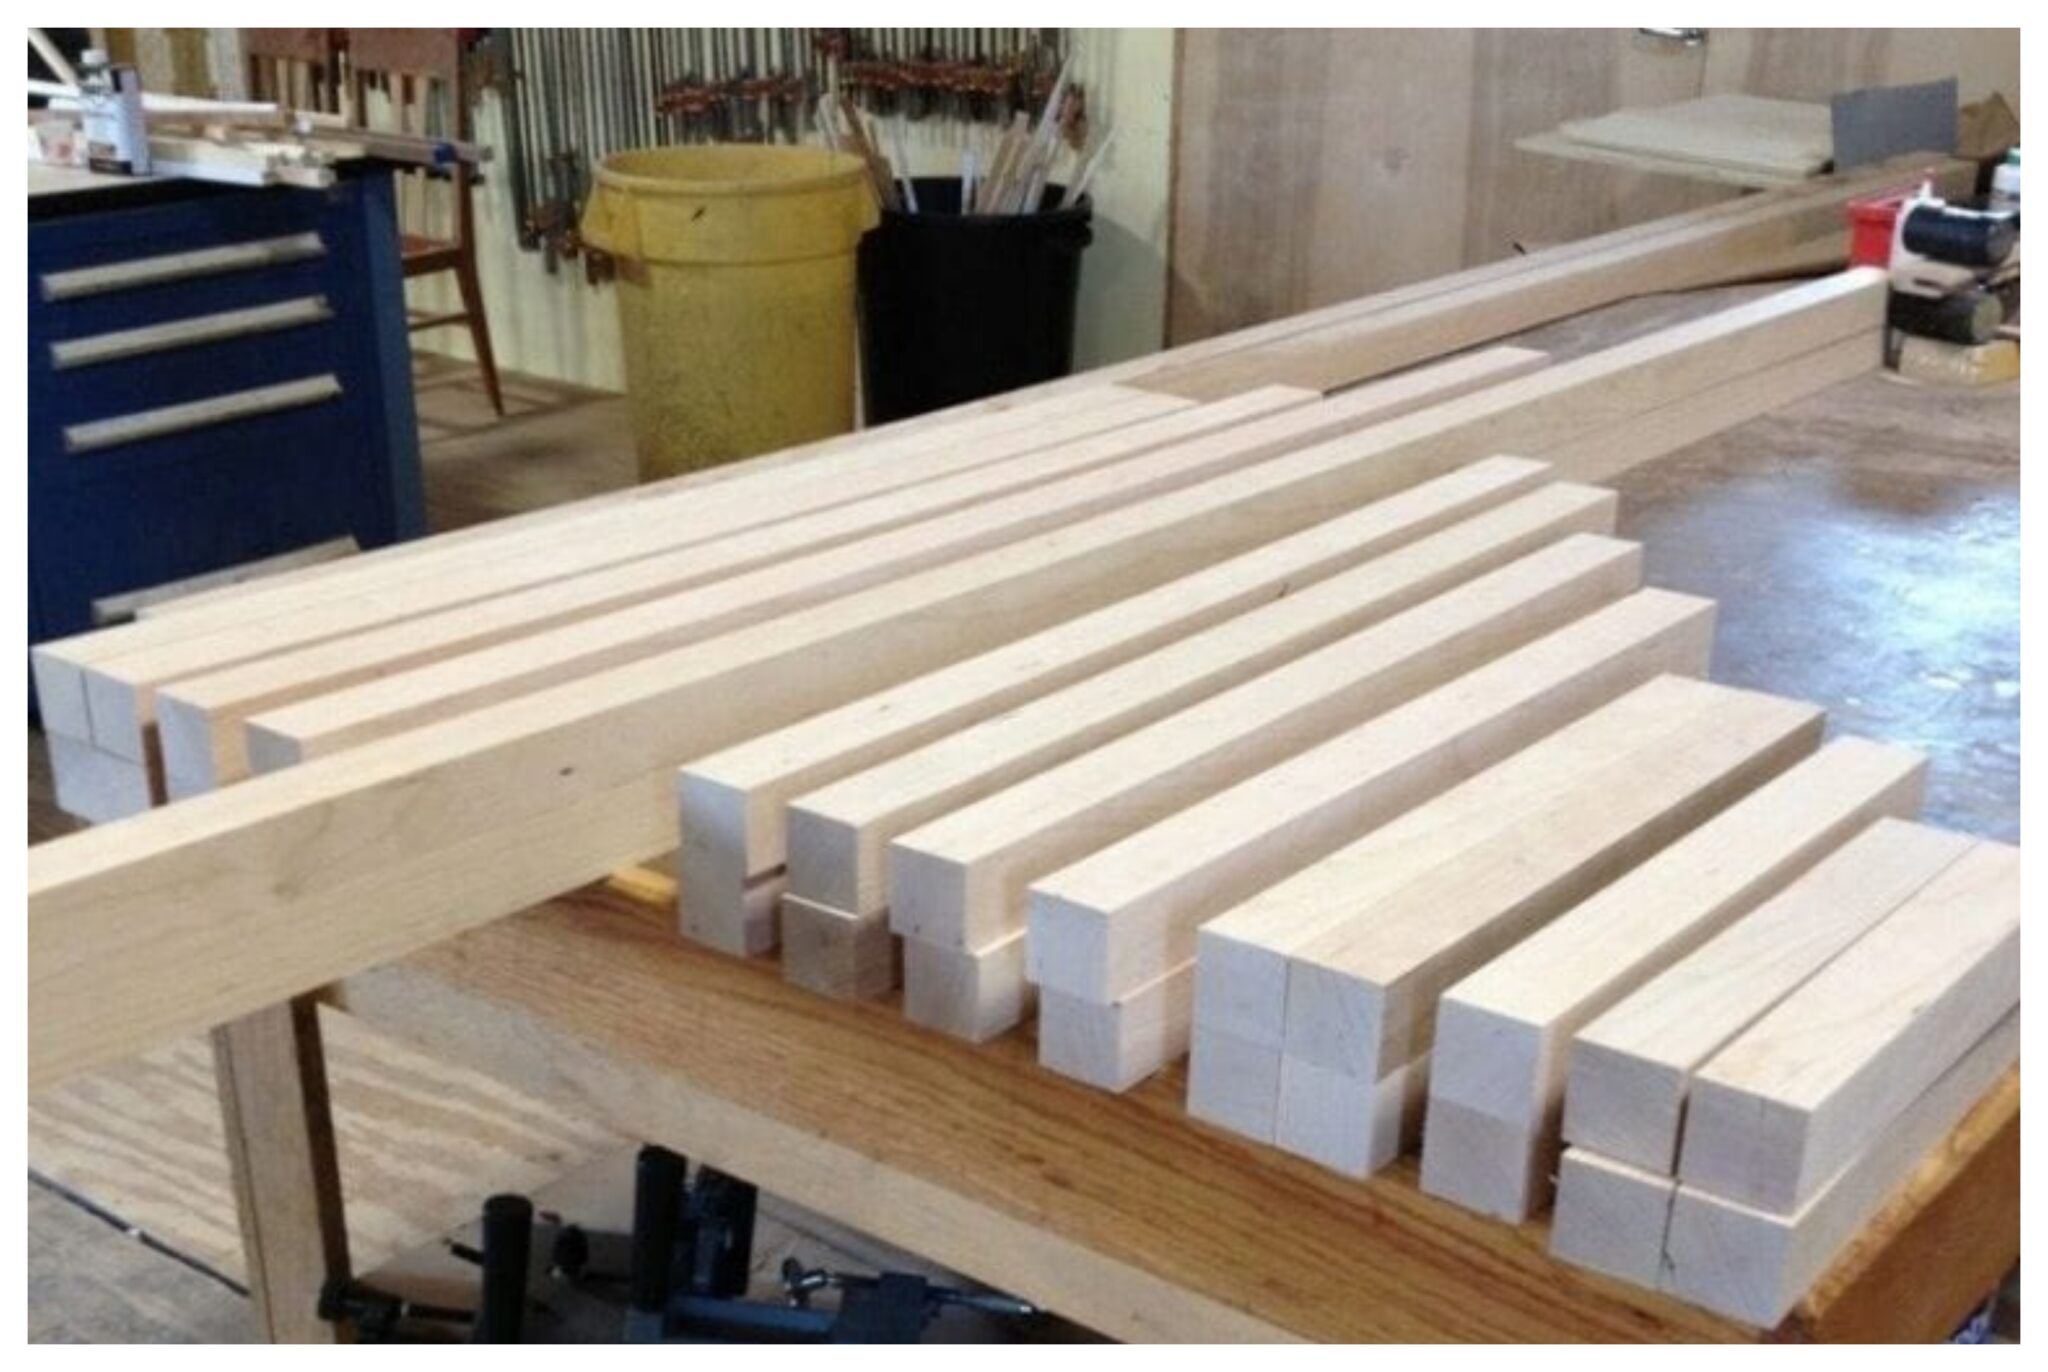
Once the design of my staircase cabinet was finalized, I did some calculations and headed to the lumber yard and bought 5 12’ 8/4 boards of black cherry to build the frame of the piece.
Back in the shop, I cut down all the rough boards except for one, which I made the longest members with. Then I straightened one face and one edge of each board on the jointer and sent them all through the planer to get an even and consistent thickness of 1 13/16”.
After that, I ripped all the boards on the table saw down to 1 13/16” square and sent them all through the wide belt sander to achieve even 1 3/4” square stock.
Then I carefully calculated a cut list for the stock and cut all parts of the staircase cabinet to length on the table saw.

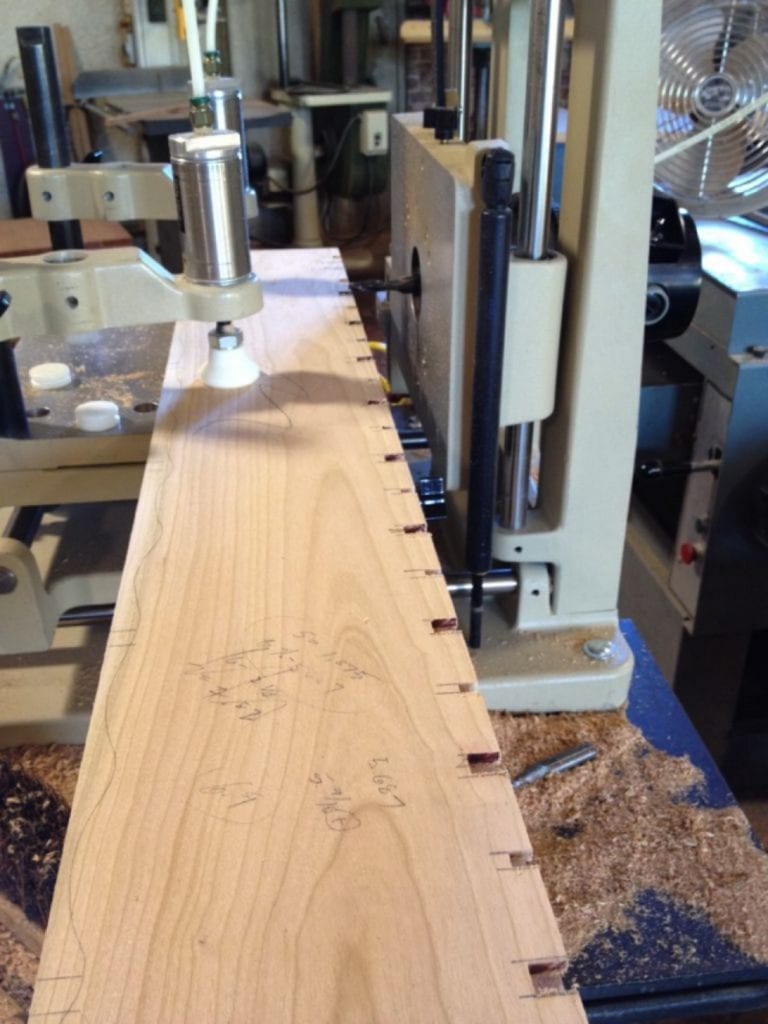
Moving to the horizontal mortiser, I carefully set up an exactly centred mortise in the stock and begin cutting mortises at the ends of all the short pieces of the staircase cabinet and then on the longer pieces, I took time to lay out the mortise location.
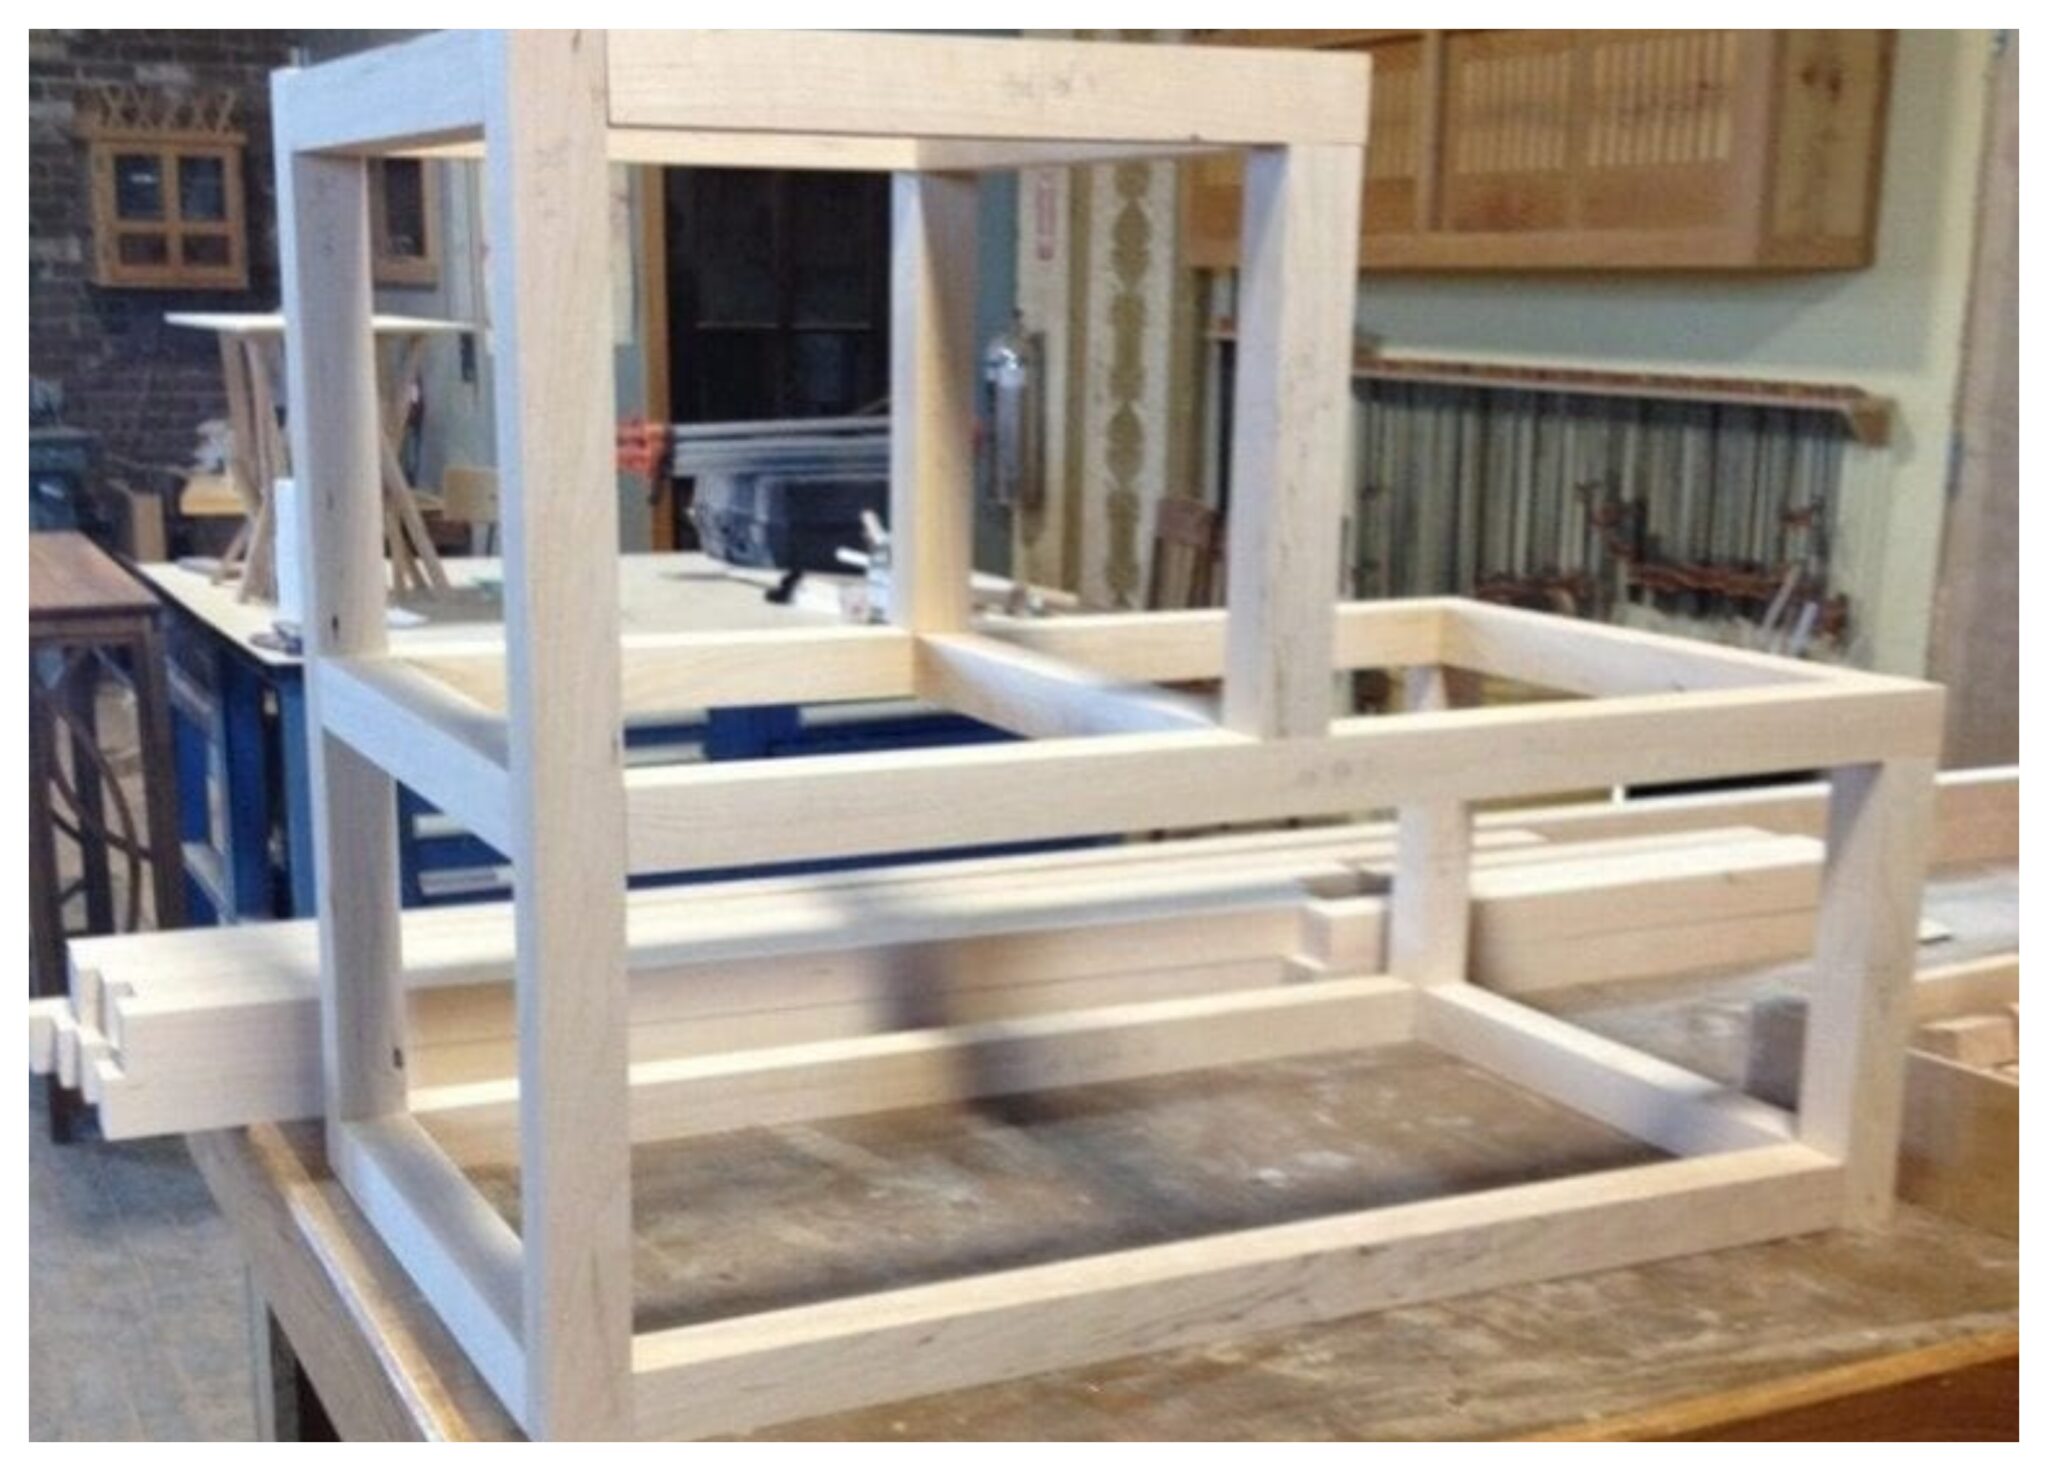
Once all mortises were cut, I dry fit the carcass to see the shape of things to come.
Then, I measured for all the panels to fill in the backs, dividers, and sides.
Using 1/16” thick veneer I cut panels for all the back panels and interior dividers. For the outer walls, I carefully book-matched some of the same material into 9’ x 22” panels so the grain followed up the ‘treads’ and also the ‘risers’ as you look at the unit from the side or top.
This effect is subtle but was worth doing. This detail only takes some careful planning and labelling as you go. To make a tight/straight joint on the veneer, run it across the jointer set very low. This trick will only work with the extra thick veneer. I then secure the joint with regular masking tape.
For the substrate, I used ½” ultralight MDF. Since the panels aren’t structural, the less weight for the staircase cabinet will be appreciated later. I cut pieces to match the laid-up panels on the table saw. Using a foam roller I applied an even coat of yellow glue to the veneer and one side of the substrate and slid it into my vacuum bag face down.
Some prefer to glue both sides at once; I’ve never had any problem doing one side at a time. I leave each side to dry for a minimum of 4 hours. There are a lot of panels – this takes a few days.
When the panels of the staircase cabinet were all done, I scraped the tape with a cabinet scraper. If you don’t have a wide belt sander I strongly recommend looking into renting an hour-on-one at a local cabinet shop. This will give you consistent thickness and a uniform sanding pattern for your staircase cabinet. You’ll still need to finish the sand prior to assembly, but this is unavoidable.

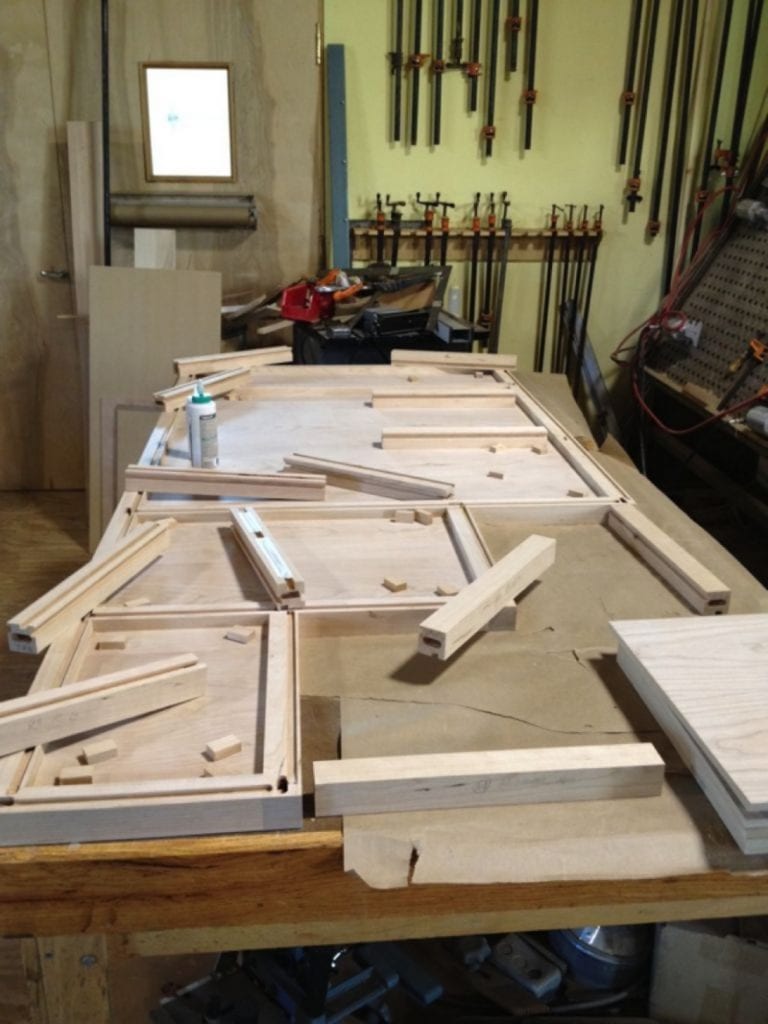
With the frame of the staircase cabinet still dry fit together, I labelled all of the parts. I also marked where every panel went. Take the extra time to double-check that every part is labelled and the position of each panel is well-marked. I have not missed one, so triple-check.
Back at the table saw, I set the dado blade to the thickness of the sanded panels plus a ‘hair’. Just loose enough to get a piece bit of paper into the slot with the panel.
Now, I cut all the dados in the members as marked. There are some that required stopped dados. When you do this, PLEASE TAKE YOUR TIME! Stopped dados need an extra special care on the table saw. I did mine on a Saw Stop and was glad to know I had that extra security.
I made some ½ loose tenon stock and sized them to fit the exact width of the mortises. Then I set a stop on a mitre gauge and cut enough for all the front and back mortises. I cut them 1/8” shorter than the combined depth.
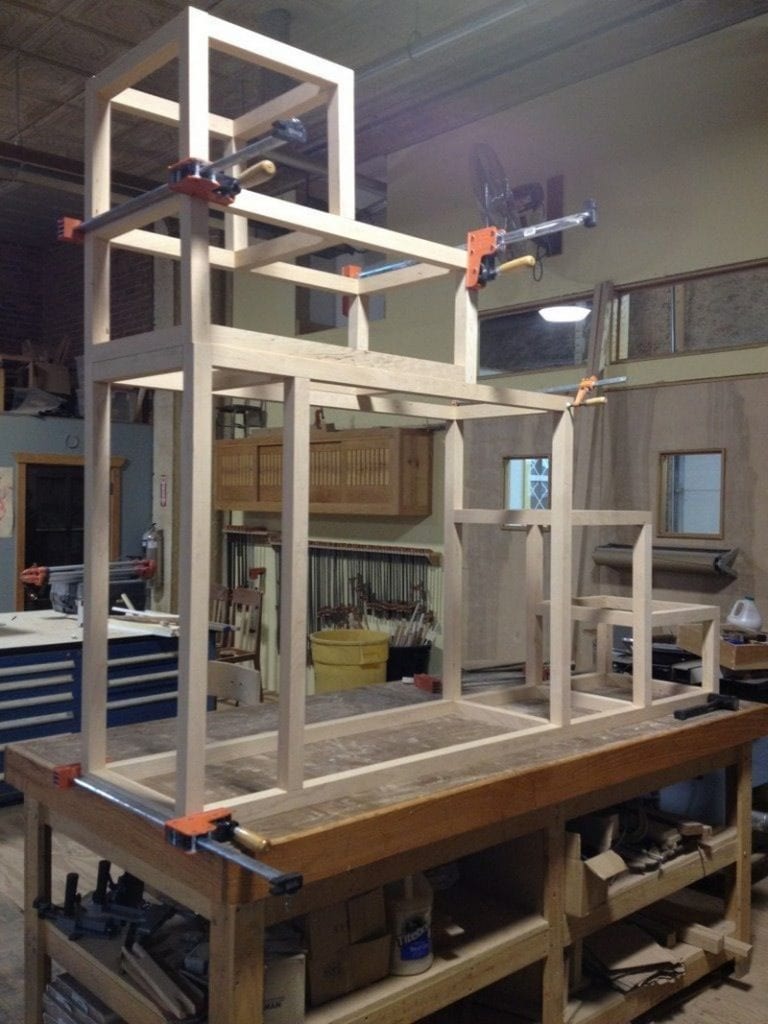
I then glued the front frames of the staircase cabinet together. I choose to do this in stages when possible. It’s nice to be able to just have a few elements to have control and square up. As each element is glued together I take careful care to check for squareness. Tight and straight work is imperative at this stage.

I measured off the front frames for the sizes of the back panels. Adding to the depth of the dados, I cut the panels starting with the largest ones first and took care to choose pleasing grain placement. Then, I finish sanded all panels to 220 grit and eased all the edges. This is important to avoid chipping the veneer during construction.
Next, I glued up the back panels. Now it’s coming together!
For the last time, I dry-fit the cases together and measured the missing panels. I sized and sanded all panels taking careful care to label the riser and tread panels to keep them in order.
I sanded the front and back frames, preparing for the big glue-ups. I took an extra minute and ran some 180 grit along each dado. This helps the parts of the staircase cabinet come together when the heat is on and the glue is setting.

Now I gathered clamps, a couple of glue bottles, some rags and a rosary. I cleared the workspace and carefully laid out all the parts of the staircase cabinet needed and devised a plan for applying glue and inserting tenons and panels as smoothly as possible.
At the start of your glue-up, take a deep breath and get going. If all goes well – congratulations, if not pull it apart. It’s not worth getting it wrong. Take it apart, wipe off the glue and try again the next day.
Now invite friends and family to tell you how clever you are for making such a cool staircase cabinet.

THE DOORS – With a sharp chisel and a random orbit sander, I cleaned up the extra glue and smoothed the joints and was sure not to round over any of the nice square pieces.
On a piece of paper, I laid out the different panelled doors. Then, taking care of my measurements off of the case, I created a cut list for the necessary parts.
I milled the necessary stock to a strong 3/4” and also laid up the necessary door panels for the staircase cabinet as described earlier. Once I milled the stock, I checked the original dimensions carefully and sized all stock on the table saw.
Then, I cut mortises in all the necessary joints – this should only take one setup on the mortiser.
I put panels in the veneer press one side at a time. After pressing, I removed all glue from the press panels and sand panels. As with the frame, I cut dado’s to allow for panels. Once again, you should be very careful with the stopped dado.
I glued up the doors of the staircase cabinet, taking care that they were flat and square.
For the sliding doors, I repeated all the same steps but made the stock 5/8” thick.
Using a calculator, I devised a symmetrical layout for the decorative latticework.
With decorative lattice strips prepared, I created ‘layout’ blocks to help evenly space the strips. I marked all joints with a pencil and cut on a mortising machine.

I glued up the sliding doors – the same as the regular doors. Then, I sanded all doors, paying close attention to the joints; making them nice and even.
On the regular swinging doors, I bored for 32mm cup hinges. At the same time, I took a sacrificial piece of wood – the same vertical size as the door – and bore that as well.
I mounted cup hinges in the sacrificial member in order to align the cabinet hardware of the hinge.
Now, I placed the sacrificial stick in the cabinet with a ¼” setback, taking care to keep the stick perfectly vertical.
I attached the door hardware to the cups and placed the doors in the stepped cabinet. Are you still with me?
Then I made adjustments for even spacing for optimal 1/16” reveal all the way around and smooth swinging.

On to the sliders; I installed the decorative latticework of the sliders. My first step was to size all the sticks, disregarding the need for joinery.
Then, in two stages, I marked for the joinery. First I installed all the vertical sticks at once and with a long straight edge and marked all the necessary dado’s.
I remove the horizontal sticks and repeated the steps above for the vertical sticks.
With a mitre gauge on the table saw and my blade just coming out of the table, I cut all necessary dados, taking time to fit each one.

I glued it all together with the assistance of a little hammer.

Then I moved on to drawers. I decided what size I wanted my drawers to be and sized my stock. I like ½” wall drawer boxes.
I cut dovetails (use whatever method you are comfortable with) and glued the drawers together. Then, I decided what kind of drawer fronts and handles I wanted. I fabricated, sanded and attached to the drawers after they’d been sanded.
After, I final sanded all my parts – case and all. For this, I suggest you wear your dust mask and turn your radio really loud, this step is going to take a while.
Time for finish work. I chose to spray all my parts. You may choose the same or to oil. As with all steps, take your time here.

Any piece of furniture is only as good as the finish that you put on it.

This project may look like a lot of work with all its small details, but we’re confident you can pull it off. Ready for this DIY project? 🙂