We need to install the Front Panel Assembly so it can be easily removed from the cabinet so you can get to the inside for service, get access to cables, and show off your cabinet to your drooling buddies.. 😉 We will use our dowel points to align 2 holes so that a pair of small dowels can hold the bottom.
– Rest the Front Panel assembly on the carcass piece “BB1”. Mark a small vertical line with a straight edge 2 feet from each edge of the assembly.
– Practice with the dowel points first on a test piece. Drill a 1/4″ hole in the edge of the Front Panel Assembly along the line you just drew. Repeat at the other location. Insert the 1/4″ dowel point into the holes. Put the Front panel assembly into place exactly where you want it. Press down hard and 2 impressions will be made at the top of “BB1”.
– Drill 1/4″ holes in these 2 impressions. Insert 1/4″ dowels into the 2 holes. Fit Front Panel Assembly and ensure that it mounts into “BB1” securely.
– Apply 3 pieces of good quality stick-on Velcro onto the top inside of the Front Panel Assembly and the “FS” bar.

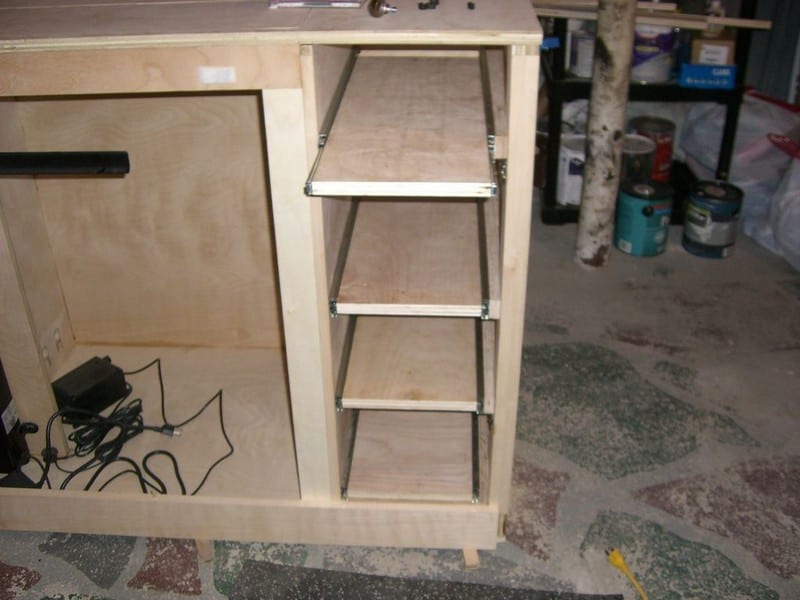
Chose to use extra heavy-duty drawer glides. You could probably find lighter-duty drawer glides that would work for your DVD/CDs. For the components, you should stick with the heavy-duty stuff. Because the hinge and open door will be in the way when the drawers pull out, we need to pad out the glides on that side. We do this with a 3/4″ wood cut to the width of the glides.
Two guide support pieces are needed on the right side because I have a piece of wall moulding on the right side of my application that I needed to clear. You may have a different application and can modify your glides mounts.
4 RGS1 Right guide support 20 ½ x 1 ½
4 RGS2 Right guide support 24 ¼ x 1 ½
1 LGS Left guide support 24 x 1 ½
– Starting on the left side component opening, cut 2 template blocks at the height that you want the bottom of your component shelf to be, as shown in the picture below. Starting on the left side, rest the “LGS” piece on the template blocks and mark a line along the top of the “LGS” piece to hold your position. With a raw glide, do the same on the right of the component opening to mark a line at the top of the glide. The 2 glide heights should be at the same height now with respect to the component opening bottom.
– On the drill press or workbench, drill countersunk holes through the “LGS” piece to attach to the left side component space. Attach the drawer guide to the “LGS”. Remove the drawer glide. Attach the “LGS” to the inside left cabinet below your line. Attach drawer glide again.
– Attach the drawer glide to the inside right edge below your line. Slide-in inside parts of both drawers glide. Measure inside width to check that the drawer bottom measurement is good.
– For the right door drawers, the right side will use the “RGS1” and “RGS2” pieces. Set up those two pieces as shown in the top drawing. Mark the pieces where they meet so they will line up together. The idea is that the 2 pieces are needed to get around the “HSB” piece. We will build up an assembly with the “RGS1” and “RGS2″ pieces and the drawer glide. We will attach the assembly to the cabinet from the rightmost OUTSIDE cabinet. This makes it easier to get the piece on without having to work in the narrow 11” space…
– On the drill press or workbench:
a) drill holes to attach the drawer glide to “RGS2”.
b) remove drawer glide from “RGS2” and drill countersunk holes through the “RGS2” piece to attach to the “RGS1” piece.
– repeat a) through b) for the other 3 pieces.
– Make 2 template pieces for each height as shown in the picture below. With the right drawer glide assembly altogether, rest each one on top of the template pieces at the exact height you want. Mark a line inside the cabinet. Drill a few small holes through the right cabinet wall below the lines. Go to the OUTSIDE right cabinet and drill countersunk holes.
– Rest drawer glide assembly on the template guides. Secure them with screws from the OUTSIDE.
– Repeat for all 3 remaining drawer glide assemblies.
– When this looks good, remove all 4 drawer glide assemblies.
– Set up the templates on the left side and mark the top of the glides. Attach the drawer glide to the inside right edge below your line.
– reattach right drawer glide assemblies. Slide-in inside parts of both drawers glide to all 8 glides. Measure inside width to check that drawer measurements are good.


– Start by making sure that the “A5” and each “D1” piece fit between the drawer glides. Mount the pieces in the drawer glides with screws and verify they glide well.
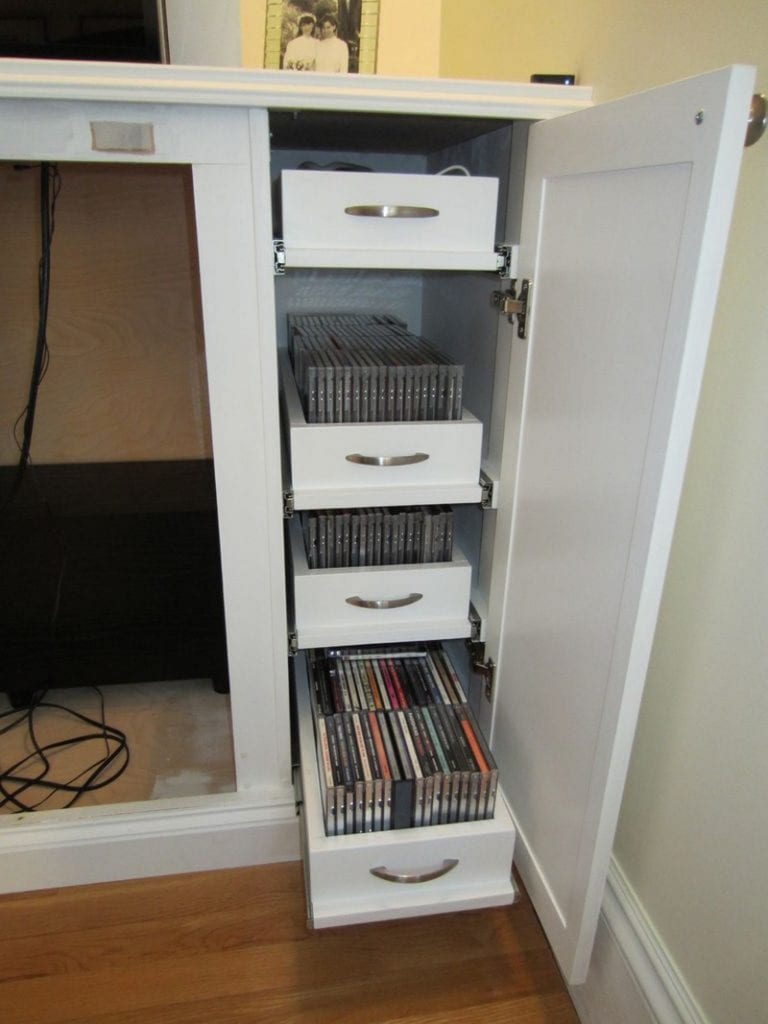
– Attach the drawer pull to the front piece “D4”.
– Build up the drawers as shown in the picture below with pieces “D2, D3, and D4”. Glue and nail.
– Apply glue to the bottom of the drawer sides and attach it to the “D1” pieces. Make sure to offset the drawer side assembly back from the bottoms of the drawers “D1” to allow clearance of the drawer pull. If you don’t do this, the drawer pull will interfere with the door closing.
– Apply edge tape to all exposed edges and sand.


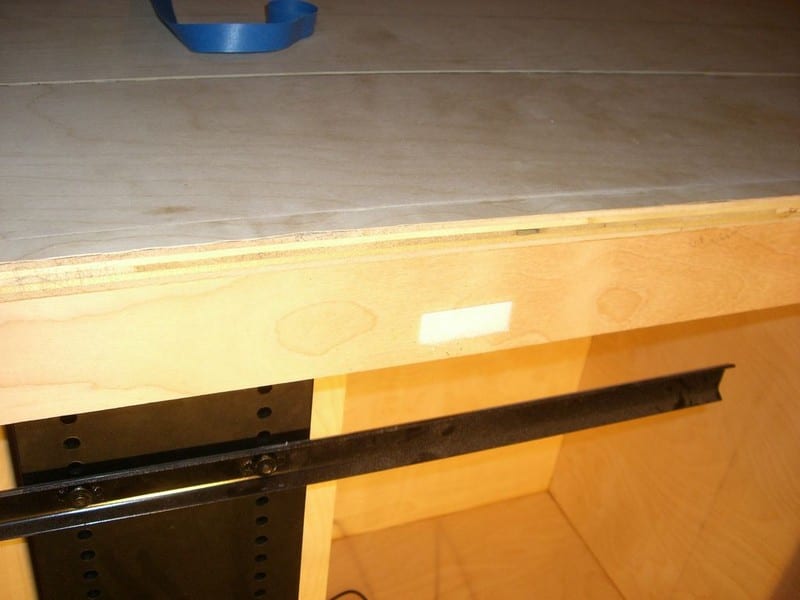
Optional step: I added dummy filler plates of 1/4″ wood in 2 places. They can be cut quickly on the band-saw.
– Add a filler plate to the left of “D’ so you can’t see the cabinet insides when you open the right-side door. Glue in place and add some painter’s tape to hold while it dries. See the picture below.
– Add a filler plate at the roof of the component cavity so you can’t see the component cavity inside when the flap lid is open. Screw from underneath. See the picture below.


Continued Page 4…